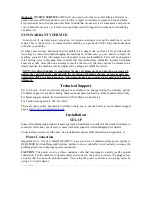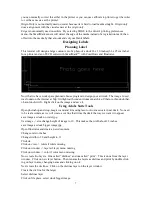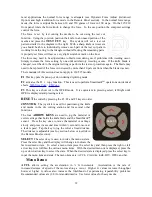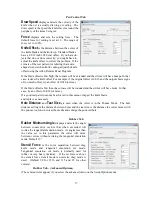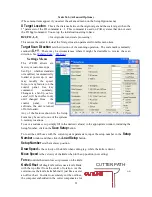
Window -> Layers. Select the dielines layer on the layer menu. Click on File -> Allen DirectCut
to open the DirectCut for Illustrator.
Sending file with CorelDraw
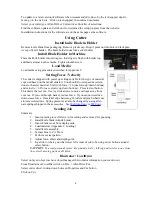
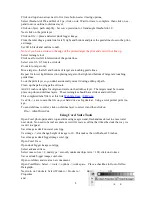
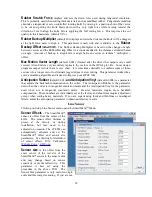
Load the file you want to cut with CorelDraw. If the object manager is not visible you can make it
visible by clicking on Window -> Dockers -> Object Manger. Select the dielines layer on the ob-
ject manager tab. If the Allen DirectCut tools
does not appear near the view button, select
Tools -> Options -> WorkSpace. Then check Allen Datagraph. Click on the Allen DirectCut but-
ton to open the DirectCut for CorelDraw preview window.
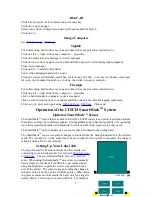
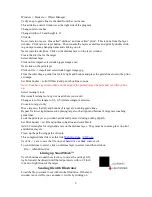
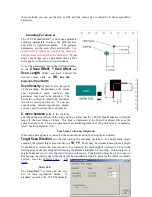
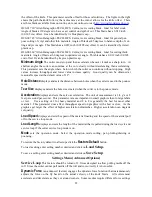
Find Origin Type
Verify the cutter you want to send the die lines to appears
in the drop down box between the Cut and Properties but-
ton. Click on the properties button and select find origin
type you want to use. Select origin scale, or origin skew
scale for Find Origin type.
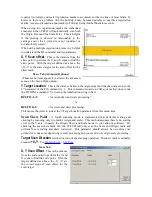
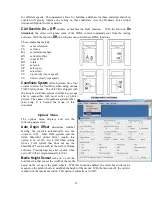
Rotation
In the preview window select Cutter origin. This moves
the origin to the lower right on the screen. This matches
the view you see when you look at the front of the cutter.
Use the rotate selection in the properties until the origin of
the preview is in the upper right. Select rotation from
(none, 90°, 180°, or 270°).
Cutting label
After you have set the properties click OK to close proper-
ty window. Then click on the Cut button to send the job to
the cutter.
Smart Mark Setup
available on the technical support page of the Allen
Datagraph web site at
tech support -> smart mark cutter -> SmartMark Sensor
Page.
Control Panel
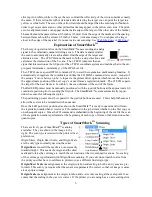
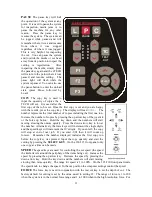
The front control panel is the primary user interface for the i-TECH cutter. It is used for input of
speed and force as well as several other functions. The cutter has a 4 digit display and a 16 button
panel. The display is used to interact with the operator showing current status. If the menu is not
active the first digit is C for cut, 2
nd
digit is speed (0 = 0-4%, 1= 5-14%, 2= 15-24% ...), and last 2
digits are force.
LOAD
The load key is used to initialize the system and to load the media. You only need to press
load if load LED is off. Once the material is fed thru the media path and the nip rollers are
engaged (see Appendix C Loading), press the load. If the media height sensor is off, the load light
will then come on to indicate the system is ready to operate. If the media height sensor is turned
on, the system will scan the cutter station pinch rollers to determine the media width.
10


