FORM NO. 56043111 - Adhancer
™
-
63
ELECTRICAL SYSTEM
MAIN CONTROL PROGRAMMING OPTIONS (CONTINUED)
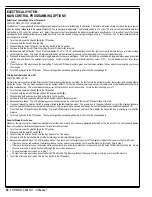
Detergent Use Ratio Selection:
FACTORY DEFAULT: 8
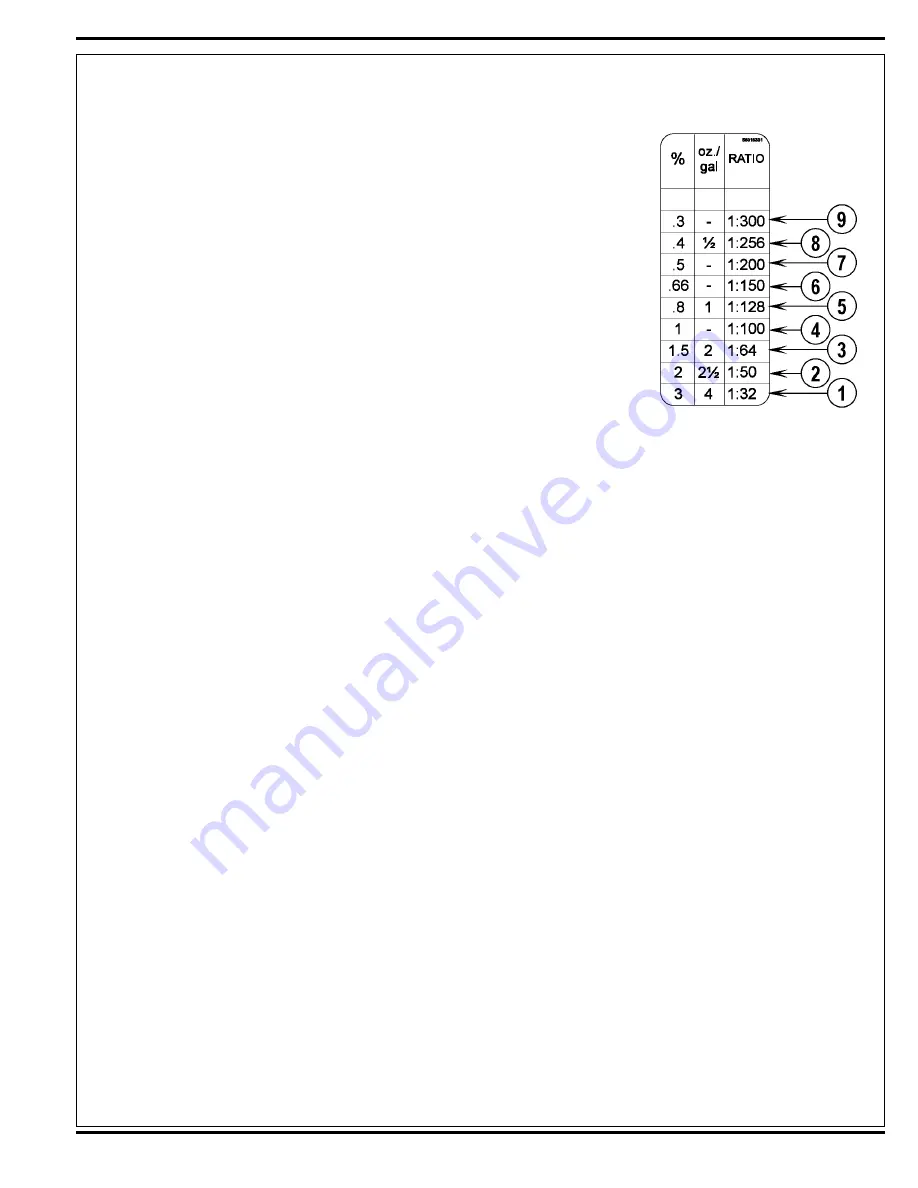
There are nine different detergent ratio settings. Normally the position of the magnet on the detergent container
determines the detergent-to-solution ratio. If your detergent container doesn’t have a magnet, you can select the
desired detergent ratio using this programming option. Note that a detergent container magnet will override the
programming option setting. To change the detergent ratio without a magnet in the detergent container, perform
the following steps:
Turn the main power Key Switch
1
(A)
to the Off position.
Press and hold the Detergent System Switch
2
(F)
.
While holding the Detergent System Switch, turn the main Key Switch to the On position.
3
Continue to hold the Detergent System Switch until the Detergent System Indicator
4
(P)
turns yellow.
Release the Detergent System Switch. The Detergent System Indicator will turn green, the Scrub Off Indicator
5
(J)
will turn red and the LCD will display a detergent bottle icon and current user ratio.
Press the Detergent System Switch to scroll through the numbers (1 through 9) corresponding to the detergent
6
ratios (1:32, 1:50, 1:64, 1:100, 1:128, 1:150, 1:200, 1:256 and 1:300) as shown in the adjacent chart.
Press the Scrub Off Switch
7
(H)
to save new setting. The Scrub Off Indicator will turn green and the display will
show the key switch icon prompting you to reset the machine.
Turn the Key Switch to the Off position. The new setting will be saved and will remain in effect until it is
8
changed again.
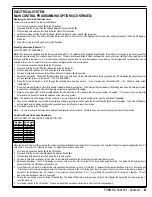
Monitor Mode:
The Adhancer™ is equipped with a monitor mode where the three machine settings shown below can be quickly checked for the machine’s speci
fi
c setup. In order
to monitor current settings, perform following steps:
1
Turn the main power Key Switch
(A)
to the Off position.
2
Press and hold the Recycle/Extended Scrub Switch
(G)
.
3
While holding the Recycle/Extended Scrub Switch, turn the Key Switch to the On position.
4
Continue to hold the Recycle/Extended Scrub Switch until the Switch indicator turns yellow.
5
Release the Recycle/Extended Scrub Switch. The Switch indicator will turn green.
6
The LCD will display the current deck size/type selected, the low-voltage cut-out threshold setting and error checking status.
7
To exit this mode, turn the Key Switch to the Off position.
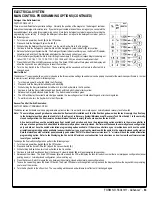
Recover Tank-Full Switch Orientation:
FACTORY DEFAULT: NORMALLY-OPEN
The Adhancer control board now has a programmable option to allow it to work with a normally-open or normally-closed recovery tank full switch.
Note: The normally-open con
fi
guration is used when the
fl
oat switch is installed such that the
fl
oat hangs down when the tank is empty, then
fl
oats up
to the horizontal position when the tank is full. (See Figure 3 in Recovery System/Maintenance of Recovery Tank Float Switch.) In the normally-
closed con
fi
guration, the
fl
oat remains horizontal when the tank is empty, then
fl
oats up when the tank is full.
All current machines use the normally-open
fl
oat switch con
fi
guration, and have the programming option available in the main controller to
allow you to change the switch orientation to either normally-open or normally-closed. Earlier machines used the normally-closed con
fi
guration
only and did not have the switch orientation programming option available. If the main controller on your machine does not have the switch
orientation programming option available (as described below), you must run the machine with the switch in the normally-closed con
fi
guration.
Note that machines with controller panel assembly part number 56316121 with software revision level “A” or later will have the switch orientation
programming option. Refer to the
Displaying the Control Unit Revision Level
subsection for instructions on how to view the software revision
level of your controller.
To change the
fl
oat switch con
fi
guration, perform the following steps:
Turn the main power Key Switch
1
(A)
to the Off position.
Press and hold the Scrub Off Switch
2
(H)
and the Vacuum Switch
(C)
.
While holding both switches, turn the Key Switch to the On position.
3
Continue to hold both switches until only the Vacuum System Indicator
4
(N)
is lit (approximately two seconds).
Release both switches. The Scrub Off Indicator
5
(J)
will be red and the LCD will display the tank-full switch icon in either a normally-open con
fi
guration (arrow
pointing down) or normally-closed con
fi
guration (arrow pointing up).
Press the Vacuum Switch to toggle the icon between the normally-closed and normally-open con
fi
gurations.
6
To save the new setting, press the Scrub Off Switch. The Scrub Off Indicator will change from red to green and the display will show the key switch icon prompting
7
you to reset the machine.
Turn the Key Switch to the off position. The new setting will be saved and will remain in effect until it is changed again.
8
Summary of Contents for Adhancer 56316001(W32-C)
Page 1: ...7 08 FORM NO 56043111 SERVICE MANUAL Models 56316000 W28 C 56316001 W32 C Adhancer...
Page 2: ......
Page 7: ...FORM NO 56043111 Adhancer 5 TECHNICAL SPECIFICATIONS...
Page 25: ...FORM NO 56043111 Adhancer 23 SCRUB SYSTEM FIGURE 2...
Page 51: ...FORM NO 56043111 Adhancer 49 FIGURE 4...
Page 53: ...FORM NO 56043111 Adhancer 51 FIGURE 5 ELECTRICAL SYSTEM...
Page 59: ...FORM NO 56043111 Adhancer 57 FIGURE 6 ELECTRICAL SYSTEM...
Page 68: ......
Page 74: ......


