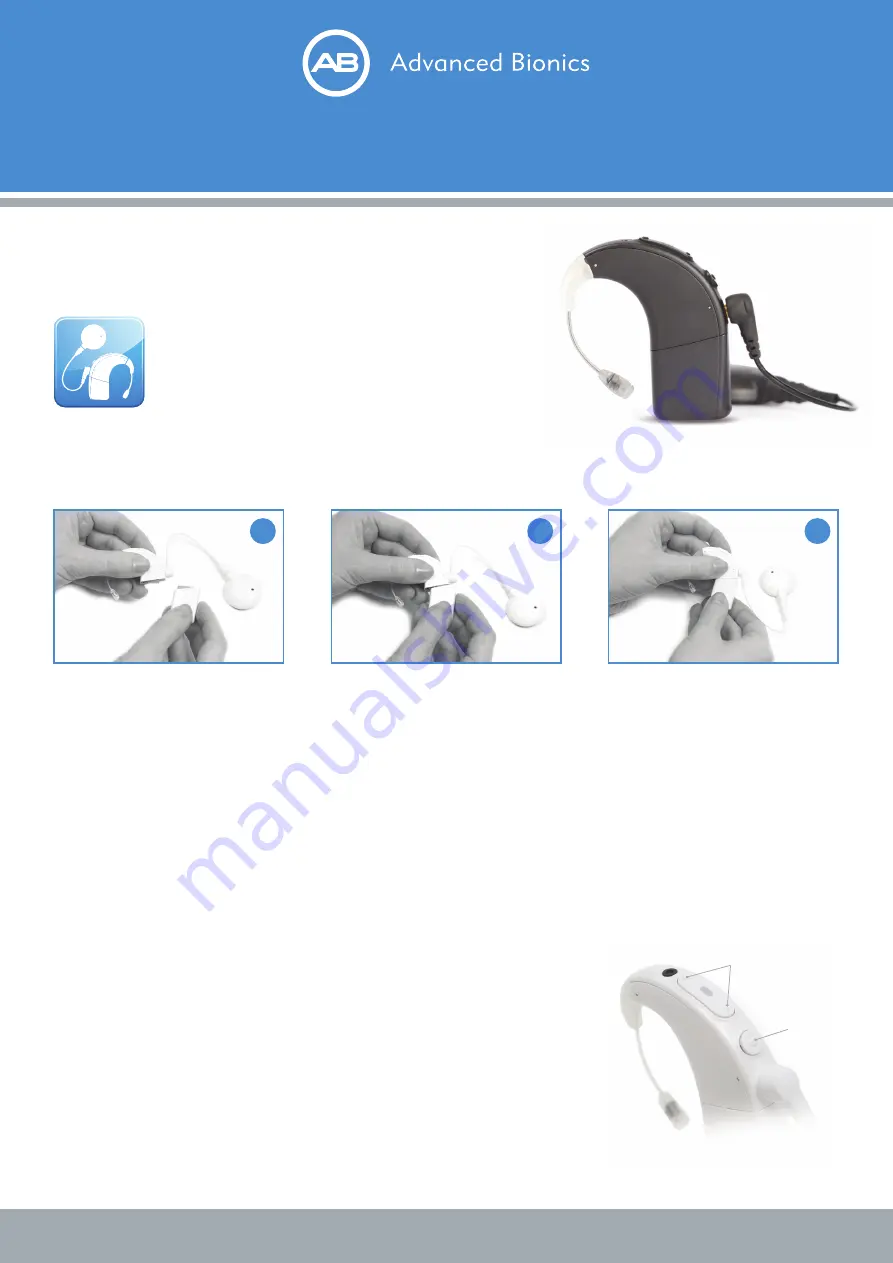
Volume Control
Increase/Decrease
Program
Buttom
Naída CI Operation Guide
This guide provides instructions on the essential operations
to use your Naída CI sound processor.
When the battery is engaged the LED light will flash ORANGE to indicate battery status.* Three
to four ORANGE blinks indicate the battery is sufficiently charged to power the Naída CI sound
processor. The ORANGE blinks will be followed by one quick GREEN blink to indicate the Naída CI is
in program one.
*Battery status LEDs not available with disposable battery cartridge.
Turn On the Naida CI
Slide a fully charged battery onto the Naída CI sound processor.
Turn Off the Naida CI
Remove the battery by sliding it towards the cable side of the Naida CI.
Volume Control
If volume control is enabled, the loudness level can be adjusted.
Pressing the top of the button increases the volume, while pressing
the bottom of the button decreases the volume.
Program Control
If volume control is enabled, the loudness level can be adjusted.
Pressing the top of the button increases the volume, while pressing
the bottom of the button decreases the volume.
For more Naida CI information download the
MyNaida CI app on iTunes or Google Play
or visit
AdvancedBionics.com.au.
1
Hold the Naída CI sound
processor in one hand. Rotate the
cable upward to avoid bumping
it upon battery placement.
2
Align the battery with
the Naída CI housing side
of the connector.
3
Slide the battery onto
the Naída CI until it clicks
into place.


