3
Adding Magnets
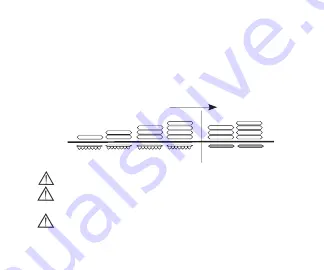
If needed, additional UHP magnets
*
may be added one at a time
within the AquaMic (Figure 1). If AquaMic retention is inadequate
with four internal magnets, the Bottom Cover Patch
**
may be
removed, and one thin magnet
***
(CI-7518, packaged separately)
may be added to the external well (Figure 2).
Internal Well
External Well
Figure 1
Figure 2
Increasing Magnet Strength
**
*
***
•
Do not use a UHP magnet in the external well.
•
Before placing a magnet in the external well, be
sure to remove additional internal magnets to avoid
potential skin irritation, pressure, or redness.
•
Do not use broken, cracked, or chipped magnets. If necessary,
contact your cochlear implant center or Advanced Bionics for
a replacement.
Summary of Contents for NEPTUNE AquaMic
Page 8: ...7 Removing the Color Cap 2 3 1 4...
Page 22: ...21 Retrait du cache color 2 3 1 4...
Page 36: ...35 Abnehmen der Farbkappe 2 3 1 4...
Page 44: ...43 AquaMic AquaMic CI 7514 UHP CI 7511 CI 7513 CI 7517...
Page 45: ...44 AquaMic AquaMic AquaMic...
Page 46: ...45 1 AquaMic AquaMic 2 CI 7518 1 2 Advanced Bionics...
Page 47: ...46 AquaMic AquaMic AquaMic IP68 AquaMic Neptune Neptune 30 3...
Page 49: ...48 AquaMic 1 AquaMic 1...
Page 50: ...49 2 3 1 4...
Page 51: ...50 1 3 2...
Page 52: ...51 0 C 45 C CE 2011 B XXXX XX XX...
Page 53: ...52 55 C 20 C 130 kPa 69 6 kPa 3 000 380 0 95 IP HiResolution Bionic Ear 0 95 130 kPa 69 6 kPa...
Page 56: ...55 Na da CI Neptune Harmony Auria PSP AquaMic 1 HR90K Auria Platinum AquaCase 1...


