Advanced Instruments, Inc.
•
Push the female plug on to the sensor mating connector
•
Screw the knurled lock nut (attached to the cable) onto to the male connector (attached to the
sensor), tighten finger tight.
•
Close the front cover of the transmitter and ensure that the gasket remains in place to maintain
CE approval and NEMA 4 rating.
•
Secure the lid by the two (2) anchors
Proceed to calibration (see below for details).
Remote Oxygen Sensor:
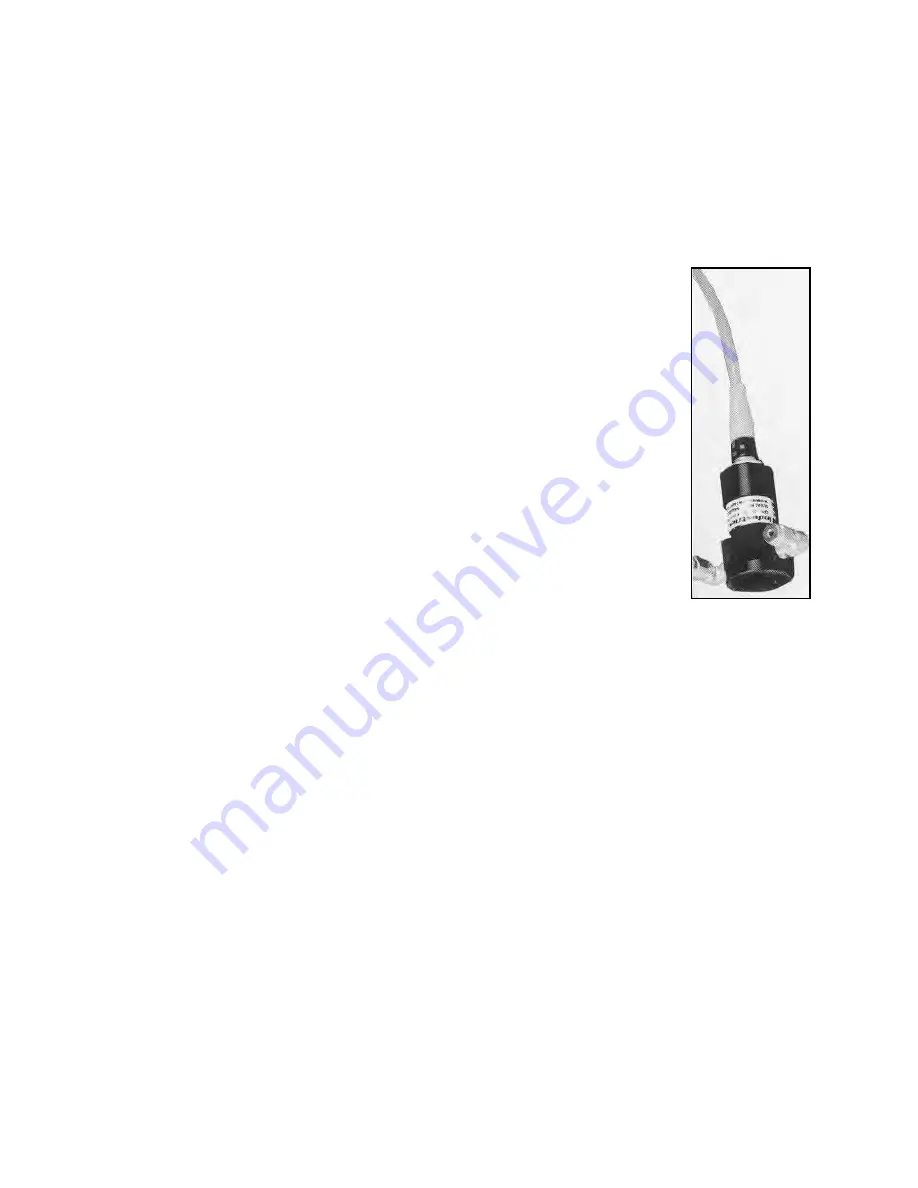
Applications requiring the sensor to be located remotely from the electronics dictate
the separate packaging and shipment of the electronics enclosure, oxygen sensor and
sensor flow-trough housing. The appropriate length of cable to connect the sensor to
the electronics is supplied and connected to the electronics. To install the remote
sensor:
•
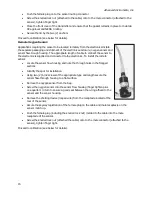
Locate the sensor flow housing and note the through holes in the flanged
sections.
•
Identify the spot for installation.
•
Using two (2) 6/32 screws of the appropriate type and length secure the
sensor flow-through housing to a flat surface.
•
Remove the oxygen sensor from the bag.
•
Screw the oxygen sensor into the sensor flow housing (finger tighten plus
one quarter 1/4 turn to ensure a good seal between the o-ring affixed to the
sensor and the sensor housing.
•
Remove the shorting device (looped wire) from the receptacle located at the
rear of the sensor.
•
Assure the keyway registration of the female plug on the cable and male receptacle on the
sensor match up.
•
Push the female plug (including the knurled lock nut) molded to the cable into the male
receptacle of the sensor.
•
Screw the knurled lock nut (attached the cable) onto to the male connector (attached to the
sensor), tighten finger tight.
Proceed to calibration (see below for details).
15

