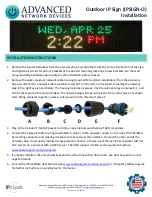
Outdoor IP Sign (IPSIGN-O)
Installation
Advanced Network Devices • 3820 Ventura Dr.
Arlington Hts.
IL 60004 • Fax: 847
-359-5418
Support:
847-463-223
Version 1.2
•
7/16/18
BOOT SEQUENCE
When first powered, if properly installed, the device should boot, and then display the time as follows:
1
The first screen you will see. This screen should appear within 1-2
seconds of powering on the device.
2
Indicates the current firmware equipped with the device.
3
Indicates the network MAC address of the device (configured at
the factory).
4
Indicates that the device is looking for a DHCP server, among
other things.
If the boot process hangs in this state, check for a
possible network problem (cable, switch, ISP, DHCP, etc.)
5
Indicates the IP address of the device. DHCP assigns this network-
specific address. Otherwise, the static address will appear if
configured as such.
6
Once all initialization completes, the time will display.
If just a
colon displays, it cannot find the time. Check the NTP server
settings, and check that the internet connection is working.
PARTS INCLUDED
1
–
Outdoor IP Sign (IPSIGN-O) with 7-foot AC cable
2
–
Additional wall brackets
1
–
Water-resistant network cable housing (six-piece assembly) to securely connect a network cable to the device
TROUBLESHOOTING AND ADDITIONAL RESOURCES
Complete Support Site with User Guides and Help:
Product Registration:
http://www.anetdsupport.com/register
Customer Feedback Survey:
http://www.anetdsupport.com/survey
AND Limited Warranty:
AND Legal Disclaimer:


