16
Step 3
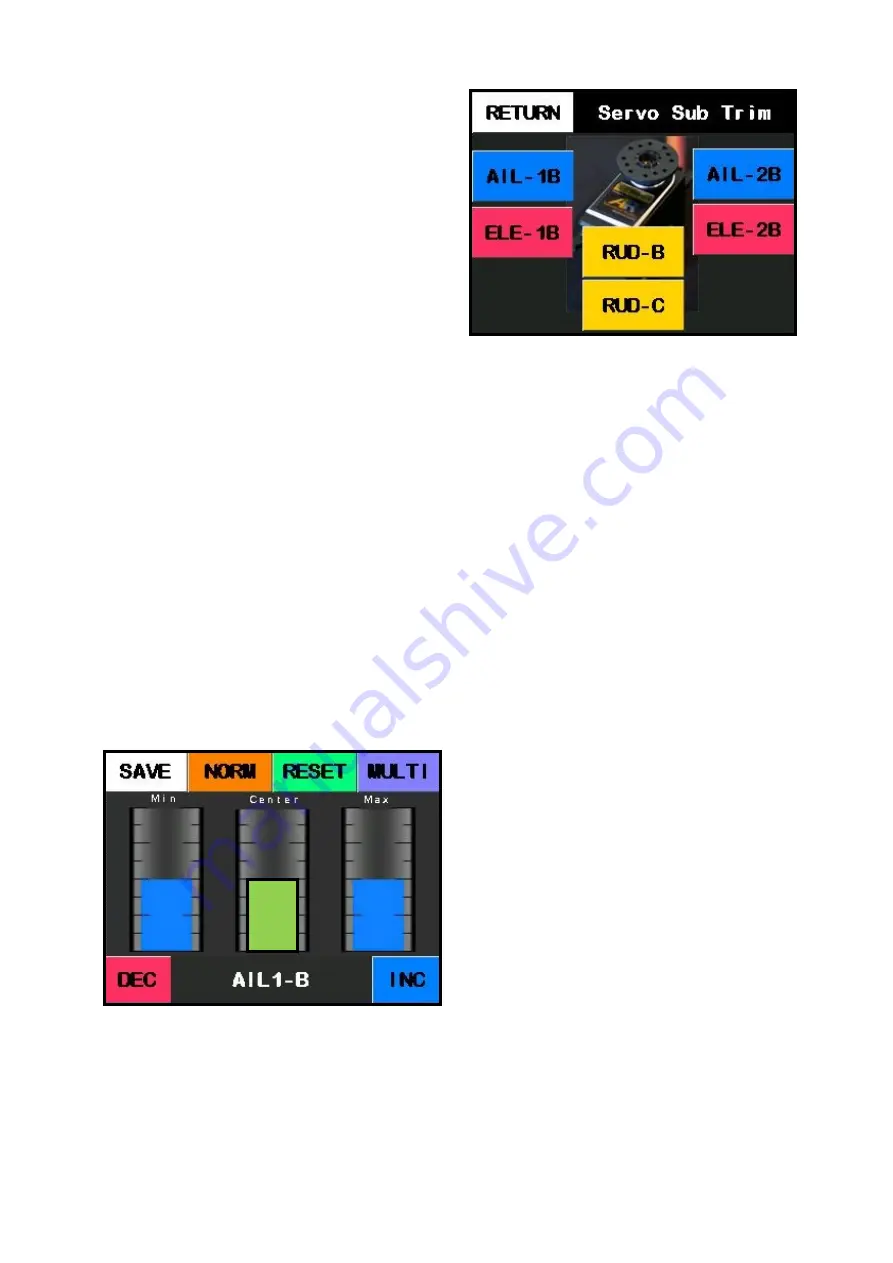
The buttons on the screen match up with the
first 5 channels on the Smart Bus. Press the
button for the channel you wish to work on.
Step 4
You should now see the 3
-
point matching
screen. At the bottom of the screen you will
see the name of the servo channel you are
sub trimming for example “AIL1
-
B”.
Note: Before proceeding make sure both ser-
vos are moving in the same direction. If not.
Press the
NORM/REVERSE
button to change
the direction of the slave servo.
Leaving the transmitter stick in the middle
for that servo channel, the center column
should change colour to
green
. Use the
DEC
,
INC
buttons with ther transmitter stick in the
middle will sub trim the servo at the center
point.
Step 5
Move and hold the transmitter stick for that
channel in 1 direction, either the
Min
or
Max
columns will change colour from
blue
to
green
. Use the
DEC
,
INC
buttons to move
and sub trim the servo at this point.
Step 6
Move and hold the transmitter stick for that
channel in the other direction, the other
MIN or Max column will change colour from
blue
to
green
. Use the
DEC
,
INC
buttons to
move and sub trim the servo at this point.
Repeat Step 4
-
6
until there is little to no
buzz from your servos. Press the save
button to save your changes and return to
the previous screen. This process can be
repeated as many times as you wish with
each programmable output.
Note: you can
press the reset button at any time to reset
the sub trim values back to 0.
3
-
point servo matching with the
transmitter stick at the
center position


