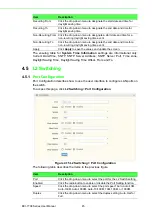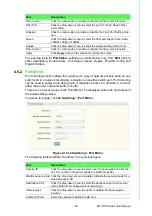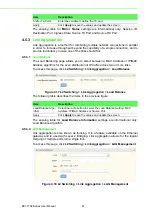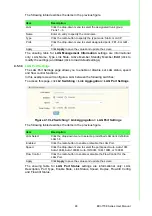
EKI-7708 Series User Manual
33
4.1
Log In
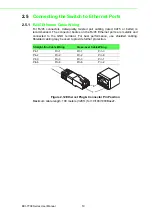
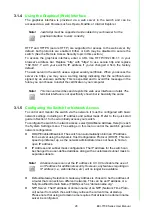
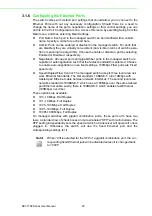
To access the login window, connect the device to the network, see “Connecting the
Switch to Ethernet Ports” on page 19. Once the switch is installed and connected,
power on the switch see the following procedures to log into your switch.
When the switch is first installed, the default network configuration is set to DHCP
enabled. You will need to make sure your network environment supports the switch
setup before connecting it to the network.
1.
Launch your web browser on a computer.
2.
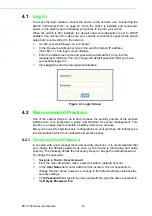
In the browser’s address bar type in the switch’s default IP address
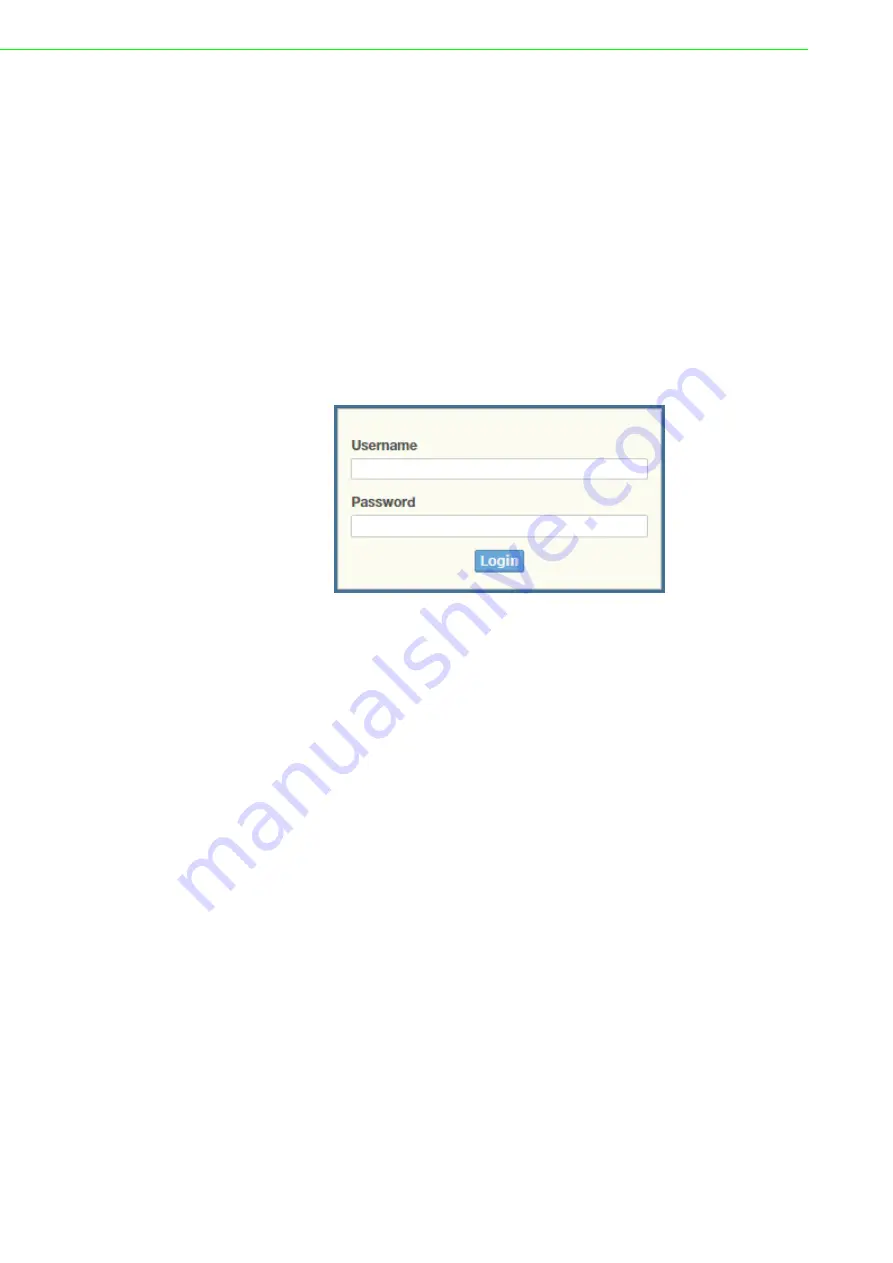
(192.168.1.1). The login screen displays.
3.
Enter the default user name and password (admin/admin) to log into the
management interface. You can change the default password after you have
successfully logged in.
4.
Click
Login
to enter the management interface.
Figure 4.1 Login Screen
4.2
Recommended Practices
One of the easiest things to do to help increase the security posture of the network
infrastructure is to implement a policy and standard for secure management. This
practice is an easy way to maintain a healthy and secure network.
After you have performed the basic configurations on your switches, the following is a
recommendation which is considered best practice policy.
4.2.1
Changing Default Password
In keeping with good management and security practices, it is recommended that
you change the default password as soon as the device is functioning and setup
correctly. The following details the necessary steps to change the default password.
To change the password:
1.
Navigate to
Tools
>
User Account
.
2.
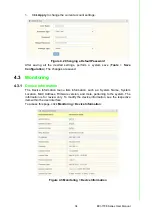
From the User drop-down menu, select the Admin (default) account.
3.
In the
User Name
field, enter admin for this account. It is not necessary to
change the user name, however, a change in the default settings increases the
security settings.
4.
In the
Password
field, type in the new password. Re-type the same password in
the
Retype Password
field.
Summary of Contents for EKI-7708 Series
Page 14: ...Chapter 1 1Product Overview ...
Page 23: ...Chapter 2 2Switch Installation ...
Page 39: ...Chapter 3 3Configuration Utility ...
Page 45: ...Chapter 4 4Managing Switch ...
Page 161: ...Chapter 5 5Troubleshooting ...

