HPC-7000 User Manual
/ 用户手册
20
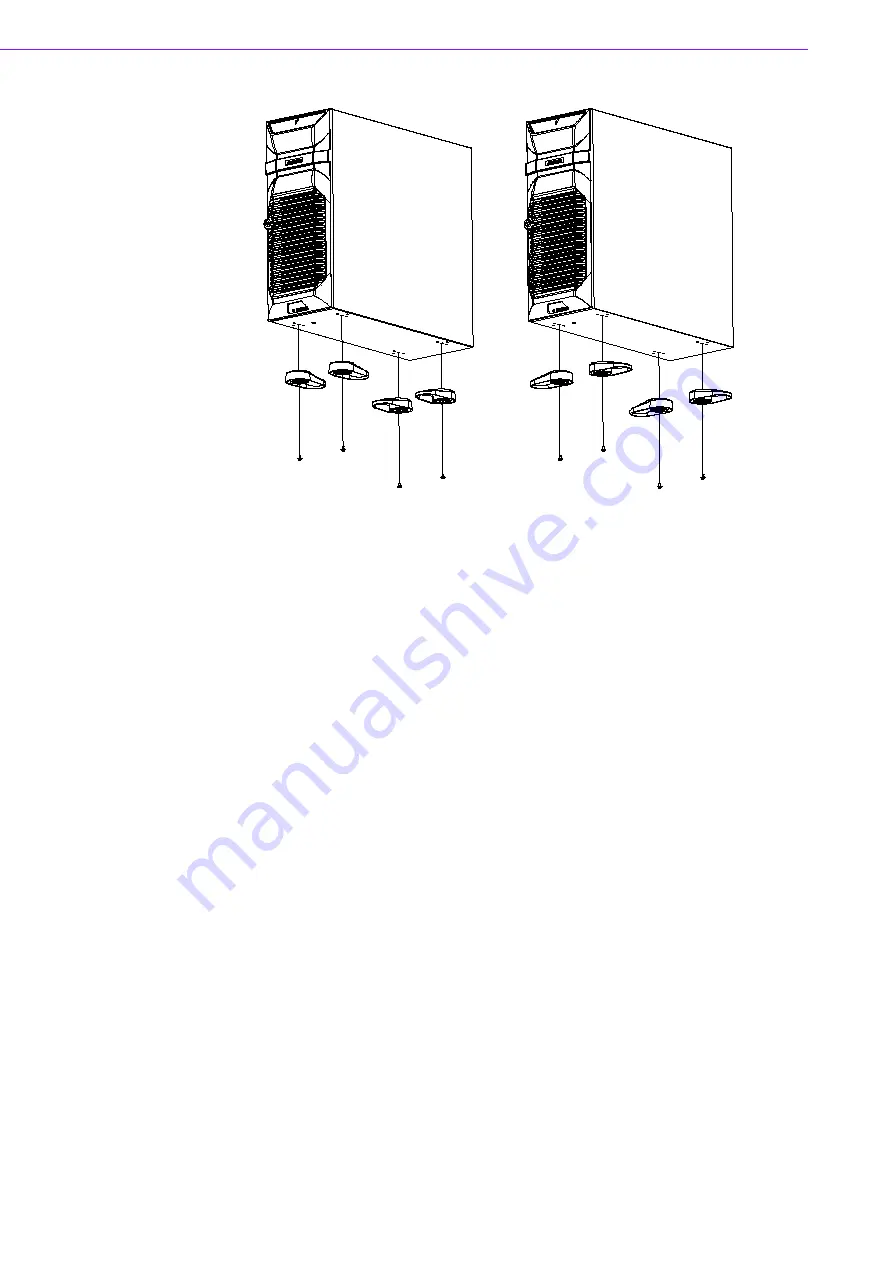
Figure 3.5: Rotating foot stand
/ 旋转脚座 / 旋轉腳座
3.5
Replacing the Power Supply
/ 更换电源 / 更換電源
HPC-7000 supports an ATX power supply. To replace the power supply, proceed as
follows:
1.
Unplug the power cord from the power supply.
2.
Remove the top cover.
3.
Unplug the 20-pin (or 24-pin) ATX power connector and 4-pin/8-pin +12 V power
connector from the motherboard, as well as the power connectors from the disk
drives and peripherals.
4.
Loosen the four screws on the rear plate and the two screws on the power sup-
ply bracket and then gently take it out. (see Figure 3.9)
5.
Replace the power supply with a new one and fasten it onto the chassis.
6.
Plug the 20-pin (or 24-pin) ATX power connector and 4-pin/8-pin +12V power
connector to the motherboard. And plug other power connectors to the disk
drives and peripherals.
7.
Return the top cover. Then plug in the power cord.
HPC-7000 支持 1 个 ATX 电源。请按照以下步骤更换电源:
1.
拔下电源线。
2.
移除顶盖。
3.
断开母板上 20 针 (或 24 针)ATX 电源插头和 4/8 针 +12 V 电源插头,以及所
有磁盘驱动器的电源插头。
4.
卸下后面板上的 4 个螺丝和电源支架上的 2 个螺丝,然后取出电源 (如图
3.9)。
5.
将更换的新电源安装至机箱。
6.
重新将 20 针 (或 24 针)ATX 电源插头和 4/8 针 +12 V 电源插头连接到母板;
将其他电源插头连接至相应磁盘驱动器和外围设备。
7.
放回顶盖并重新插上电源线。
Summary of Contents for HPC-7000
Page 10: ...HPC 7000 User Manual 用户手册 x ...
Page 13: ...Chapter 1 1 General Information 概述 產品資訊 ...
Page 18: ...HPC 7000 User Manual 用户手册 6 ...
Page 19: ...Chapter 2 2 System Setup 系统安装 系統安裝 ...
Page 24: ...HPC 7000 User Manual 用户手册 12 Figure 2 4 Installing the internal HDD 安装内置 HDD 安裝內置 HDD ...
Page 26: ...HPC 7000 User Manual 用户手册 14 ...
Page 27: ...Chapter 3 3 Operation 操作 ...
Page 34: ...HPC 7000 User Manual 用户手册 22 ...
Page 35: ...Appendix A A Exploded Diagram Parts List 分解图 部件列表 分解圖 零件表 ...
Page 37: ...25 HPC 7000 User Manual 用户手册 Appendix A Exploded Diagram Parts List 分解图 部件列表 分解圖 零件 表 ...


