17
Chapter 3
3.4 Replacing the power supply
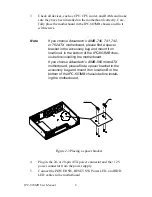
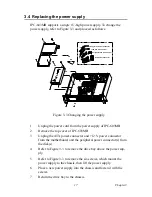
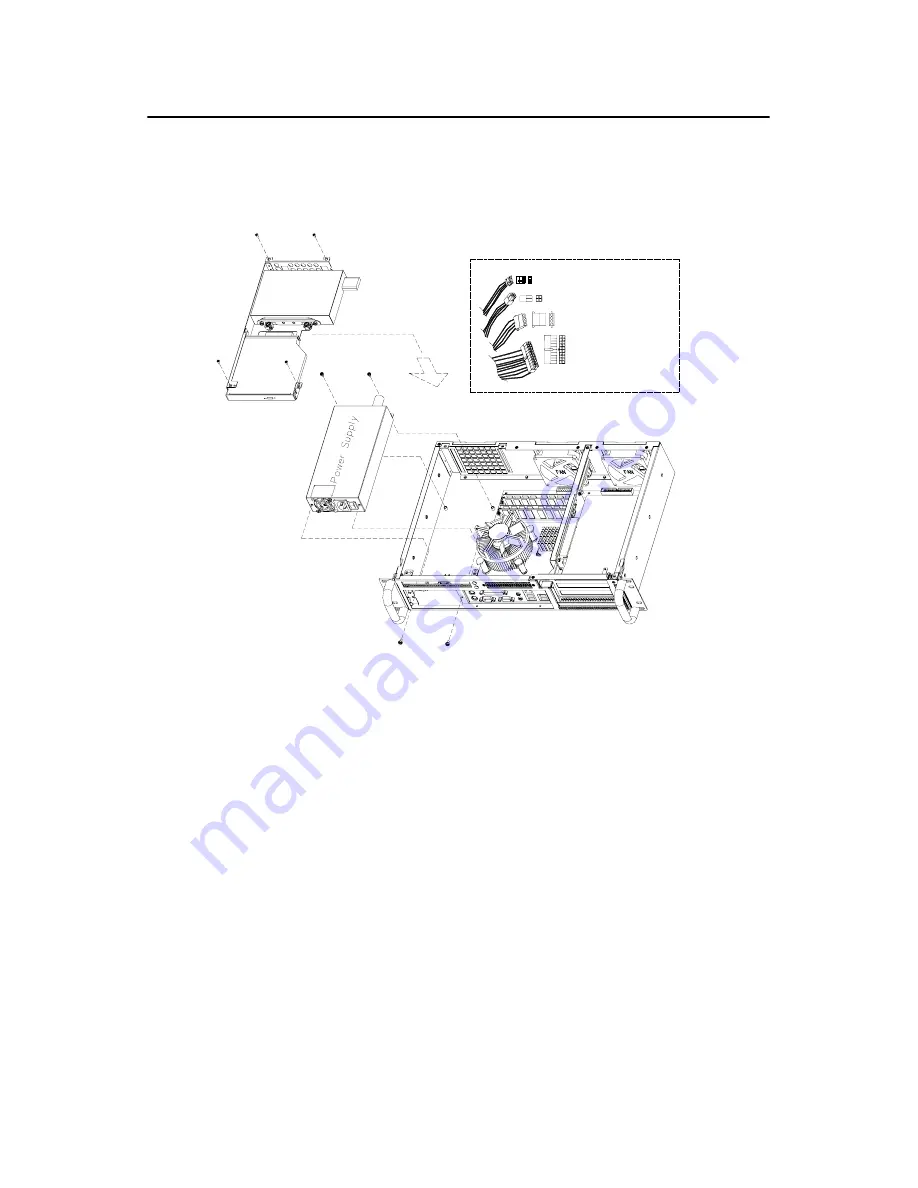
IPC-603MB supports a single 1U-high power supply. To change the
power supply, refer to Figure 3-3 and proceed as follows:
Figure 3-3 Changing the power supply
1.
Unplug the power cord from the power supply of IPC-603MB.
2.
Remove the top cover of IPC-603MB.
3.
Unplug the ATX power connector and +12 V power connector
from the motherboard, and the peripheral power connector(s) from
the disk(s).
4.
Refer to Figure 3-3 to remove the drive bay above the power sup-
ply.
5.
Refer to Figure 3-3 to remove the six screws, which mount the
power supply to the chassis, then lift the power supply.
6.
Place a new power supply into the chassis and fasten it with the
screws.
7.
Return the drive bay to the chassis.
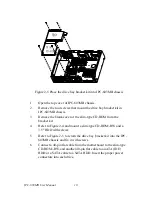
ATX Power Connector
Floppy Drive Power Connector
+12V Power Connector
Peripheral Power Connector
Summary of Contents for IPC-603MB
Page 1: ...IPC 603MB Ultra Compact 2U high Rack mount IPC Chassis User Manual...
Page 10: ...IPC 603MB User Manual x...
Page 11: ...2 CHAPTER 1 General Information...
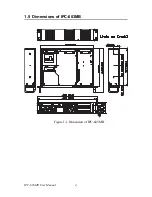
Page 14: ...IPC 603MB User Manual 4 1 5 Dimensions of IPC 603MB Figure 1 1 Dimension of IPC 603MB...
Page 15: ...2 CHAPTER 2 System Setup...
Page 22: ...IPC 603MB User Manual 12...
Page 23: ...2 CHAPTER 3 Operation...
Page 29: ...2 APPENDIX A Exploded Diagram...
Page 30: ...IPC 603MB User Manual 20 Appendix A Exploded Diagram...

