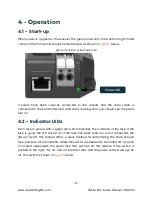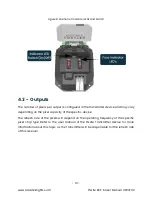
- 4 -
www.advateklights.com
PixLite R2F-S User Manual V200702
3 - Installation
3.1 - Supplying Power
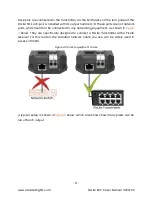
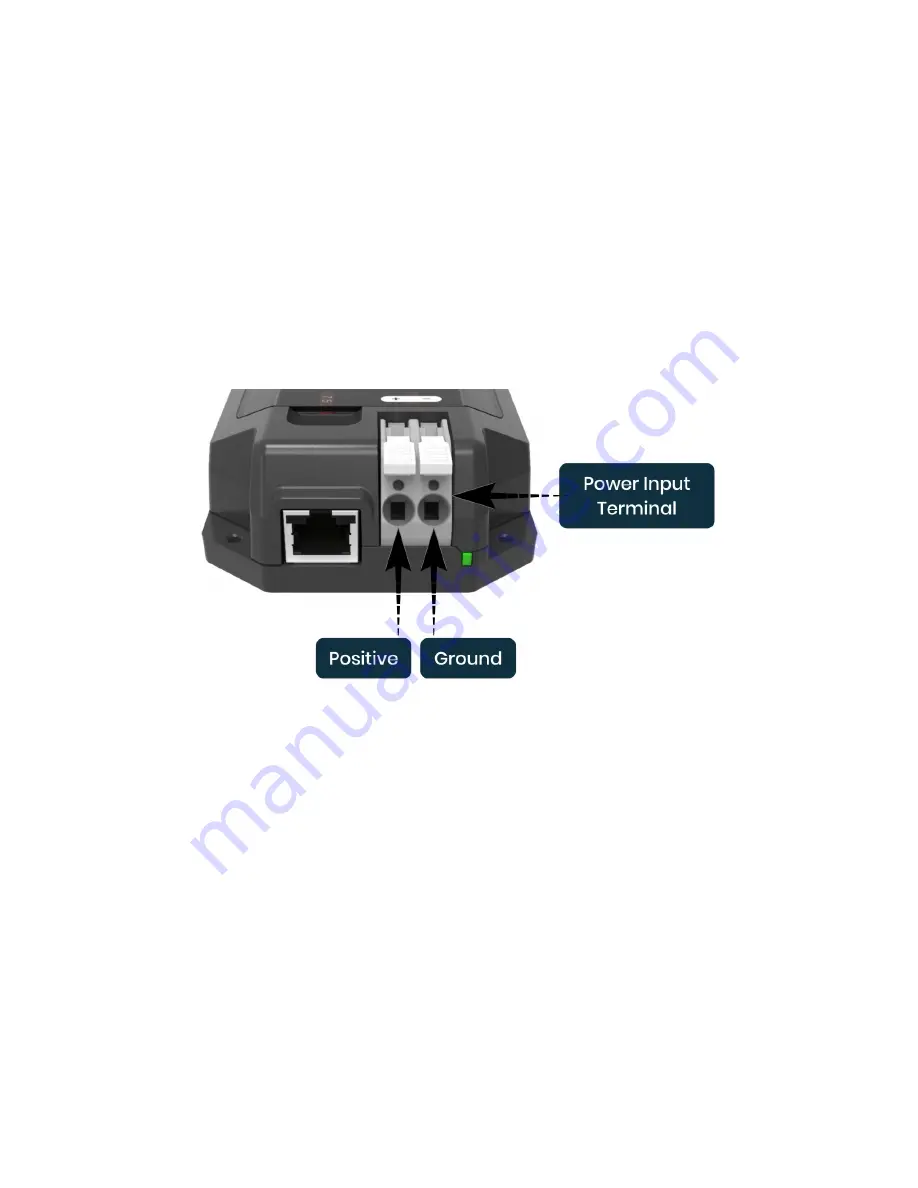
Power is applied to the PixLite R2F-S via the large lever clamp connector. The levers
should be lifted up for wire insertion and then clamped back down, providing a highly
robust and secure connection. Polarity for the connector is clearly marked on the lid,
as shown in
below.
Figure 1: Location of Power Input
3.2 - Output Fuses & Power Injection
Each individual output is protected by a mini blade fuse. The PixLite R2F-S comes with
7.5A fuses by default. You may use any value of fuse, up to and including 7.5A,
depending on your specific application. Individual outputs should not exceed 7.5A
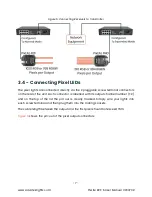
and the total current should not exceed 15A. If your application requires more current
than this, then you will need to inject power into the pixels directly.
The number of pixels that can be physically powered through this device may not be
as high as the amount of pixel control data that is being output. There is no definitive
rule as to how many pixels can be powered from the receiver, as it depends on the
type of pixel. You need to consider if your pixel load will draw more than 7.5A of
current and whether there will be too much voltage drop in the pixel load for it to only


