©2006 Adventistsat.com
22
Connect Receiver and TV
The easiest way to aim the satellite dish is to temporarily place the
satellite receiver connected to a small television at the dish antenna
mounting location.
CAUTION: DO NOT ATTEMPT TO OPERATE
ELECTRONIC DEVICES IN AN UNSAFE
LOCATION OR IN VIOLATION OF SAFEGUARDS
PROVIDED IN THIS MANUAL OR ANY OTHER
EQUIPMENT MANUAL PROVIDED WITH THIS
ADVENTISTSAT SATELLITE SYSTEM.
Remove the satellite receiver and remote control from the packaging.
Inspect the unit before operation. If any equipment is damaged or if
you have any questions, please immediately contact AdventistSat at
866-552-6882.
Finger-tighten all connections. Never use a wrench to tighten the
LNBF and receiver connections as this will cause severe damage
and void the warranty!
Set the channel 3/4 selection switch on the
back of the satellite receiver to an unused
channel in your area (usually channel 3). Plug
the television power plug into a surge protected
power strip Turn the TV power on and set the
channel to match this same channel.
Plug the satellite receiver’s AC power plug to
the same power strip. Power ON the Master
Power Switch on back of the receiver.
Install the two included AAA batteries into the
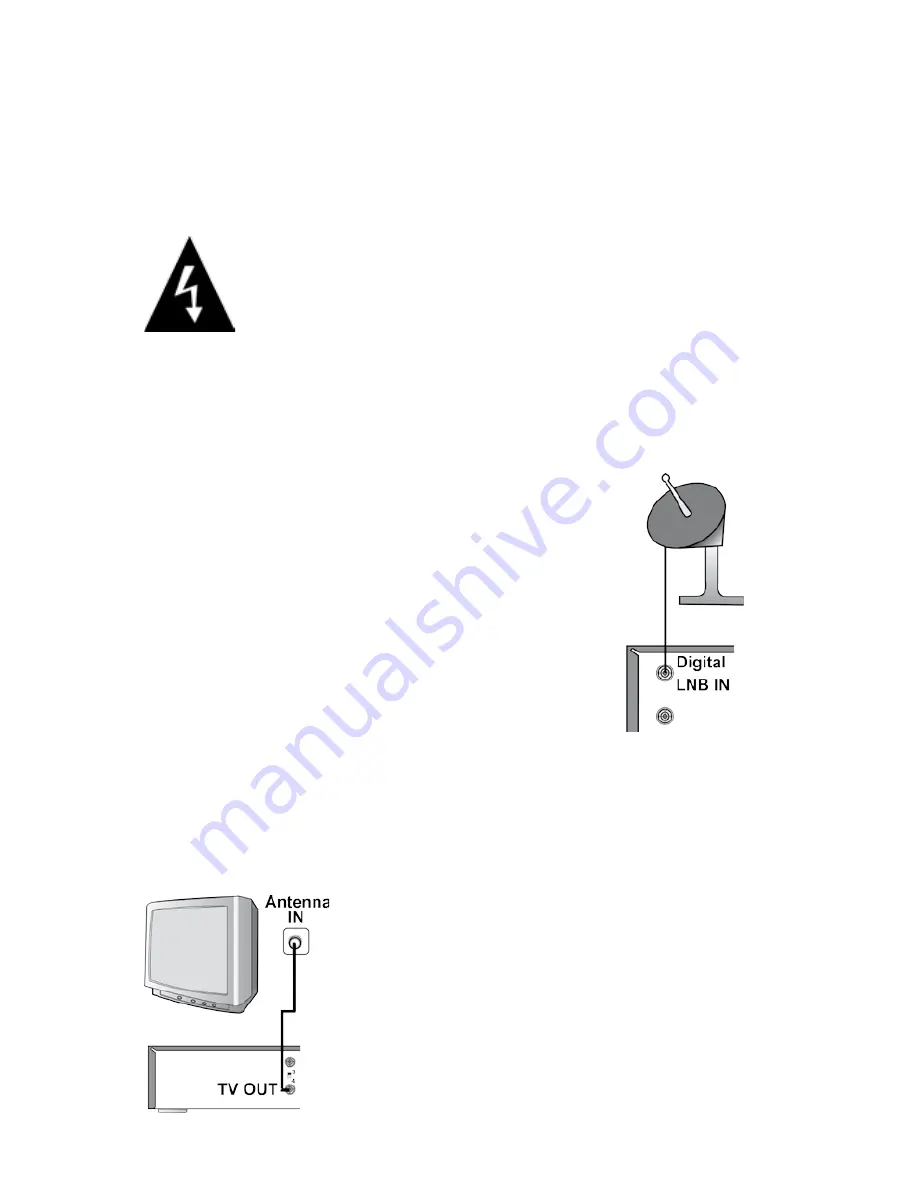
remote control. Connect a coaxial cable from the
LNBF on the dish antenna to the LNB IN Digital
port on the back of the satellite receiver. Do not
connect Satellite dish to ANT INPUT, as this
input is reserved for an outdoor antenna or cable
TV connection.

