


62
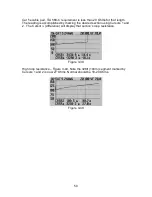
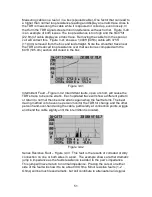
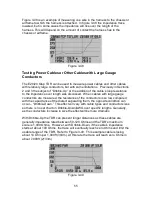
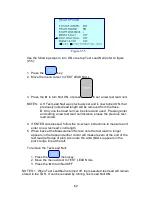
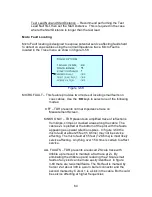
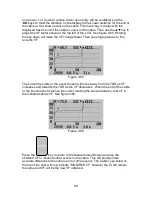
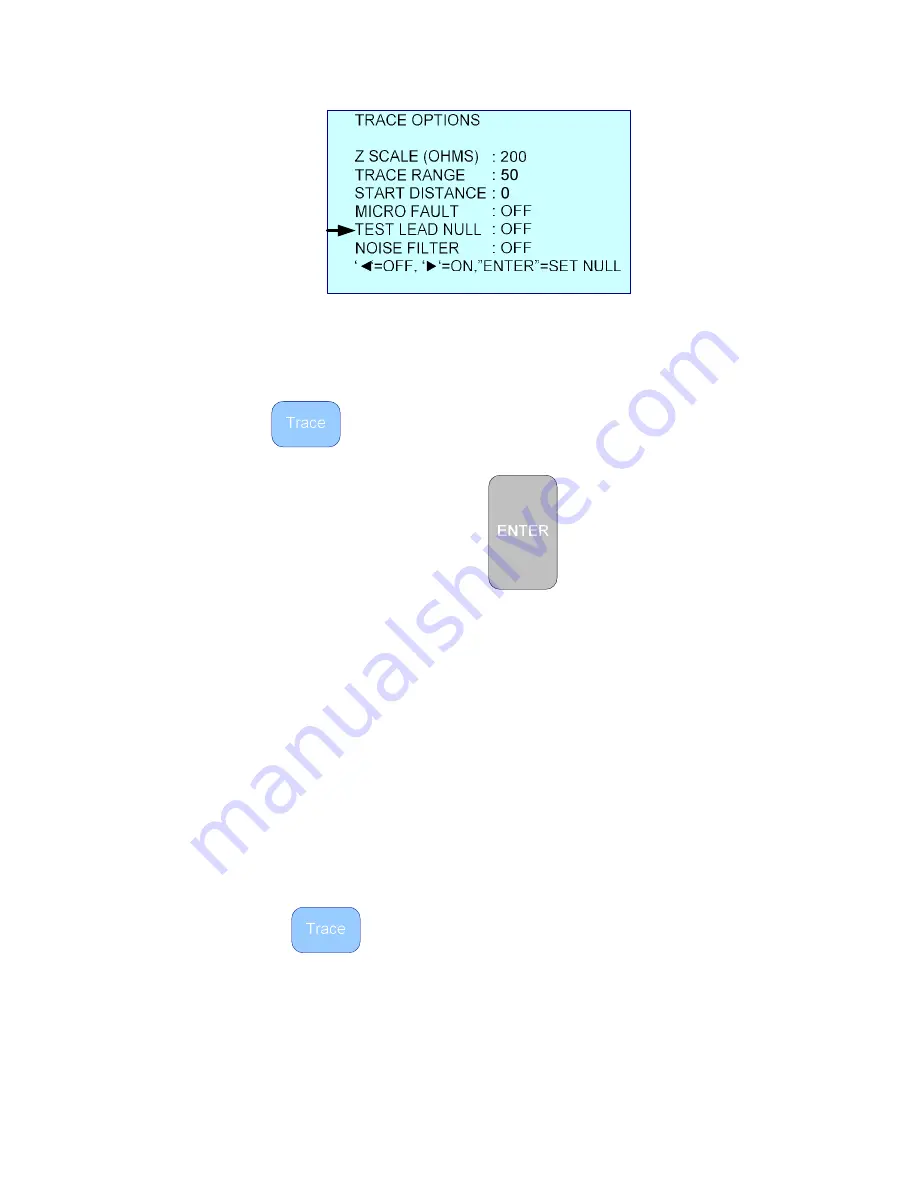
Figure 3-55
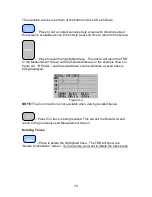
Use the following steps to turn ON or set up Test Lead Null (refer to figure
3-55):
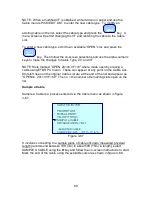
1. Press the
key
2. Move the menu cursor to TEST LEAD NULL.
3. Press the
►
to turn Null ON, or press
to set a new test lead null.
NOTES: A. If Test Lead Null was previously set and is now turned ON, that
previously nulled lead length will be removed from the trace.
B. Only one test lead null can be stored and used. Pressing enter
and setting a new test lead null distance erases the previous test
lead stored.
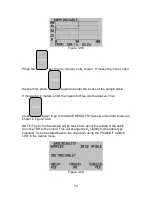
4. If ENTER was pressed, follow the on-screen instructions to measure and
enter a new test lead’s null length.
5. When back at the Measurement Screen note the test lead no longer
appears in the trace and either cursor will measure zero at the end of the
test lead (left edge of plot). Also note the word (NULL) appears in the
plot’s range line at the left.
To remove the Test Lead Null:
1. Press the
menu key
2. Move the menu cursor to TEST LEAD NULL.
3. Press the
◄
to turn Null OFF
NOTES: 1. When Test Lead Null is turned off, the measured test lead will remain
stored in the TDR. It can be recalled by turning Test Lead Null ON.