(7)
Plow Assembly & Adjustments
Nite Saber LED Lights
Nite Saber LED Lights
See seperate Nite Saber LED instructions for further information.
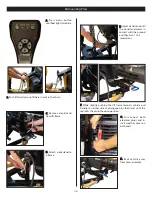
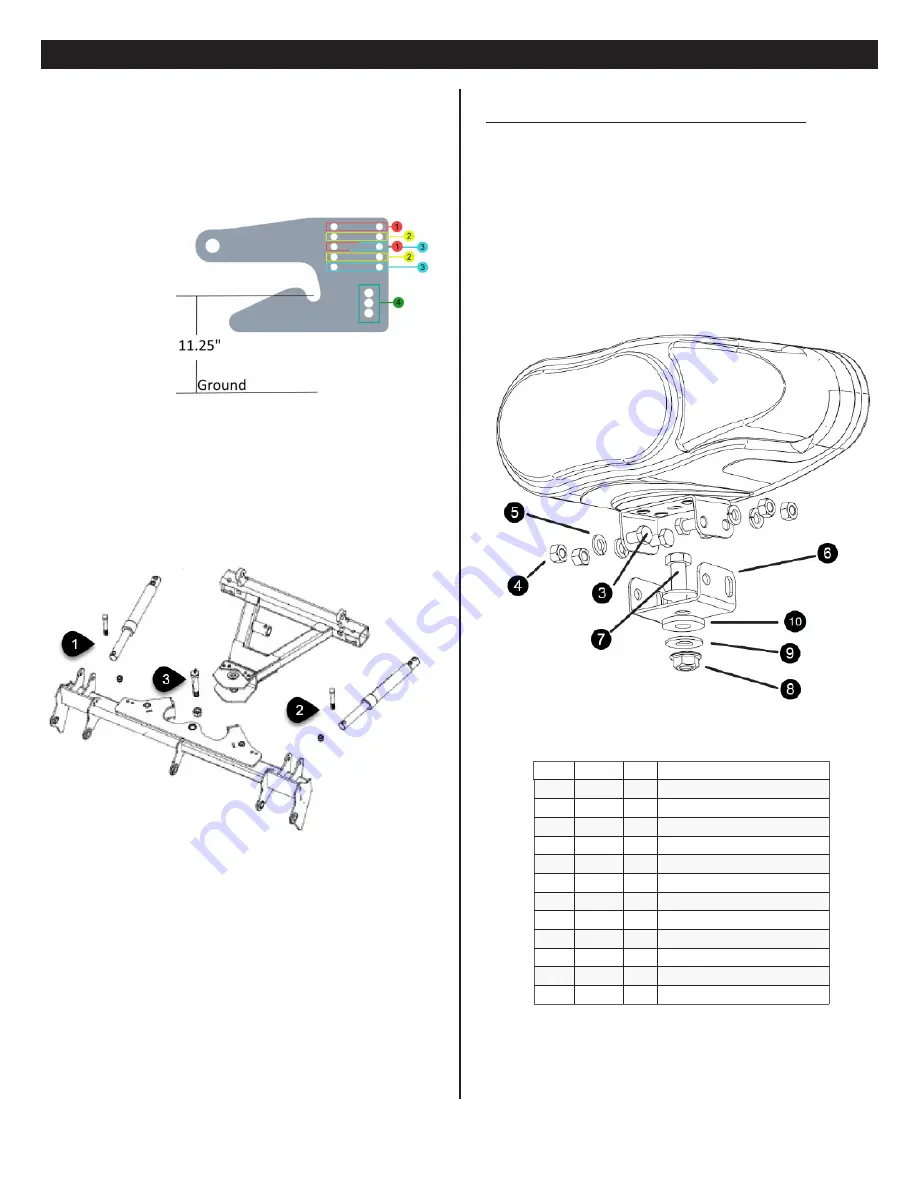
Mount the lights as shown below.
Connect both male ends from the snow plow light to the female ends on the
Plow Side Harness. Ensure all wiring harnesses are secured against the lift
frame.
Check snow plow lights and blinkers to ensure proper operation. If operating
in reverse (i.e. driver side blinking instead of passenger side), reverse the har-
ness connections.
Note: All electrical connections should have both ends coated with a dielectric
grease (Meyer Part # 15632) prior to final installation. This will ensure a good
connection and help in preventing corrosion.
Nite Saber LED Parts List
Item
Part
QTY Description
-
23067
1
Nite Saber LED Kit
-
23066
1
Passenger Side LED
-
23065
1
Driver Side LED
-
08126
1
Hardware Bag
3
-----
8
• Hex Bolt 3/8” x 3/4”, SS
4
-----
8
• Hex Nut 3/8”, SS
5
-----
8
• Lock Washer 3/8”, SS
6
-----
2
• Metal Bracket, Bottom
7
-----
2
• Bolt 1/2”- 13 x 1 1/12”, SS
8
-----
2
• Hex Lock Nut 1/2” - 13, SS
9
-----
4
• Flat Washer 1/2”, SS
10
-----
2
• Neoprene Grommet 1/2”
Adjustable Clevis
Adjustable Clevis
The 14700 adjustable clevis
The 14700 adjustable clevis is now standard with all Standard Operating Sys-
tem black iron packages. The 14700 Adjustable Clevis cannot be used with any
EZ+ Operating System plow model.
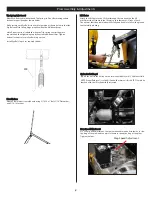
The 14700 Clevis offers 3 levels of adjustability for a height difference of +/- 1.5
inches. To use the adjustability feature, mounting the clevis using two sets of
applicable holes. Use one of the bottom 3 holes to secure to the clevis to the
mount.
Level 1 = Rows 1 and 3
Level 2 = Rows 2 and 4
Level 3 = Rows 3 and 5
The clevis requires a height of 11.25” off the ground in order for the plow to sit
level.
Pivot Bar
Pivot Bar
The Pivot Bar will need to be bolted to the A-Frame and Angling Cylinders. Cut
any ties that are securing the cylinders to the crate prior to removing black
iron from the crate. The Angling Cylinders will already be connected to the Lift
Frame. Hardware to attach the Pivot Bar to the Angling Cylinders and A-Frame
can be found in the Accessory Box.
Summary of Contents for MEYER DIAMOND EDGE
Page 3: ...2 Black Iron Parts List...


