g
33
3.3
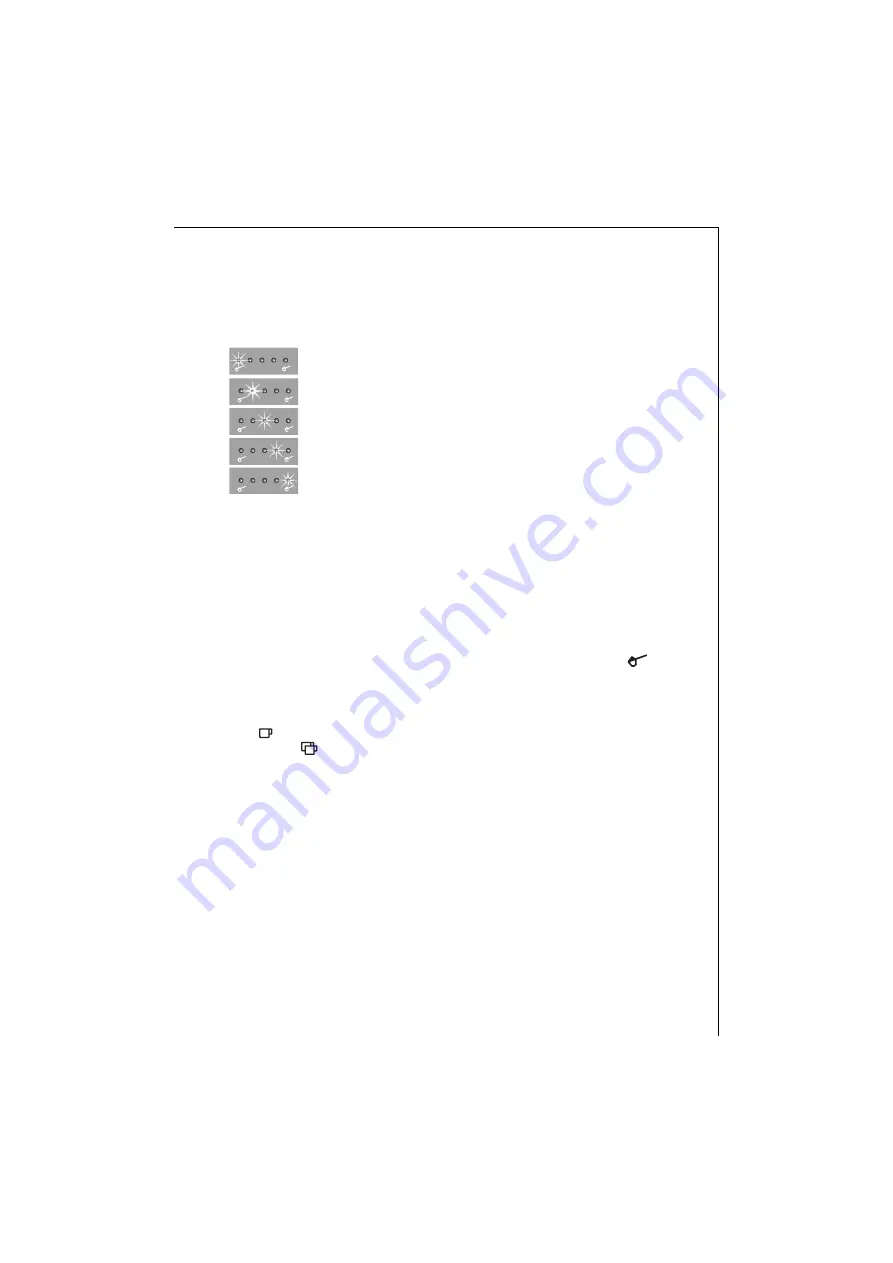
Selecting the Coffee Quantity
0
Repeatedly press the "Coffee Quantity"
key (Fig. 3, c) until the desired coffee
quantity is indicated.
The coffee quantities are indicated as
follows:
"extra mild"
"mild"
"normal"
"strong"
"extra strong"
3
To save having to select the coffee
quantity every time you switch on the
coffee machine, you can save the cof-
fee quantity in relation to the cup
measure. Notes on how to do this can
be found in „Changing and Saving the
Coffee Quantity" on Page 35.
3.4
Dispensing Coffee
0
Place one or two cups under the coffee
dispenser. The dispenser can be slid up
or down to match the height of your
cup/mug to reduce heat loss and cof-
fee splashes
(Fig. 13)
.
0
Press the Key for 1 cup of coffee (Fig.
3, b)
or the Key for 2 cups of cof-
. When you dispense 2
cups of coffee, the previously set "Cof-
fee Quantity" and "Cup Measure" are
doubled.
The coffee is now made.
3
In the coffee-making process, the
ground coffee is first of all wetted with
a small quantity of water for pre-
brewing. Following a short pause, the
actual brewing process commences.
0
You can stop coffee being dispensed by
briefly pressing the coffee dispensing
key.
4
Making Ready-ground
Coffee
This function allows you to brew pre-
ground coffee, e.g.
decaffinated cof-
fee.
Note that you must use only the sup-
plied measuring spoon, and never put
more than 2 level measuring spoons of
ground coffee into the ground coffee
filler.
1
Note! Make sure that no ground coffee
has remained in the filler, and that no
foreign bodies enter the filler.
The
ground coffee filler
is not a storage
container. The ground coffee must be
fed directly into the coffee-making
unit.
1
Do not put any water-soluble or
freeze-dried instant powders or any
other drink powder into the ground
coffee filler. Coffee powder, which is
too fine, can lead to blockages.
4.1
Using the Ground Coffee Filler
0
Turn the coffee bean container to the
"Ground Coffee" position
(Fig. 14)
.
The mechanism sets to the required
function. All the coffee quantity indi-
cator lights come on (Fig. 3, c).
3
When using ready ground coffee, the
"Coffee Quantity" function is inactive.
This is shown by all the indicator lights
coming on
(Fig. 15)
.
0
Open the lid of the ground coffee filler,
and spoon in the fresh ground coffee
(Fig. 16)
.
Do not add coffee during the brewing
process. Only put in ground coffee for
the next cup when the brewing process
has completely finished and the coffee
machine is ready.
0
Close the lid.
Summary of Contents for CF 2..
Page 2: ...2 1 D B L H K F A E C N I O J G M ...
Page 3: ...3 2 3 T P R U Q S j b c d f i k g h a e ...
Page 4: ...4 4 5 6 7 8 9 10 11 12 13 14 a b ...
Page 5: ...5 15 16 17 18 19 20 21 22 23 24 25 26 3 sec 1 2 1 2 1 2 ...
Page 6: ...6 27 28 29 30 32 31 33 1 2 3 1 3 ...
Page 7: ...7 34 35 36 37 38 39 40 41 42 43 44 1 2 2 3 3 max max max max ...
Page 8: ...8 ...


