English
60
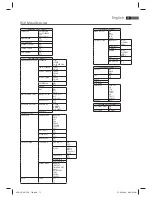
Understanding
the menu structure
Using the menu
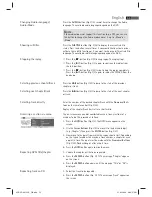
Scrolling
Manual: Press the I
(Fig. 3/25) or
I -button (Fig. 3/23) on the
remote control to scroll forward or back.
Automatic: Press the ENTER button (Fig. 3/27). The pictures change
automatically.
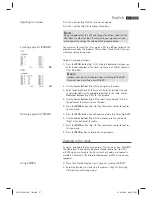
Rotating a photo
You can use the Cursor buttons to rotate a photo during replay:
Rotate clockwise for 90°: Cursor Button „
“
Rotate counter-clockwise for 90°: Cursor Button „
“
Changing the default settings
A large number of default settings can be comfortably changed via the
screen menu.
Press the SETUP-button (Fig. 3/4) on the remote control to start the menu
for changing the default settings.
NOTE:
Many of these default settings can be changed via both the remote
control and the menu. The diff erence is: If you change the default
settings via the remote control, these changes will only be valid until
the DVD-Player is switched off or the DVD is changed.
However, any changes made in the menu are permanent.
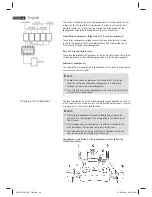
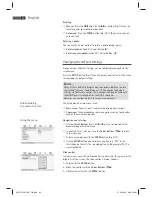
The Setup menu has two menu levels:
Main menu: The main level is represented by graphical symbols.
Sub-menu: The corresponding sub-menu options can be found under
each of the main menu options.
Navigation and selection
Use the Cursor Buttons (Fig. 3/9) (
/
) on the remote control to
browse through the main menu.
In contrast to this, you must use the Cursor Buttons (
/
) to move
in the sub-menu.
Select a menu option with the ENTER-button (Fig. 3/27).
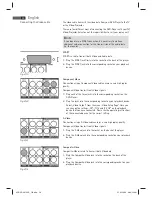
Use the ENTER-button also to select an option (e.g. “PAL” in the
illustration on the left). The selected option (in the example „PAL”) is
now highlighted.
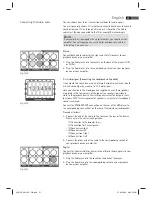
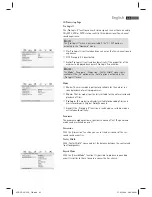
Slide control
In many menus you will fi nd slide controls to adjust e.g. the volume or the
brightness of the screen. The slide control is used as follows:
1. Select with the ENTER-button.
2. Move the control with the Cursor Buttons (
/
).
3. Confi rm the entry with the ENTER-button.
05-DVD 4615 HC_GB.indd 60
05-DVD 4615 HC_GB.indd 60
21.05.2008 8:08:28 Uhr
21.05.2008 8:08:28 Uhr

