background image

 FM 7300G-an

949 601 506

325 88-8551 rev. 2-347

GB

INSTRUCTION BOOK

Summary of Contents for FM 7300G-AN

Page 1: ...FM 7300G an 949 601 506 325 88 8551 rev 2 347 GB INSTRUCTION BOOK ...

Page 2: ...transferred to a new owner please ensure this instruction book is left with the appliance in order that the new owner can get to know the functions of the appliance and the relevant warnings If you require further assistance or advice please contact our Customer Care Department either by letter or telephone Customer Care Department AEG Domestic Appliances 55 77 High Street Slough SL1 1DZ Tel 08705...

Page 3: ...sferred to another user Your new home is within the European Community EC or European Free Trade Area The product is installed and used in accordance with our instructions and is only used domestically i e a normal household The product is installed taking into account regulations in your new country Before you move please contact your nearest Customer Care centre listed below to give them details...

Page 4: ...arantee conditions We AEG undertake that if within 12 months of the date of the purchase this AEG appliance or any part thereof is proved to be defective by reason only of faulty workmanship or materials we will at our discretion repair or replace the same FREE OF CHARGE for labour materials or carriage on condition that The appliance has been correctly installed and used only on the electricity o...

Page 5: ...en used and remain warm for some time after the hob has been turned off Never let children touch or play with the controls Take care to ensure that the burner rings and covers are positioned cor rectly over the burner tops Never leave the hob unattended when deep frying or melting fat paraffin wax or other easily ignited substances Never leave paper dish cloths aluminium foil or any other easily i...

Page 6: ...ill be made even if the appliance is under guarantee Problem The hob doesn t work The gas isn t burning properly The electric ignition isn t work ing When the control knob is released the gas goes out again Remedy Check that the hob is switched on Check the mains electricity is con nected Check the fuse for the hob Check whether the gas has been turned on Check whether the gas bottle is empty Chec...

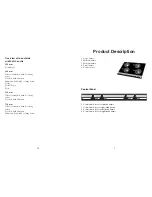
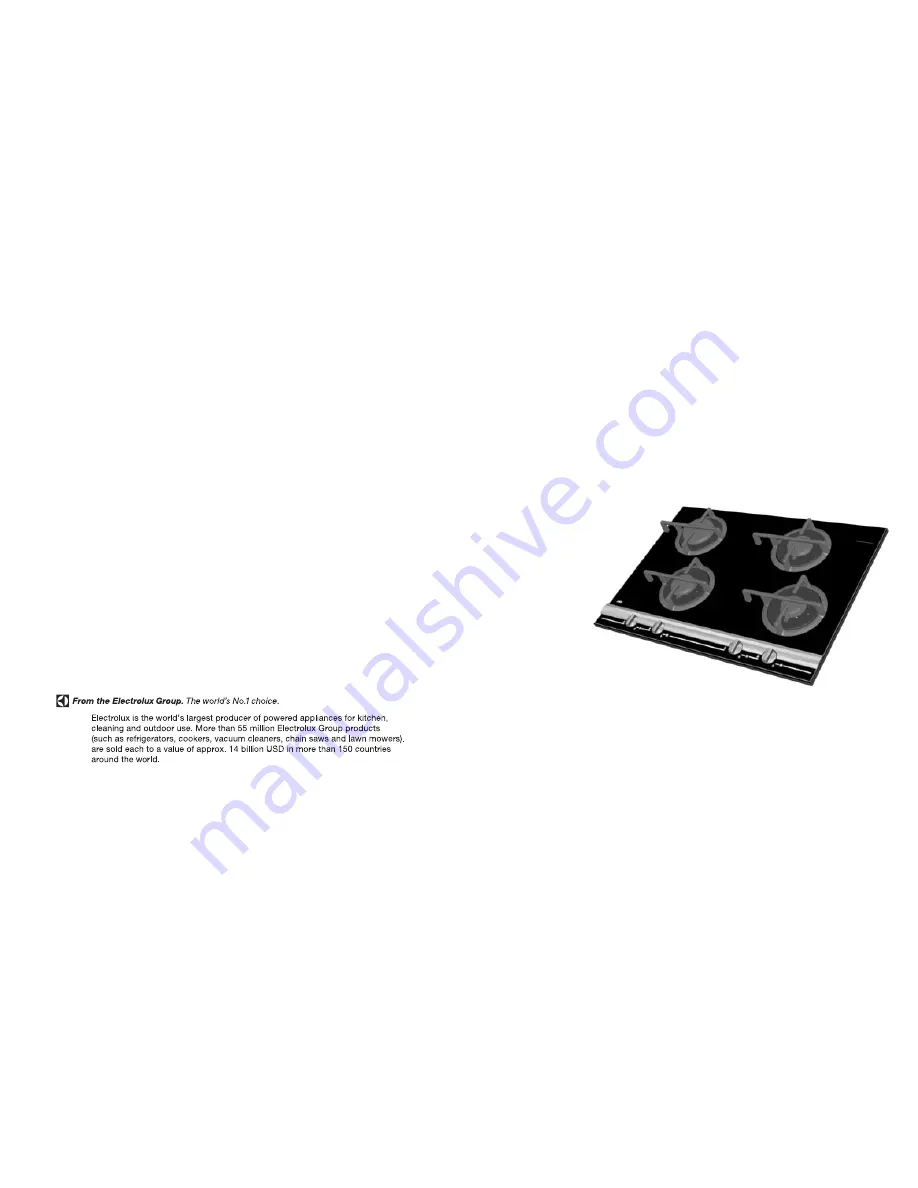
Page 7: ...ones Gas hob with 4 burners 720 mm Glass ceramic hob with 4 cooking zones Gas hob with 4 burners Induction hob with 4 cooking zones 7 Product Description 1 Large burner 2 Medium burner 3 Medium burner 4 Small burner 5 Control panel 2 1 3 4 5 1 2 3 4 Control Panel 1 Control knob for rear left hand burner 2 Control knob for rear right hand burner 3 Control knob for front left hand burner 4 Control k...

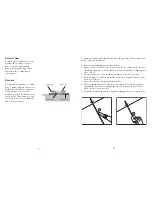
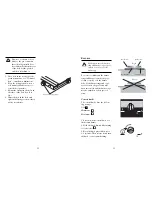
Page 8: ...led hobs the gap between the ceramic hob may be grouted with silicone 1 Remove the aluminium panels from the hobs 2 Apply a stripe of silicone to the gap between the two ceramic hob Use only the silicone supplied as it is designed to tolerate the appliance s high temper ature Fig 1 3 Splash a little soapy water washing up liquid on the silicone stripe 4 Press the rubber block hard against the cera...

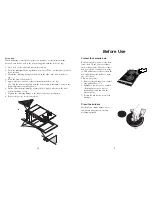
Page 9: ...ement beam up against the hob Apply silicone on the rein forcement beam see fig 7 Tighten the clamping fittings to the table top using a screwdriver 8 Repeat the process for the other hobs Silicone 9 Before Use Protect the ceramic hob Clean the burners Before using the product for the first time clean off any factory residues such as dust or dirt Give the ceramic hob a protective coating before us...

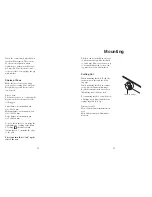
Page 10: ...fire blanket or dampened cloth Never use water Scrape any spillages from the hob immediately using a hob scraper if necessary Spillages of sugar and sugar rich foods jam fruit syrup etc melted plastic and alu minium foil can damage the hob 23 Mounting more than one hob Cutting out The measurement of the selected combination is calculated in the following way Depth 490 mm Width 1 Calculate the sum ...

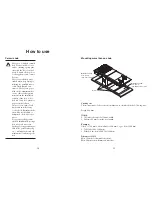
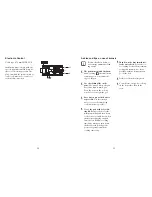
Page 11: ...ping fittings 11 Burners Make quite sure the burner ring and burner cap are posi tioned correctly over the burner top For correct combustion the burner rings and burner cap must be posi tioned correctly over the burner body If the burner rings and caps are off centre the gas flame will burn incorrectly and the burner caps may be ruined in a short space of time Control knobs The control knobs have ...

Page 12: ...re using the right burner by looking at the flame At setting e the flame should remain approx 1 cm inside the edge of the pan The flame should not lick up the side of the pan Choice of Pans 21 Mounting Cutting Out The hob can be installed in any type of kitchen worktop with a thickness of 28 40 mm However if an oven is to be installed beneath it the work top must be at least 40 mm thick When mount...

Page 13: ...Save water use as little water as possible Use just enough water to cover the item being cooked wherever possible Cover the pan with a close fit ting lid Bring to the boil at the maximum setting and turn down to the lowest possible level when steam starts emerging steadily from the lid Estimate cooking time from when you turn down the heat Avoid looking at the potatoes vegetables until the cooking...

Page 14: ...nstructions on the container Ceramic hob 3 Wipe the hob clean with a damp cloth or kitchen paper Obstinate stains can be removed by rubbing hard with the cleaning agent sprinkled on a piece of kitchen paper 4 Wipe off excess cleaning agent with a damp cloth 5 If necessary finish off with a dry cloth Make sure the hob is dry before heating up again A damp hob may display rainbow like stripes when h...

Page 15: ...f there are other fuel burning appli ances in the same room B S 5440 Part 2 Current Edition should be consulted to determine the requisite air vent requirements This hob must be installed by qualified personnel to the relevant British Standards Any gas installation must be carried out by a CORGI registered installer The maufacturer will not accept liability should the above instructions or any of ...

Page 16: ...el FM 7300G an Product dimensions Width 720 mm Depth 520 mm Height 66 mm Installation dimensions Width 700 mm Depth 490 mm Height 55 mm Output natural gas Rear left 3 kW Front left 1 9 kW Rear right 1 9 kW Front right 1 kW Total output 7 8 kW Gas consumption Natural gas 0 74 m3 h LPG 598 g h Consumption given as the max nominal gas consumption Category and pressure GB II2H3 20 28 37 mbar Nozzle co...

Reviews: