


Summary of Contents for L6FBK841N
Page 1: ...USER MANUAL EN User Manual Washing Machine L6FBK841N ...
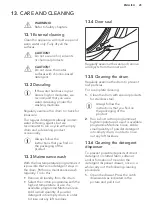
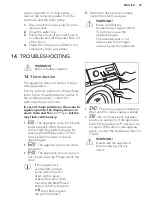
Page 37: ...ENGLISH 37 ...
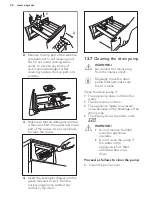
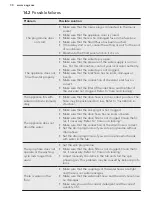
Page 38: ...www aeg com 38 ...
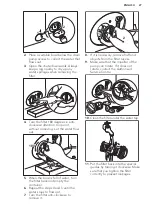
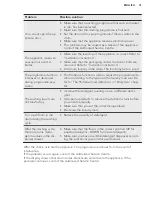
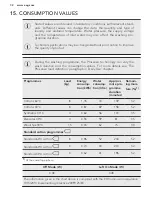
Page 39: ...ENGLISH 39 ...
Looking for the user manual for the AEG L6FBK841N? Look no further! Get your free download of the manual for this fantastic product at 88.208.23.73:8080. Unlock the full potential of your AEG L6FBK841N with detailed instructions and important information right at your fingertips.
Page 1: ...USER MANUAL EN User Manual Washing Machine L6FBK841N ...
Page 37: ...ENGLISH 37 ...
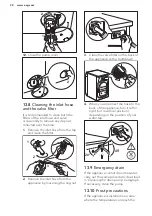
Page 38: ...www aeg com 38 ...
Page 39: ...ENGLISH 39 ...


