E
N
G
L
IS
H
E
N
G
L
IS
H
ENGLISH
61
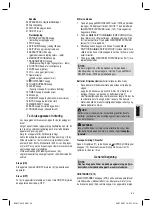
The display lights up in blue and “HELLO” appears briefl y. The
display changes to the current function, e.g. TUNER.
Volume (5/10)
This is used to set the individual volume. The letters „VOL“ and a
fi gure appear in the display (13).
Headphone Socket (1)
Please use headphones with a 3.5 mm stereo jack plug; these
should be inserted into the headphone socket. The loudspea-
kers are then switched off.
Infrared remote control
For operating the music centre from a distance of up to 5 metres
without a lead. If the range of the remote control is reduced, the
batteries have to be replaced. During operation ensure that there
is nothing blocking the direct line between the remote control
and the sensor (3) on the machine.
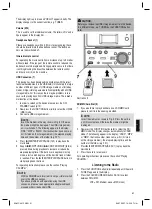
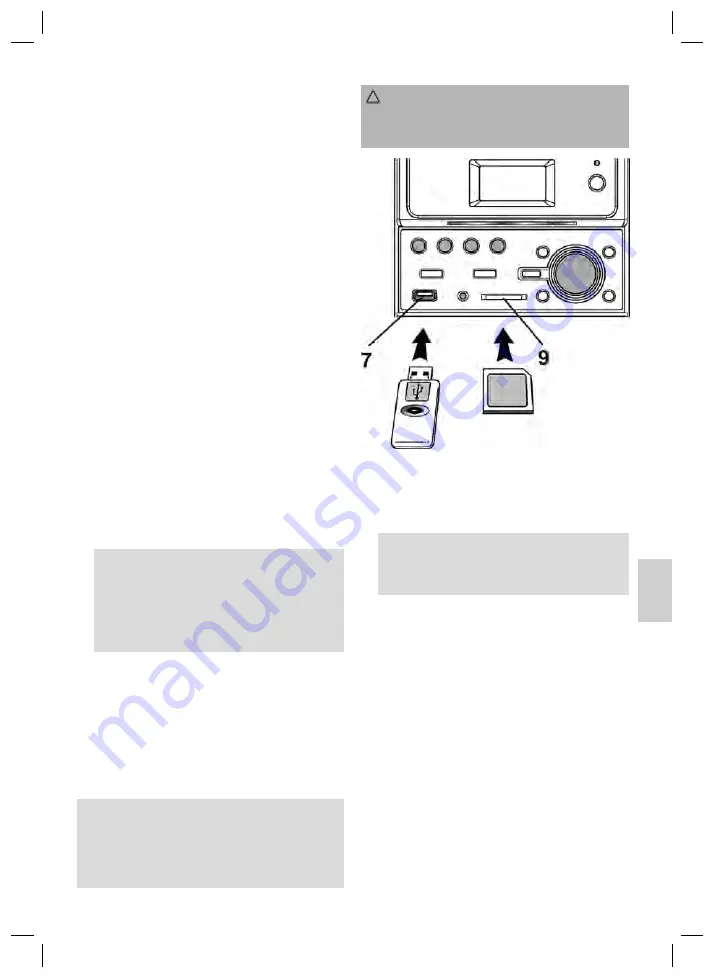
USB Connexion (7)
This device has been developed in accordance with the latest
technical developments in the USB fi eld. Unfortunately the large
number of different types of USB storage media on offer today
makes it impossible to guarantee full compatibility with all USB
storage media. For this reason there may be problems in rare
cases with playing back from USB storage media. This is
not
a
malfunction of the device.
1. In order to switch on the device please press the ON/
STANDBY switch (4/12).
2. Now press the FUNCTION button (6/8) to select the UDISK
(USB) mode.
3. Connect a USB storage medium.
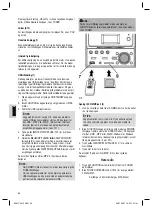
NOTE:
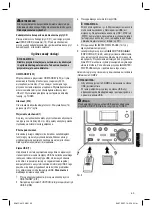
Insert the medium in the way shown in Fig. 5. Otherwise
the medium might be damaged. The USB storage medi-
um is switched off. The following appear in the display:
“USB”, “MP3” or “WMA”, the track number, track name, ar-
tist (if stored on the storage medium), the elapsed playing
time and the number of the folder (e.g. F01).
4. Press
II
ENTER/PLAY/PAUSE (14/1) to play back the
music data.
5. Keep
I
SKIP/TUNING
I
(SKIP DOWN/UP) (8/3/4)
pressed down during playback to increase or reduce the
elapsed playing time. If the buttons are kept down in stop
mode, a fast search begins until the desired track or folder
is reached. Press the
II
ENTER/PLAY/PAUSE button to
start playing back the track.
For operating instructions please see the section “Playing
CDs/MP3s”.
NOTE:
• With the SD/MMC card inserted it is not possible to switch
over to the USB connection.
• If you have problems with operation using the USB
connexion, please use an appropriate adapter cable and
proceed as described under USB.
CAUTION:
Before you remove the USB storage medium, turn the device
to a different mode, e.g. TUNER, by the FUNCTION button
(6/8).
Illustration 5
SD/MMC Card Slot (9)
1. If you would like to play back data on an SD/MMC card
please insert it into the opening provided.
NOTE:
Insert the medium as shown in Fig. 5. Press the card in
until it locks in place. Otherwise the medium might be
damaged.
2. Now press the FUNCTION button (6/8) to select the SD/
MMC mode (The display changes automatically to CARD
mode). The following appear in the display: “CARD”, “MP3”
or “WMA”, the track number, track name, artist (if stored
on the storage medium), the elapsed playing time and the
number of the folder (e.g. F01).
3. Press
II
ENTER/PLAY/PAUSE (14/1) to play back the
music data.
4. Press the card in to remove it.
For operating instructions please see the section “Playing
CDs/MP3s”.
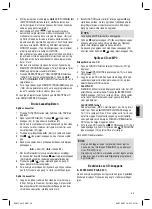
Listening to the Radio
1. Press the FUNCTION button (6/8) repeatedly until the word
„TUNER“ appears in the display.
2. Press the FOLDER UP/BAND button (15/13) to select
between FM or MW.
VHF = FM, Medium wave = MW (mono)
05-MC 4413 AEG 61
04.07.2007, 14:23:27 Uhr

