background image

6. 

CARE AND CLEANING

WARNING!

Refer to Safety chapters.

6.1 

General warnings

CAUTION!

Unplug the appliance before

carrying out any maintenance

operation.

This appliance contains

hydrocarbons in its cooling

unit; maintenance and

recharging must therefore

only be carried out by

authorized technicians.

The accessories and parts of

the appliance are not suitable

for washing in a dishwasher.

6.2 

Periodic cleaning

CAUTION!

Do not pull, move or damage

any pipes and/or cables inside

the cabinet.

CAUTION!

Take care of not to damage

the cooling system.

CAUTION!

When moving the cabinet, lift

it by the front edge to avoid

scratching the floor.

The equipment has to be cleaned

regularly:

1.

Clean the inside and accessories with

lukewarm water and some neutral

soap.

2.

Regularly check the door seals and

wipe clean to ensure they are clean

and free from debris.

3.

Rinse and dry thoroughly.

4.

If accessible, clean the condenser

and the compressor at the back of

the appliance with a brush. 

This operation will improve the

performance of the appliance and

save electricity consumption.

6.3 

Defrosting of the

refrigerator

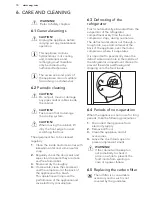
Frost is automatically eliminated from the

evaporator of the refrigerator

compartment every time the motor

compressor stops, during normal use.

The defrost water drains out through a

trough into a special container at the

back of the appliance, over the motor

compressor, where it evaporates.
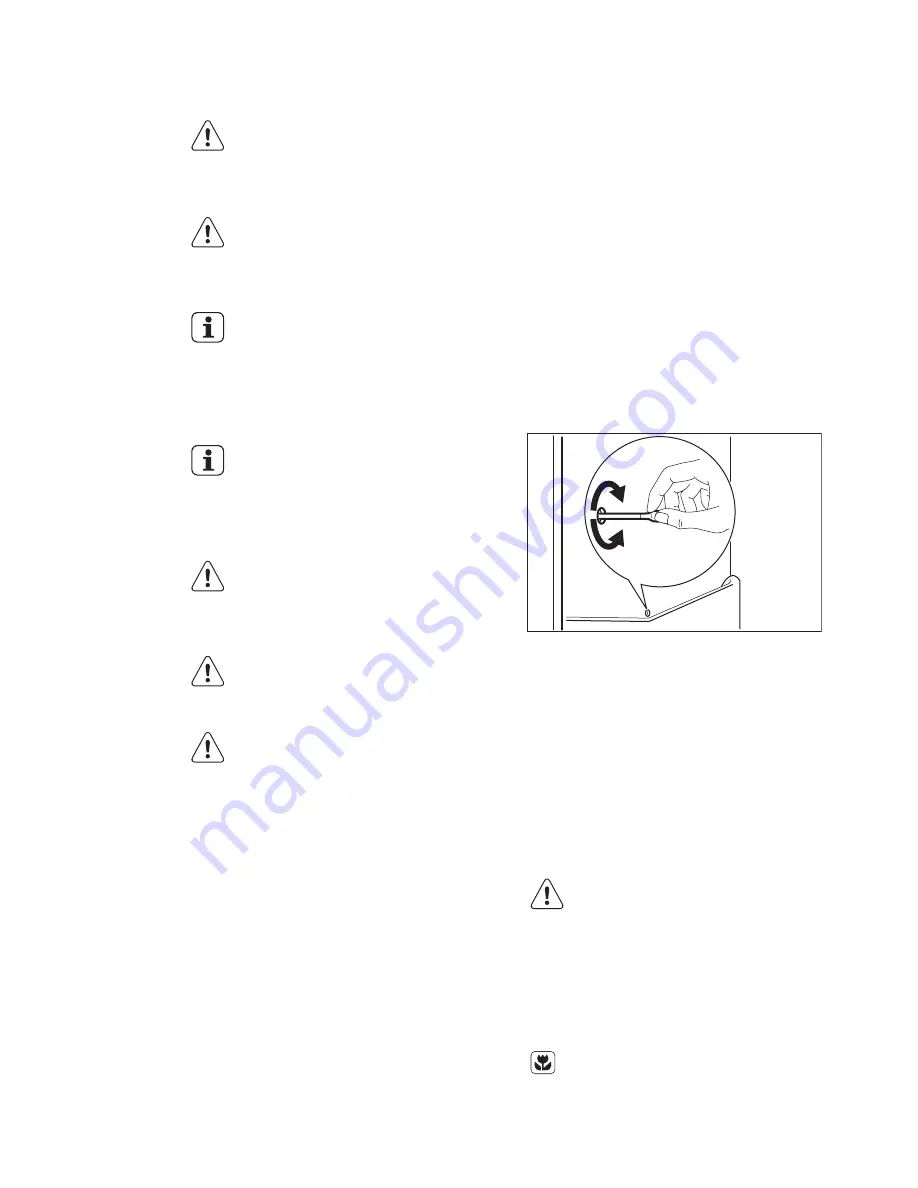
It is important to periodically clean the

defrost water drain hole in the middle of

the refrigerator compartment channel to

prevent the water overflowing and

dripping onto the food inside.

6.4 

Periods of non-operation

When the appliance is not in use for long

periods, take the following precautions:

1.

Disconnect the appliance from

electricity supply.

2.

Remove all food.

3.

Clean the appliance and all

accessories.

4.

Leave the door/doors open to

prevent unpleasant smells.

WARNING!

If the cabinet will be kept on,

ask somebody to check it

once in a while to prevent the

food inside from spoiling in

case of a power failure.

6.5 

Replacing the carbon filter

The air filter is a consumable

accessory and as such is not

covered by the guarantee.

www.aeg.com

10

Summary of Contents for S93200KDM0

Page 1: ...S93200KDM0 EN User Manual ...

Page 2: ...few minutes reading to get the very best from it Visit our website for Get usage advice brochures trouble shooter service information www aeg com Register your product for better service www registeraeg com Buy Accessories Consumables and Original spare parts for your appliance www aeg com shop CUSTOMER CARE AND SERVICE Always use original spare parts When contacting our Authorised Service Centre ...

Page 3: ...en play with the appliance Keep all packaging away from children Cleaning and user maintenance shall not be made by children without supervision 1 2 General Safety This appliance is intended to be used in household and similar applications such as Farm houses staff kitchen areas in shops offices and other working environments By clients in hotels motels bed and breakfast and other residential type...

Page 4: ...rs oven or hobs The rear of the appliance must stand against the wall Do not install the appliance where there is direct sunlight Do not install this appliance in areas that are too humid or too colds such as the construction appendices garages or wine cellars When you move the appliance lift it by the front edge to avoid scratching the floor 2 2 Electrical connection WARNING Risk of fire and elec...

Page 5: ... damage to the appliance Before maintenance deactivate the appliance and disconnect the mains plug from the mains socket This appliance contains hydrocarbons in the cooling unit Only a qualified person must do the maintenance and the recharging of the unit Regularly examine the drain of the appliance and if necessary clean it If the drain is blocked defrosted water collects in the bottom of the ap...

Page 6: ...perature regulation The default set temperature for the fridge is 5 C Set the temperature of the fridge by pressing the temperature button The temperature indicator shows the set temperature The set temperature will be reached within 24 hours After a power failure the set temperature remains stored 3 5 DYNAMICAIR function 1 Press Mode until the corresponding icon appears The DYNAMICAIR indicator f...

Page 7: ...eady in the refrigerator Press the COOLMATIC or Mode button The COOLMATIC indicator appears The COOLMATIC mode shuts off automatically after approximately 6 hours To switch off the function before its automatic end repeat the procedure until the COOLMATIC indicator turns off The function switches off by selecting a different fridge set temperature 3 9 Holiday mode This function allows you to keep ...

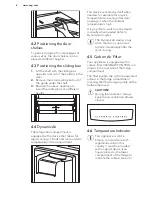
Page 8: ... door opening or when the ambient temperature is high It is possible to switch on the device manually when needed refer to DynamicAir mode The DynamicAir device stops when the door is open and restarts immediately after the door closing 4 5 Carbon Air Filter Your appliance is equipped with a carbon filter CLEANAIR CONTROL in a drawer in the rear wall of the fridge compartment The filter purifies t...

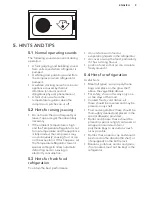
Page 9: ...tomatic defrosting and so a saving in electricity consumption 5 3 Hints for fresh food refrigeration To obtain the best performance do not store warm food or evaporating liquids in the refrigerator do cover or wrap the food particularly if it has a strong flavour position food so that air can circulate freely around it 5 4 Hints for refrigeration Useful hints Meat all types wrap in polythene bags ...

Page 10: ...This operation will improve the performance of the appliance and save electricity consumption 6 3 Defrosting of the refrigerator Frost is automatically eliminated from the evaporator of the refrigerator compartment every time the motor compressor stops during normal use The defrost water drains out through a trough into a special container at the back of the appliance over the motor compressor whe...

Page 11: ... properly Check if the appliance stands stable Audible or visual alarm is on The cabinet has been re cently switched on or the temperature is still too high Refer to Door Open Alarm or High Temperature Alarm The temperature in the ap pliance is too high Refer to Door Open Alarm or High Temperature Alarm The door is left open Close the door The temperature in the ap pliance is too high Contact a qu...

Page 12: ...r flows inside the refrig erator The water outlet is clog ged Clean the water outlet Food products prevent that water flows into the water collector Make sure that food products do not touch the rear plate Water flows on the floor The melting water outlet is not connected to the evaporative tray above the compressor Attach the melting water out let to the evaporative tray Temperature cannot be set...

Page 13: ...o the desired result call the nearest brand mark service 7 2 Closing the door 1 Clean the door gaskets 2 If necessary adjust the door Refer to Installation 3 If necessary replace the defective door gaskets Contact the Service Center 7 3 Replacing the lamp The appliance is equipped with a longlife LED interior light Only service is allowed to replace the lighting device Contact your Service Center ...

Page 14: ...lly so fragments do not loosen from the surface Make sure that the air lever drawer is closed to obtain proper function 8 3 Electrical Connection CAUTION Any electrical work required to install this appliance should be carried out by a qualified electrician or competent person WARNING This appliance must be earthed The manufacturer declines any liability should these safety measures not be observe...

Page 15: ... the appliance opens to the right If you want to open the door to the left follow these steps before you install the appliance 1 Loosen and remove the upper pin 2 Remove the door 3 Remove the spacer 4 With a key loosen the lower pin 5 Tighten the lower pin on the opposite side 6 Install the spacer 7 Install the door 8 Tighten the upper pin 8 5 Ventilation requirements The airflow behind the applia...

Page 16: ...iance and the cupboard front edge is 44 mm The lower hinge cover in the accessories bag makes sure that the distance between the appliance and the kitchen furniture is correct Make sure that the clearance between the appliance and the cupboard is 4 mm 8 Open the door Put the lower hinge cover in position 44mm 4mm 9 Attach the appliance to the niche with 4 screws I I 10 Remove the correct part from...

Page 17: ...tall the part Ha on the inner side of the kitchen furniture 21 mm 50 mm 50 mm 90 o 90 o 90 o 16 Push the part Hc on the part Ha Ha Hc 17 Open the appliance door and the kitchen furniture door at an angle of 90 18 Insert the small square Hb into guide Ha 19 Put together the appliance door and the furniture door and mark the holes ENGLISH 17 ...

Page 18: ...tchen furniture door and the appliance door by adjusting the part Hb Hb 23 Press the part Hd on the part Hb Hb Hd Do a final check to make sure that All screws are tightened The sealing strip is attached tightly to the cabinet The door opens and closes correctly 9 NOISES There are some sounds during normal running compressor refrigerant circulation BRRR HISSS CLICK BLUBB CRACK SSSRRR OK www aeg co...

Page 19: ...CLICK CLICK SSSRRR SSSRRR BRRR BRRR HISSS HISSS BLUBB BLUBB CRACK CRACK 10 TECHNICAL INFORMATION 10 1 Technical data Height mm 1855 Width mm 545 Depth mm 575 Voltage Volts 230 240 ENGLISH 19 ...

Page 20: ... Recycle the materials with the symbol Put the packaging in applicable containers to recycle it Help protect the environment and human health and to recycle waste of electrical and electronic appliances Do not dispose appliances marked with the symbol with the household waste Return the product to your local recycling facility or contact your municipal office www aeg com 20 ...

Page 21: ...ENGLISH 21 ...

Page 22: ...www aeg com 22 ...

Page 23: ...ENGLISH 23 ...

Page 24: ...www aeg com shop 222369707 A 072014 ...

Reviews: