5-50
BA 418-12 * 1.0 * 418_12_5_Bedienung.fm
5 Operation
By-pass the overload limitation
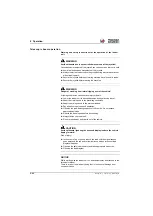
CAUTION
Risk of injury! The machine can tip over to the front if the overload
control is disabled!
Failure to observe this can cause serious injury.
►
Disabling the overload control in the overload range is only allowed in
exceptional cases in manual operation!
►
Use the disabled overload control only briefly, for example for
positioning heavy loads with precision or for setting down loads on high
stacks or boxes smoothly and precisely.
►
Set down the load only when the diesel engine is running at idling
speed.
►
Set down the load only when the machine is at a standstill.
►
Do not perform any jerky movements with the joystick.
►
Do not continue work with the overload control disabled.
Information
For safety reasons, the overload control can only be bridged
with both
hands and is active for a maximum of 60 minutes.
►
After about 60 seconds, the bridging is automatically canceled!
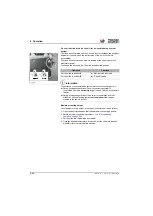
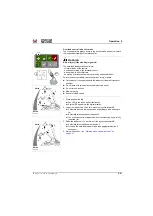
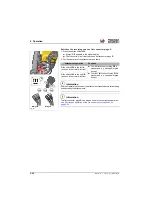
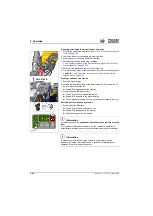
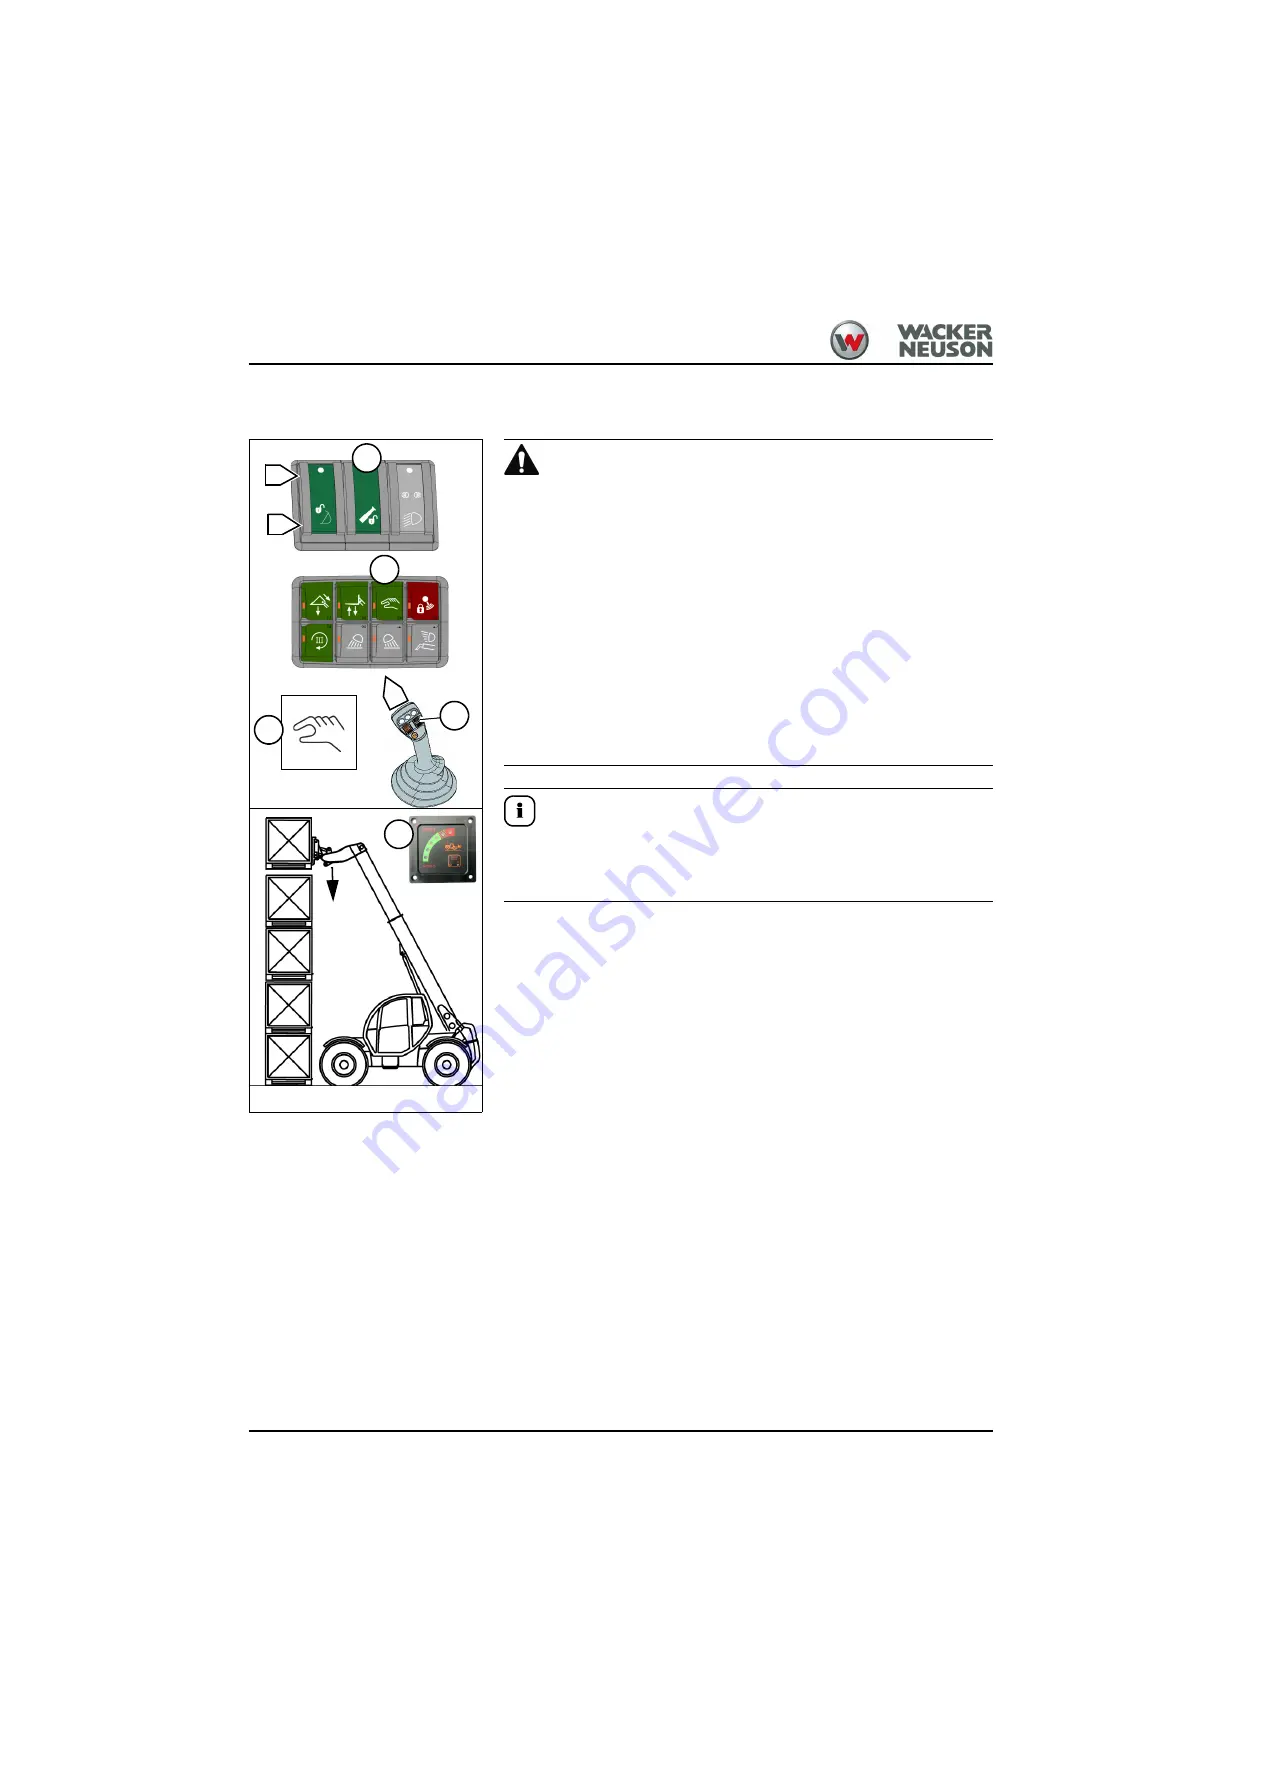
Perform the manual operation as follows:
1. Stop the vehicle (standstill).
2. Press push button
➥
The LED in the touch button illuminates
➥
Symbol
appears in the digital display.
➥
Overload control is in manual operation.
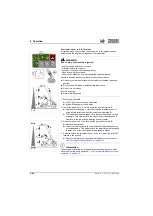
3. Press and hold button
in position
B
4. Press the joystick carefully forward
C
simultaneously and set down the
load in the safe area with a slight lowering movement and without
retracting the telescopic boom (see figure).
➥
Observe the overload warning device and take appropriate action.
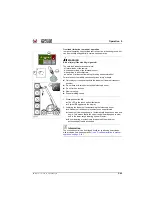
5. Once the load is set down, release the
button.
➥
The bridging of the overload control is manually canceled.
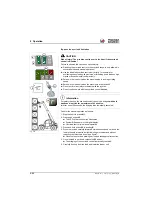
6. Carefully back up from the load and lower the loader unit.
Fig. 233
C
A
B
3
Summary of Contents for 418-12
Page 59: ...BA 418 12 1 0 418_12_3_Einleitung fm 3 27 Introduction 3 Right side of machine Fig 4 30 20 ...
Page 60: ...3 28 BA 418 12 1 0 418_12_3_Einleitung fm 3 Introduction Front of machine Fig 5 ...
Page 61: ...BA 418 12 1 0 418_12_3_Einleitung fm 3 29 Introduction 3 Rear of machine Fig 6 30 20 ...
Page 63: ...BA 418 12 1 0 418_12_3_Einleitung fm 3 31 Introduction 3 Outside right of the vehicle Fig 8 ...
Page 64: ...3 32 BA 418 12 1 0 418_12_3_Einleitung fm 3 Introduction Inside the cabin Fig 9 ...
Page 65: ...BA 418 12 1 0 418_12_3_Einleitung fm 3 33 Introduction 3 Engine compartment interior Fig 10 ...
Page 66: ...3 34 BA 418 12 1 0 418_12_3_Einleitung fm 3 Introduction Outside front of the vehicle Fig 11 ...
Page 67: ...BA 418 12 1 0 418_12_3_Einleitung fm 3 35 Introduction 3 Outside rear of the vehicle Fig 12 ...
Page 326: ...5 170 BA 418 12 1 0 418_12_5_Bedienung fm 5 Operation ...
Page 338: ...6 12 BA 418 12 1 0 418_12_6_Transport fm 6 Transport ...
Page 426: ...7 88 BA 418 12 1 0 418_12_7_Wartung fm 7 Maintenance ...
Page 462: ...8 36 BA 418 12 1 0 418_12_8_Betriebsstoerung fm 8 Malfunctions Notes ...
Page 499: ...BA 418 12 1 0 BA_418_12_V1_usSIX fm S 7 Index ...
Page 500: ...S 8 BA 418 12 1 0 BA_418_12_V1_usSIX fm Index ...
Page 527: ...FORM RTF 0907 Printed in U S A ...

