BA 418-12 * 1.0 * 418_12_5_Bedienung.fm
5-151
Operation 5
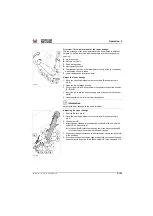
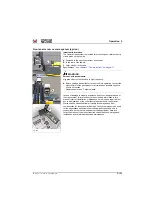
Preparation for the PTO drive
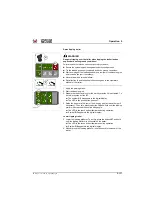
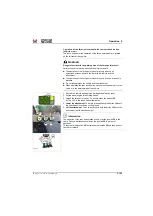
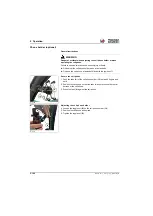
1. After attaching the three-point mount, lower the attachment to the
ground
– see "Operation of the three-point mount with joystick22
.
2. Apply the parking brake.
3. Stop the diesel engine and remove the ignition key.
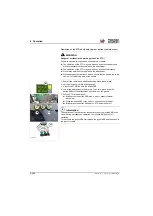
4. Attach the universal joint shaft of the attachment to the PTO.
➥
Ensure that the locating pin is securely locked into place in the
PTO.
5. Attach the safety chain of the universal joint shaft protective device to a
fixed point on the vehicle.
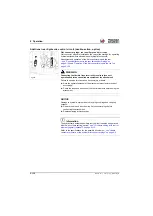
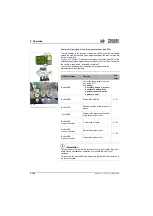
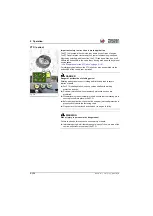
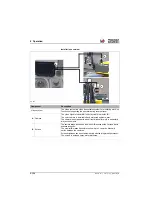
Switch the PTO on/off with touch buttons in the cabin
Information
The operation of the PTO shaft drive can only be done with the button
if the operator (driver) is on the operator’s seat.
If the operator’s seat is abandoned during the work operation, the PTO
automatically shuts off after 7 seconds for safety reasons.
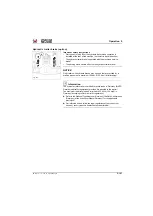
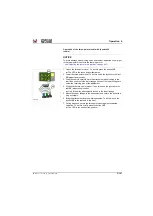
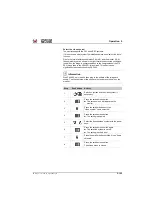
1. Switch on
the PTO
. To do this, start the diesel engine
2. Unlock the PTO drive with the button
➥
Press push button.
➥
The LED in the touch button illuminates
➥
PTO drive is ready for operation
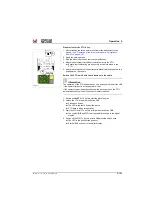
3. Start the PTO shaft. To do this, briefly press the button
➥
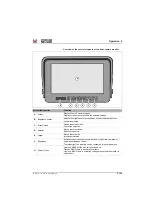
The symbol
G/5
and PTO shaft speed
H
are shown in the digital
display.
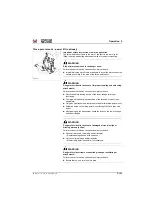
4. Switch off the PTO
.
To do this, briefly
➥
The LED in the push button goes out
➥
Symbol
goes out in the digital display
Fig. 344
5
H
Summary of Contents for 418-12
Page 59: ...BA 418 12 1 0 418_12_3_Einleitung fm 3 27 Introduction 3 Right side of machine Fig 4 30 20 ...
Page 60: ...3 28 BA 418 12 1 0 418_12_3_Einleitung fm 3 Introduction Front of machine Fig 5 ...
Page 61: ...BA 418 12 1 0 418_12_3_Einleitung fm 3 29 Introduction 3 Rear of machine Fig 6 30 20 ...
Page 63: ...BA 418 12 1 0 418_12_3_Einleitung fm 3 31 Introduction 3 Outside right of the vehicle Fig 8 ...
Page 64: ...3 32 BA 418 12 1 0 418_12_3_Einleitung fm 3 Introduction Inside the cabin Fig 9 ...
Page 65: ...BA 418 12 1 0 418_12_3_Einleitung fm 3 33 Introduction 3 Engine compartment interior Fig 10 ...
Page 66: ...3 34 BA 418 12 1 0 418_12_3_Einleitung fm 3 Introduction Outside front of the vehicle Fig 11 ...
Page 67: ...BA 418 12 1 0 418_12_3_Einleitung fm 3 35 Introduction 3 Outside rear of the vehicle Fig 12 ...
Page 326: ...5 170 BA 418 12 1 0 418_12_5_Bedienung fm 5 Operation ...
Page 338: ...6 12 BA 418 12 1 0 418_12_6_Transport fm 6 Transport ...
Page 426: ...7 88 BA 418 12 1 0 418_12_7_Wartung fm 7 Maintenance ...
Page 462: ...8 36 BA 418 12 1 0 418_12_8_Betriebsstoerung fm 8 Malfunctions Notes ...
Page 499: ...BA 418 12 1 0 BA_418_12_V1_usSIX fm S 7 Index ...
Page 500: ...S 8 BA 418 12 1 0 BA_418_12_V1_usSIX fm Index ...
Page 527: ...FORM RTF 0907 Printed in U S A ...

