7 - CAPACITANCE
Never make a capacitance test on a live circuit
Always respect the polarity of electrolytic condensers.
This type of condenser may be sensitive to temperature,
so avoid touching it during measurement.
♦
Connect the leads to the multimeter and to the terminals of the
condenser.
♦
Place the selector switch on the capacitance meter function
♦
Automatic range selection: read the measured value
Note: The bargraph is not operational on capacitance
Measurement
♦
Freeze the value, if necessary, by pressing the HOLD button
If necessary, press the following buttons:
♦
ZERO to set zero on the 4nF and 40nF ranges only
♦
RANGE to select the ranges manually
♦
MIN/MAX to read the min or max values
♦
to light the display
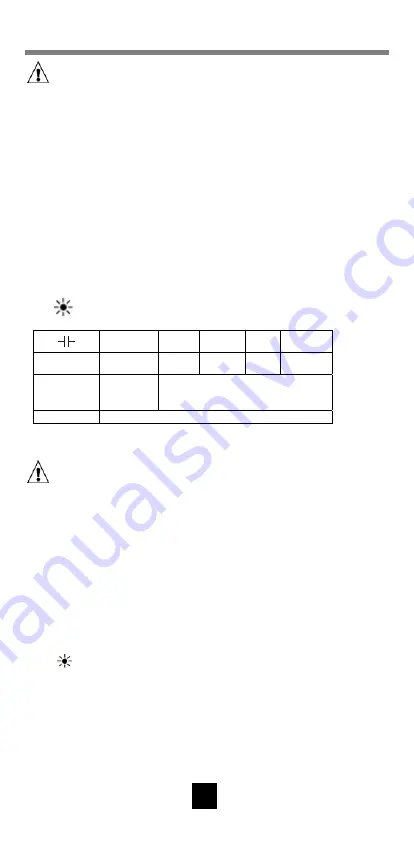
4nF 40nF
400nF
4µF
40µF
(1)
Resolution 1pF 10pF
100pF
1nF
10nF
Accuracy
±2% R
±150cts
±2% of reading ± 8cts
Protection
500V mns 750 peak
(1) For a capacitance C> 20µF
the accuracy is ±5% of the reading ± 8cts
Always de-energize the circuit to be tested before
connecting the multimeter to the circuit
♦
Warning: connect the leads to the multimeter and connect in
series to the circuit
-the red lead to the + terminal up to 400mA
-the red lead to the 10A terminal, from 400mA to 10A
♦
Place the selector on the A or mA ammeter function
Press the AC/DC button (... / ~) to select AC or DC
♦
Energize the circuit
♦
Automatic range selection: read the measured value
♦
If necessary, press the following buttons
-RANGE to manually select the ranges
-MIN/MAX to read the min or max values
-
to light the display
8


