54
Sentinel
™
Data Loggers
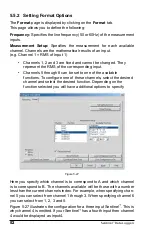
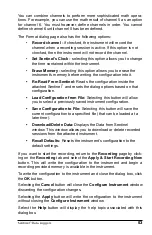
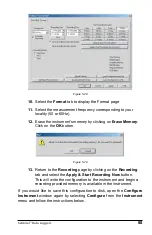
5.5.3 Confi guring and Recording Data
The following is intended as an example, which you can follow along.
In this example you will be erasing the instruments memory.
If the instrument contains important data that you wish to
keep, refer to § 5.13 - Downloading Recorded Instrument
Data before proceeding.
As an example, you will confi gure the instrument to measure (and record)
at a storage rate of
500mS
over a recording period of
10 minutes
.
Perform the following steps to confi gure the Sentinel
™
with this
setup:
1.
If
the
Confi gure Instrument
window is not already displayed,
open it as previously discussed.
2.
If the
Recording
dialog page is not displayed, then select the
Recording dialog tab.
3.
If a recording is active, stop it by selecting the
End Recording
Now
button.
4.
If the
Schedule Recording
option is not checked, place a
check to select this option.
5.
Select
500mS
from the Storage rate drop-down list (you may
need to scroll up the list, using the vertical scroll bar, to see this
option).
6.
Select the
Start/Stop
recording mode.
7.
Select a
10 minute
recording duration by selecting the 10 Min
button under the Set Recording Duration section of the text.
8.
Select
the
Now
button (under the Recording Start time). This
sets the Recording Start and End times to the current time and
10 minutes from the current time respectively.
9.
Select
the
Give recording storage rate priority
option.
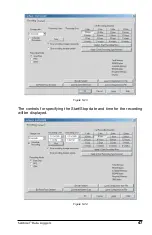
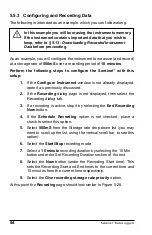
At this point the
Recording
page should look similar to Figure 5-28.

