23-2-2017
Key Fob Gen 5 (User Manual) : Aeotec by Aeon Labs
https://aeotec.freshdesk.com/support/solutions/articles/6000065292-key-fob-gen-5-user-manual-
4/7
Please skip to the ‘Change your remote’s mode’ section of this guide to continue.
If you need to create a new ZWave network.
Your Key Fob can be set up as the primary controller of a ZWave network. This is ideal for a situation where you don’t have
an existing ZWave network setup, and you’re either starting out or intending to set up only a small network.
To create a new ZWave network, you need to associate your Key Fob with any ZWave devices you want it to control this
will set up a new ZWave network for you. These ZWave devices cannot be part of an existing network. To do this, refer to the
section, ‘Adding devices to your ZWave network’ in the Advanced Functions part of this guide, and follow the instructions.
Change your remote’s mode.
Your Key Fob is now setup and is either part of an existing ZWave network or is the primary controller of a new ZWave
network.
For all the previous steps your Key Fob has been in Setup Mode. It’s now time to change it to Use Mode. This will allow
your Key Fob to function as a remote control.
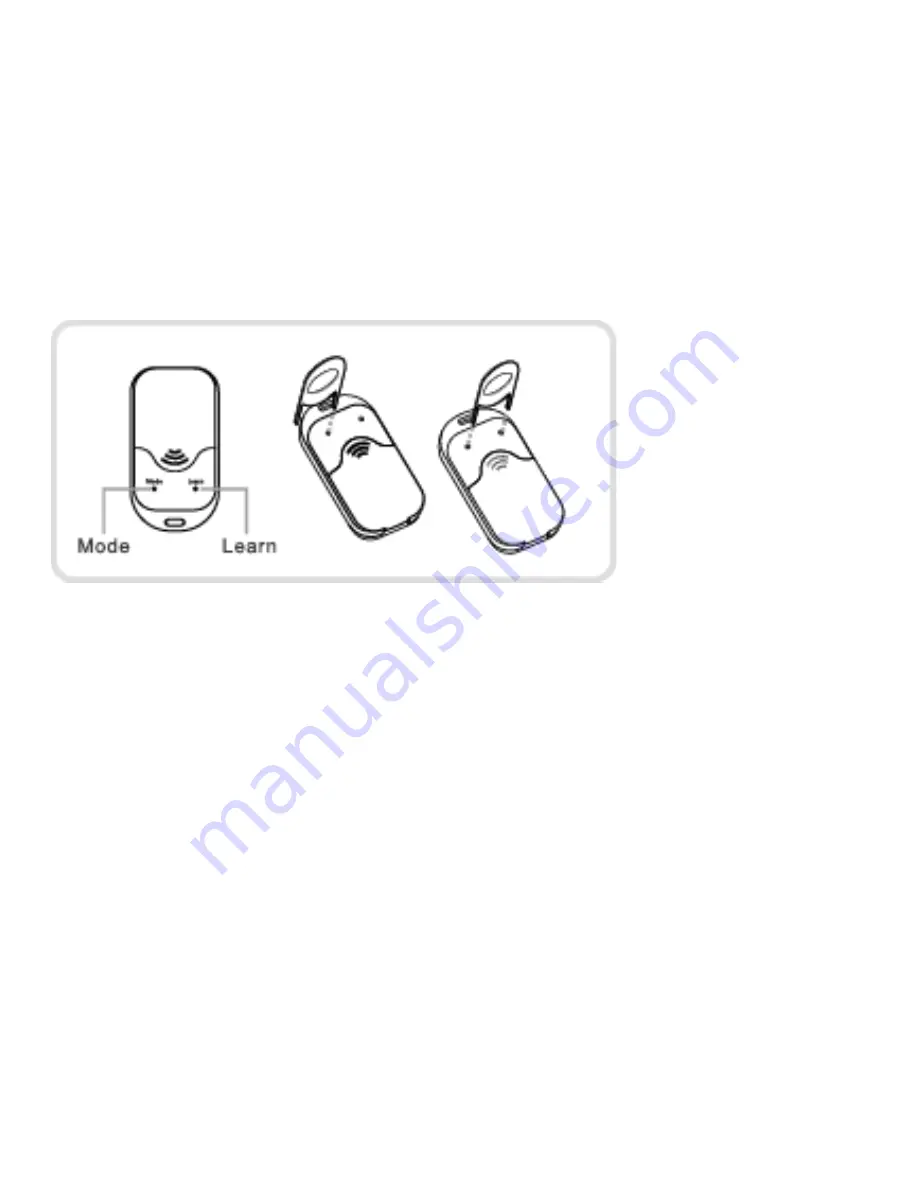
1. Slide to open the main panel of your Key Fob so that the buttons are revealed. 2. Press and hold the Mode button and
Learn button with 2 pins for 3 seconds.
3. Your remote’s red light will illuminate for 3 seconds, then the green light will stay solid for 1 second to confirm that the mode
has been successfully changed.
If, at a later stage, you wish to change your Key Fob back to Setup Mode, please repeat the previous steps.
Creating a scene to control.
Before giving your Key Fob control over other ZWave devices, it’s important to understand how many scenes each button can
control. A scene is a grouping of multiple devices and each button on your Key Fob is capable of controlling multiple devices
(aka a scene) with the push of a single button.
If you set your Key Fob up as a primary controller in the previous steps by creating a new network, each button is capable of
controlling 1 individual scene.
If you added your Key Fob to an existing ZWave network, it can control either 1 or 2 individual scenes per button. The
distinction here is whether your Key Fob is Use (Group) Mode or in Use (Scene) Mode. In Use (Group) Mode, you can
control 1 scene from each button. In Use (Scene) Mode you can control 2 different scenes from each button.
The following sections give directions on creating scenes relative to how your Key Fob is setup.

