Aercus Instruments™
- WeatherSleuth®
14 |
P a g e
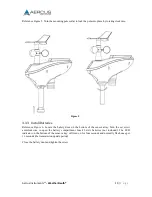
The cardinal directions (N, S, E, W) moulded on the body of the outdoor sensor are indicators for the
Northern Hemisphere only.
For Southern Hemisphere installations, ignore these and face the
solar panel to the North when it comes to installing the outdoor sensor.
You must also enter 180 as the Wind Direction Offset in the Calibration screen as per 3.6.9 and
Figure 26.
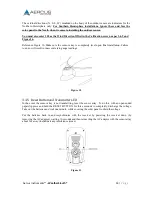
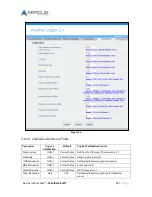
Reference Figure 10. Make sure the sensor array is completely level upon final installation. Failure
to do so will result in inaccurate rain gauge readings.
Figure 10
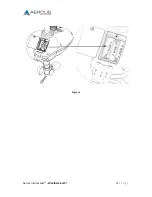
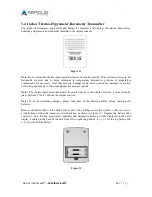
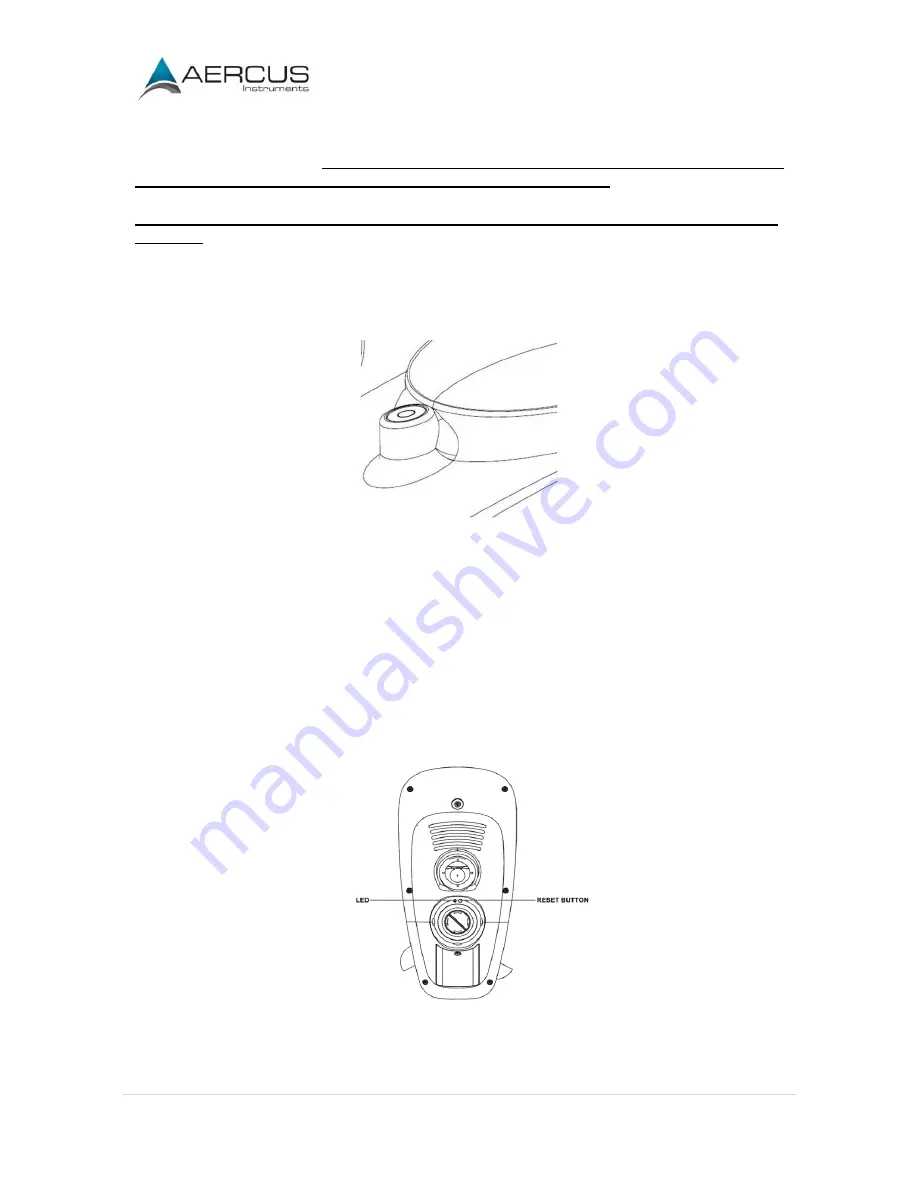
3.3.5 Reset Button and Transmitter LED
In the event the sensor array is not transmitting, reset the sensor array. To do this, with an open ended
paperclip press and hold the RESET BUTTON for three seconds to completely discharge the voltage.
Take out the batteries and wait one minute, while covering the solar panel to drain the voltage.
Put the batteries back in and resynchronise with the receiver by powering the receiver down (by
removing the AC adaptor), waiting 10 seconds and then reinserting the AC adaptor with the sensor array
about 3m away (to eliminate any interference issues).
Figure 11
Summary of Contents for WeatherSleuth
Page 1: ...v1 2 WeatherSleuth PROFESSIONAL IP WEATHER STATION WITH DIRECT REAL TIME INTERNET PUBLISHING ...
Page 11: ...Aercus Instruments WeatherSleuth 11 P a g e Figure 6 ...
Page 36: ...Aercus Instruments WeatherSleuth 36 P a g e Figure 30e ...
Page 39: ...Aercus Instruments WeatherSleuth 39 P a g e Figure 32 Figure 33 ...
Page 54: ...Aercus Instruments WeatherSleuth 54 P a g e Figure 6 ...
Page 80: ...Aercus Instruments WeatherSleuth 80 P a g e Figure 30e ...
Page 83: ...Aercus Instruments WeatherSleuth 83 P a g e Figure 32 Figure 33 ...

