19
IVEDLJ 1107 - 4880900_01
INSTALLATION INFORMATION
WARNING: check that the power sup-
ply is disconnected before carrying out
any procedures on the unit.
WARNING:before carrying out any
work, put the proper individual pro-
tection equipment on.
WARNING: the device must be installed
in compliance with the national plant
engineering rules.
WARNING: electrical wirings, installation
of the fan coils and relevant accessories
should be performed by a technician
who has the necessary technical and
professional expertise to install, modify,
extend and maintain systems, and who
is able to check the systems for the pur-
poses of safety and correct operation.
WARNING: install a device, main
switch, or electric plug so you can
fully disconnect the device from the
power supply.
WARNING: Consult all documentation
before starting the installation.
The essential indications to install the
device correctly are given here.
The installer's experience will be neces-
sary however, to perfect all the opera-
tions in accordance with the specific
requirements.
The water, condensate discharge and
electrical circuit ducts must be pro-
vided for.
The fan coil must be installed in such a
position that the air can be distributed
throughout the room and so that there
are no obstacles (curtains or objects) to
the passage of the air from the suction
inlet and delivery outlet.
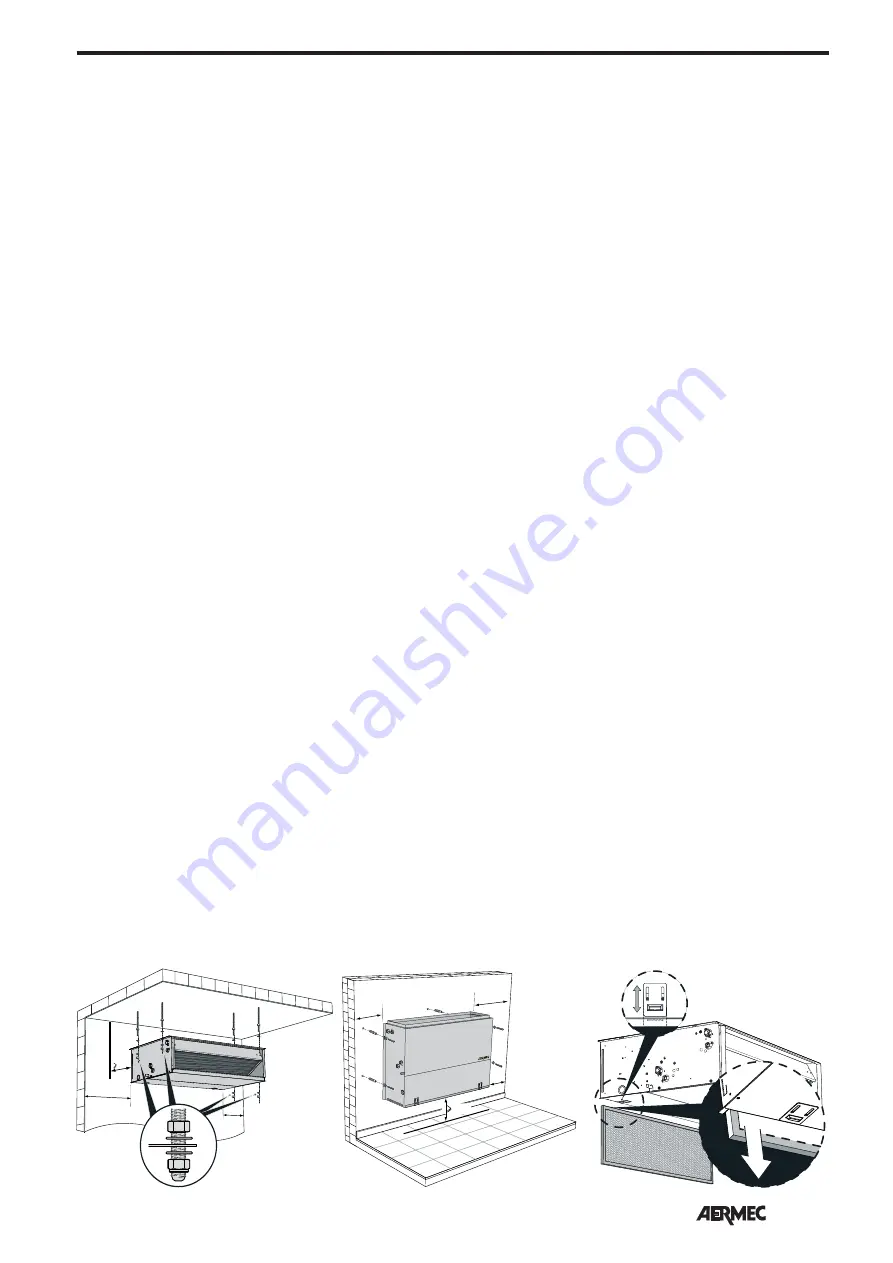
The fan coil should be installed in such a
way as to facilitate routine (filter clean-
ing) and special maintenance opera-
tions,
as well as access to the air drain
valve on the side of the unit frame
(connections side).
Do not install units in rooms where there
are inflammable gases or acid or alka-
line substances that could irretrievably
damage the aluminium-copper heat
exchanger or the internal plastic parts.
Do not install the unit in workshops or
kitchens where the oil vapours mixed
with the treated air can be deposited
on the exchange coils, reducing their
performance, or on the parts inside the
unit, damaging the plastic parts.
The VED unit is prepared for connection
with air ducting.
The VED fancoils are equipped with 5
speed motors, 3 operating speeds of
which can be selected by changing the
connections in the electrical box of the
motor. The fancoils are provided with
connections to the standard speed. See
the wiring diagram before changing the
motor connections.
If a three-way valve is installed, the mini-
mum water temperature sensor can be
installed in two locations:
- in its housing in the coil;
- on the delivery pipe up stream of the
valve.
Check the thermostat manual before
choosing the location of the minimum
water temperature sensor, according to
the preferred control logic. The thermo-
stat may need the settings of the dip-
switches changed.
WARNING:
After completing the installa-
tion check the operation of the conden-
sate discharge system, the seal of the
hydraulic fittings, insulation of ducts
and pipes. Then perform a functional
test.
Danger!
Only qualified service personnel
can accessit.
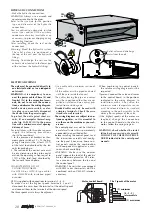
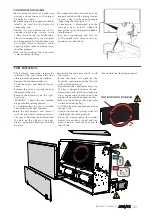
To install the unit, proceed as follows:
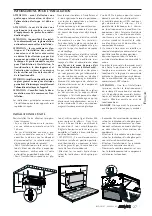
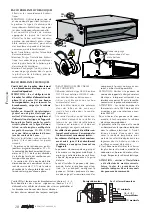
- For wall mounting, maintain a
minimum distance of 160mm from the
floor;
- For ducted installation, provide the
fitting of the channels to the unit, see
the drawing with the dimensional data.
The outlet is already provided with
coupling flange.
- Use expansion bolts (not supplied)
for wall or ceiling installation, finally
make sure that the unit is installed
horizontally.
- For installation suspended from the
ceiling, use four M8 threaded rods to
support the frame. Secure the unit to
the 4 threaded rods using 8 nuts of
which 4 self-locking nuts. Use the nuts
to adjust the height of the unit; finally,
check that the unit is installed in a
horizontal position
- WARNING: The fan coil must be
installed in a horizontal position,
otherwise the correct discharge of
condensate can not be guaranteed.
- Make the hydraulic connections as
described in the relative chapter.
- Make the condensate discharge
connection as described in the relative
chapter. The fan coils that work in heat
mode only do not require condensate
discharge.
- Make the electrical wirings as shown
in the relative chapter and in the wiring
diagrams.
- Install and connect any accessories.
- Start up the fan coil and check all
the components and functions are
operating correctly.
UNIT INSTALLATION
160
mm
160
mm


