13
4. TRANSPORTING THE DEVICE
a. When transporting
Aero HygenX RAY – Autonomous UVC Robot
to the aircraft, the
device should remain upright. The Master Power Switch must be selected off to
prevent damage to the drive unit.
b. If
Aero HygenX RAY – Autonomous UVC Robot
is to be transported outdoors, the
protective environmental cover should be installed, especially during periods of
inclement weather. Ingress of water or moisture into the device will cause damage to
electronic components.
LOADING RAY ON TO THE AIRCRAFT
c. If the aircraft is parked adjacent to a jetway,
Aero HygenX
RAY – Autonomous UVC Robot
can be manually
positioned (on wheels) into the cabin.
NOTE: For manual repositioning, ensure Master Power Switch is selected “OFF”.
(refer to “REAR VIEW” image in section above entitled “FEATURES & CONTROLS”
for location of Master Power Switch)
d. If the aircraft is parked on an open ramp, ground staff
may load
Aero HygenX RAY – Autonomous UVC Robot
through the aircraft door as shown:
NOTE: Carry handle at the front is mid-way up the unit. Carry handle at the aft is on the lower portion of the unit.
5. BATTERY CHARGING
a. Charge the battery as often as possible, to
maximize battery life. (Numerous short
charges are better than one long charge.)
b. A complete charge will take approximately
three hours, using the 12A charger provided.
c. RAY should remain powered off during
charging.
d. The Emergency Push Buttons should be
pressed down to ensure wheels and lamps
remain unpowered.
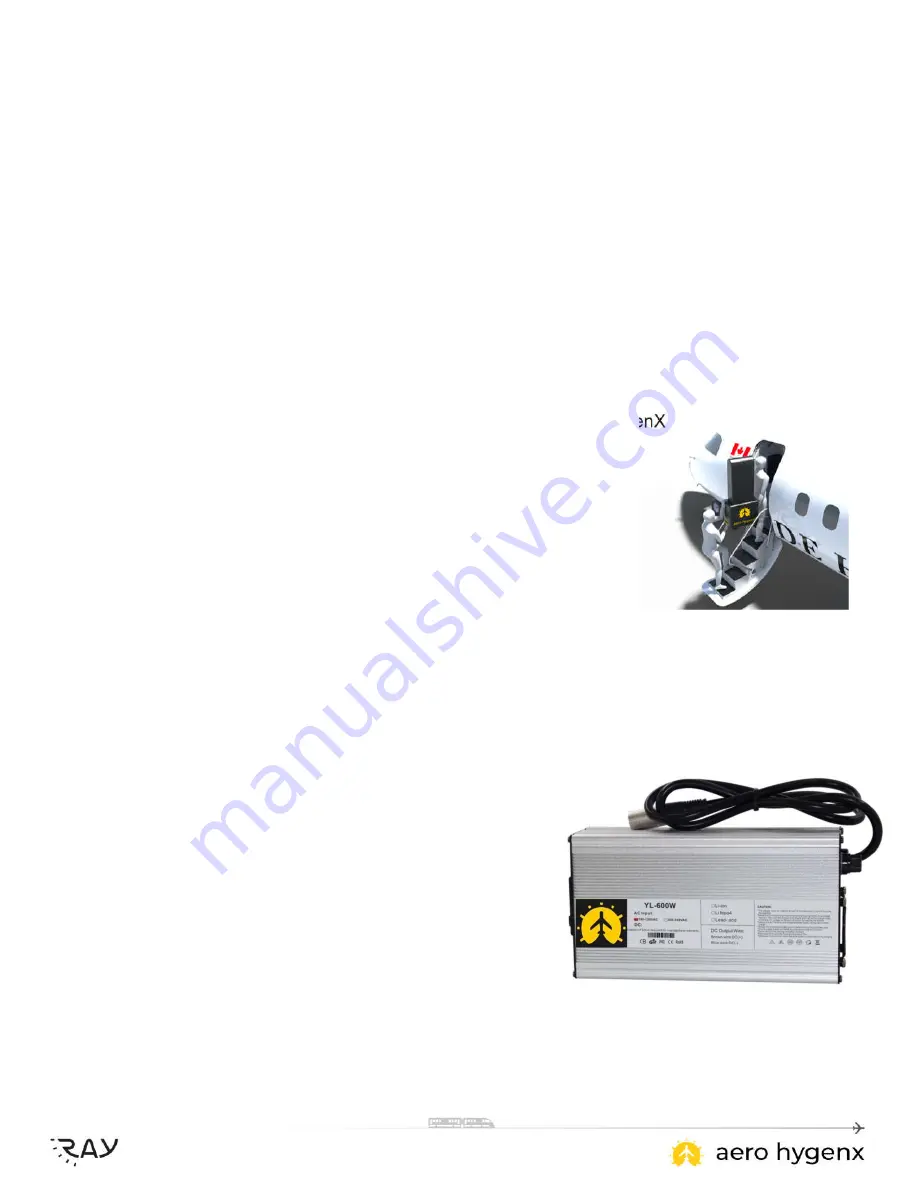
e. Connect the charger to the XLR charge receptacle at the front of
Aero HygenX RAY
– Autonomous UVC Robot
. (refer to FRONT view under “FEATURES & CONTROLS”
section.)


