background image

6

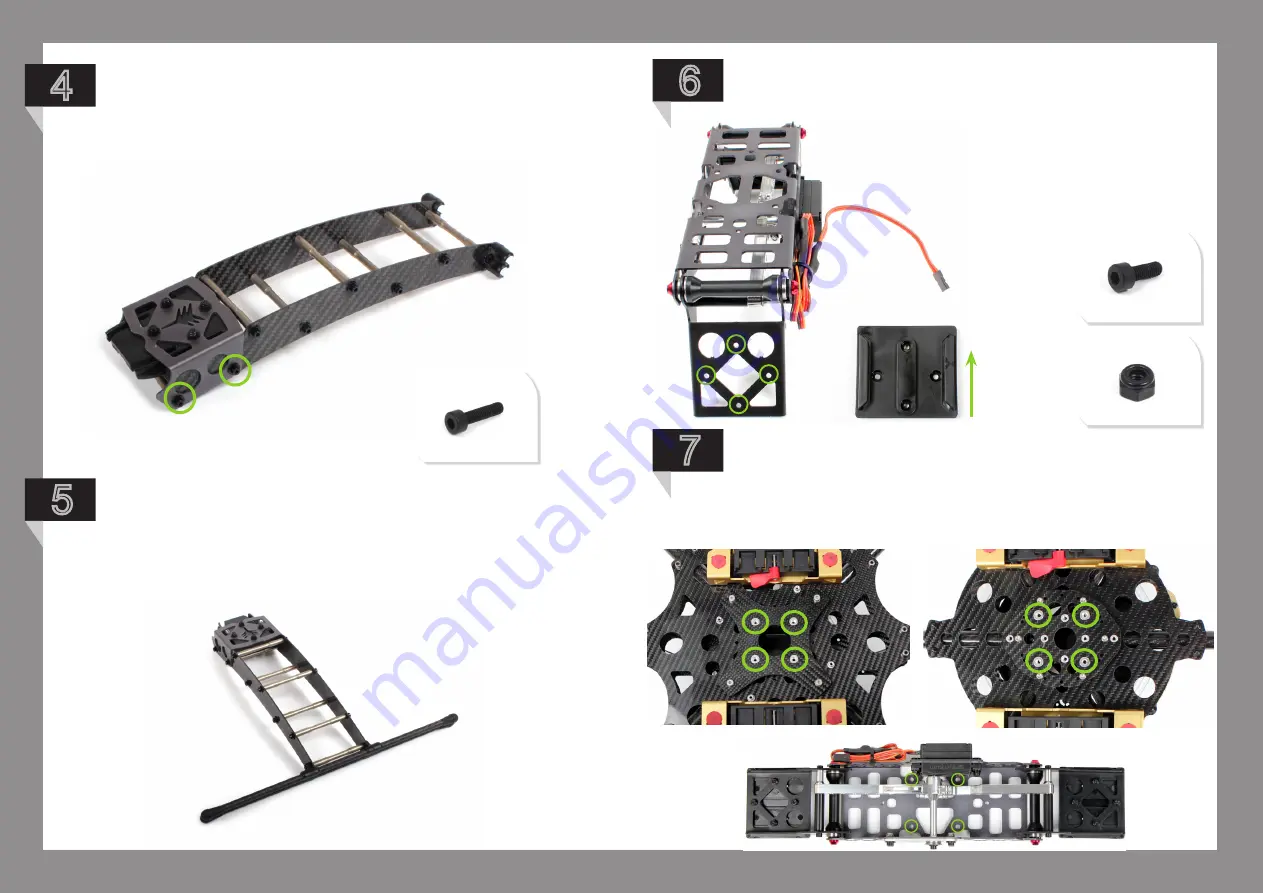
5

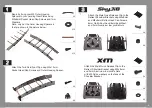
Center the Landing Gear Skids and snap into 

place. Push on End Caps.

Repeat steps 1-4 for your second set of Landing 

Gear. 

7

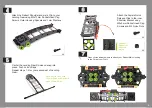
Green circles indicate where to attach your Retract Main Housing 

to the Core of your Craft.

SkyJib

XM

Note: SkyJib Coax uses 
360mm Skids and Standard 
Uses 450mm Skids

4

Attach the Retract Shoulder and male Clip to your 

Landing Gear using M3x12mm Socket Head Cap 

Screws, Outer Housing Spacers and 1mm Washers..

6

Attach the Female Quick 

Release Clips to the inner 

Shoulder Bracket using 

M3x8mm Socket Head Cap 

Screws and M3 Nyloc Nuts.

X8

X8

Attention:

Attach your 

Clips this 

way up.

X4

Summary of Contents for skyjib

Page 1: ...1 R e t r a c t a b l e L a n d i n g G e a r A s s e m b l y...

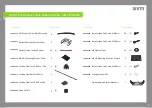
Page 2: ...c XMR Landing Gear Plate Standard Retract Shoulder Bracket Outer Retract Outer Housing Spacer M3 QR Mounting Bracket Male Landing Gear Twin Skid Foot Clip Landing Gear Skid L 300mm Landing Gear Twin S...

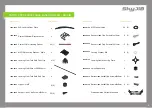
Page 3: ...c XMR Landing Gear Plate Extended Retract Shoulder Bracket Outer Retract Outer Housing Spacer M3 QR Mounting Bracket Male Landing Gear Twin Skid Foot Clip Landing Gear Skid L 360mm Landing Gear Twin S...

Page 4: ...JR Landing Gear Plate Retract Shoulder Bracket outer Retract Outer Housing Spacer M3 QR Mounting Bracket Male Landing Gear Twin Skid Foot Clip Landing Gear Skid L 360 450mm Landing Gear Twin Skid End...

Page 5: ...Cap Screws and Outer Housing Spacer X10 X5 X4 X4 X4 X10 X2 Begin by fixing your M3 Outer Housing Spacers to your Landing Gear Plates using M3x8mm Socket Head Cap Screws and 1mm Washers Note only put t...

Page 6: ...of your Craft SkyJib XM Note SkyJib Coax uses 360mm Skids and Standard Uses 450mm Skids 4 Attach the Retract Shoulder and male Clip to your Landing Gear using M3x12mm Socket Head Cap Screws Outer Hou...

Page 7: ...w clip your Landing Gear onto your main housing as shown here 9 Attach using M4x12mm Socket Head Cap Screws and M4 Locking Washers Mounting Positions are the same for SkyJib Craft X4 X4 Note If you ha...

Page 8: ...8 12 Your setup should now look like this...

Page 9: ...9 R e s e t t h e Z e r o P o i n t a t y o u r R e t r a c t a b l e L a n d i n g G e a r...

Page 10: ...e that they are in the fully collapsed position apply firm pressure with your fingers 2 Undo the M3 x 12mm SS servo horn bolt until the servo can rotate freely without operating the retract mechanics...

Reviews: