19
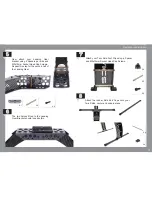
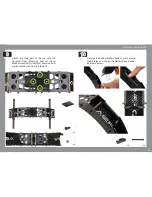
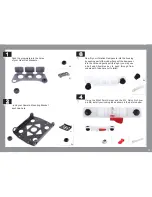
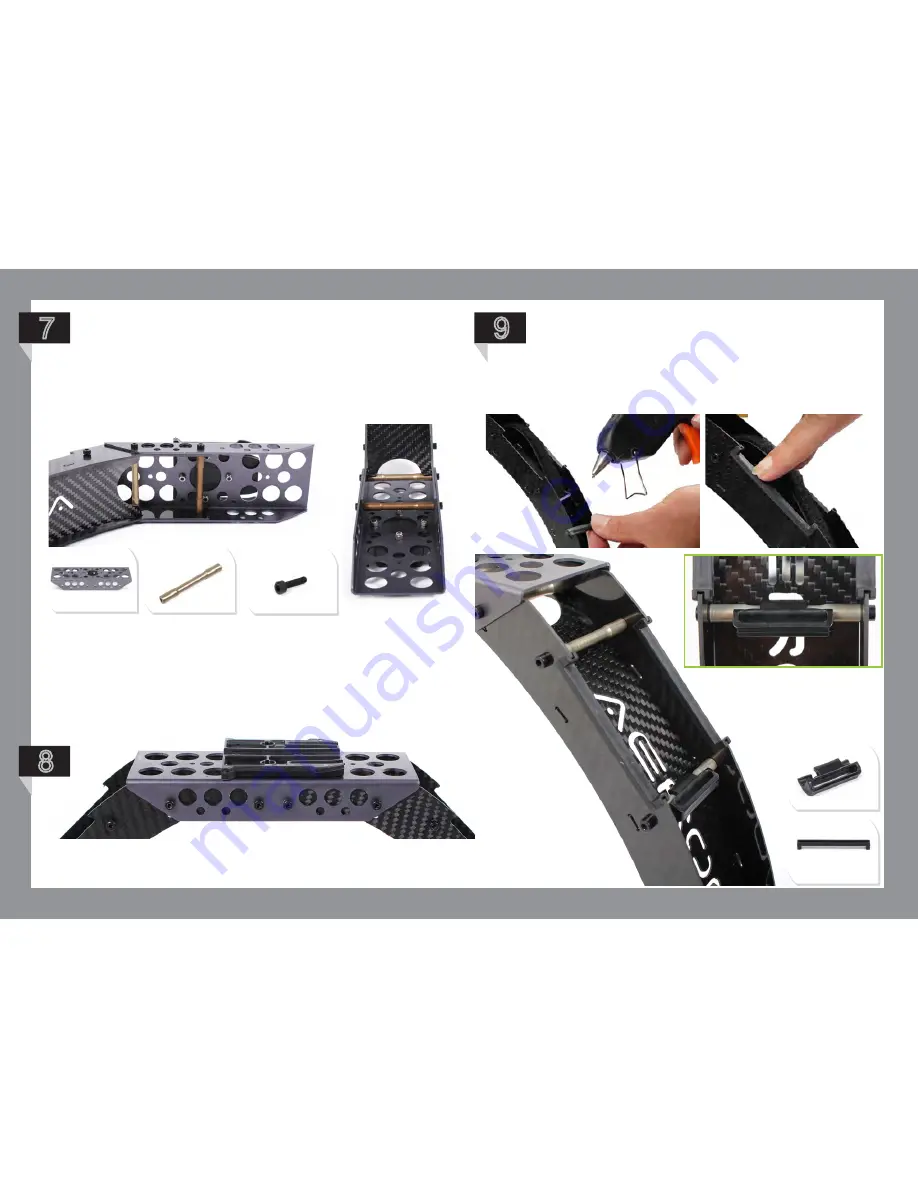
Hot glue the Rubber Battery Pads to
your Landing Gear Plates and clip on the
Battery Strap Keeper as shown below.
9
x4
x2
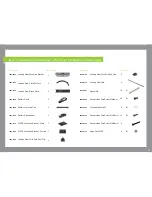
EXTENDED LANDING GEAR
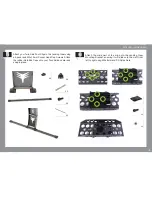
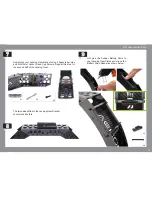
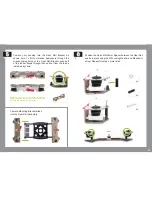
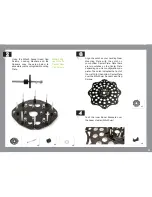
Now attach your Landing Gear bracket using 2 Spacers per side
and M3x12mm Socket Head Cap Screws. Repeat this step for
the second half of the Landing Gear.
X8
X1
X4
8
7
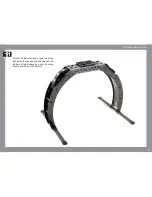
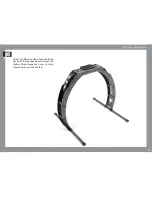
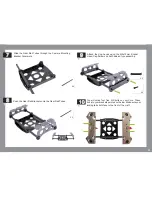
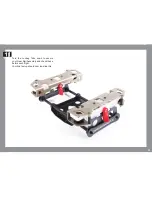
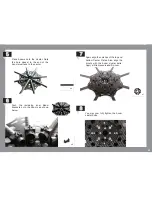
The two halves fitted to the Landing Gear Bracket
should look like this.
Summary of Contents for XM Titanium
Page 1: ...1 B u i l d M a n u a l...
Page 3: ...3 F l i g h t o p e r a t i o n a n d s a f e t y...
Page 8: ...8 P r e b u i l d C h e c k l i s t...
Page 10: ...10 A s s e mb l y I n s t r u c t i o n s...
Page 21: ...21 P a r t 2 G e a r R a i l a s s e mb l y...
Page 37: ...37 15 Your setup should now look like this...
Page 38: ...38 P a r t 3 XM BATTERY MOUNT PLATES 1 Battery Mounting Position...
Page 52: ...52 Your final setup should now look like this 5...
Page 59: ...59 8 Your final setup should now look like this...

