23
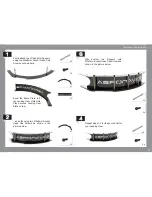
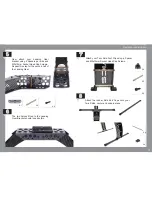
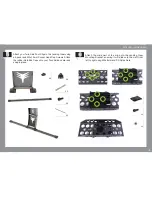
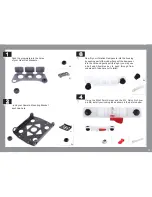
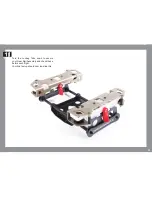
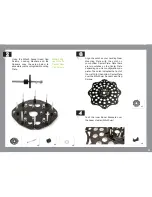
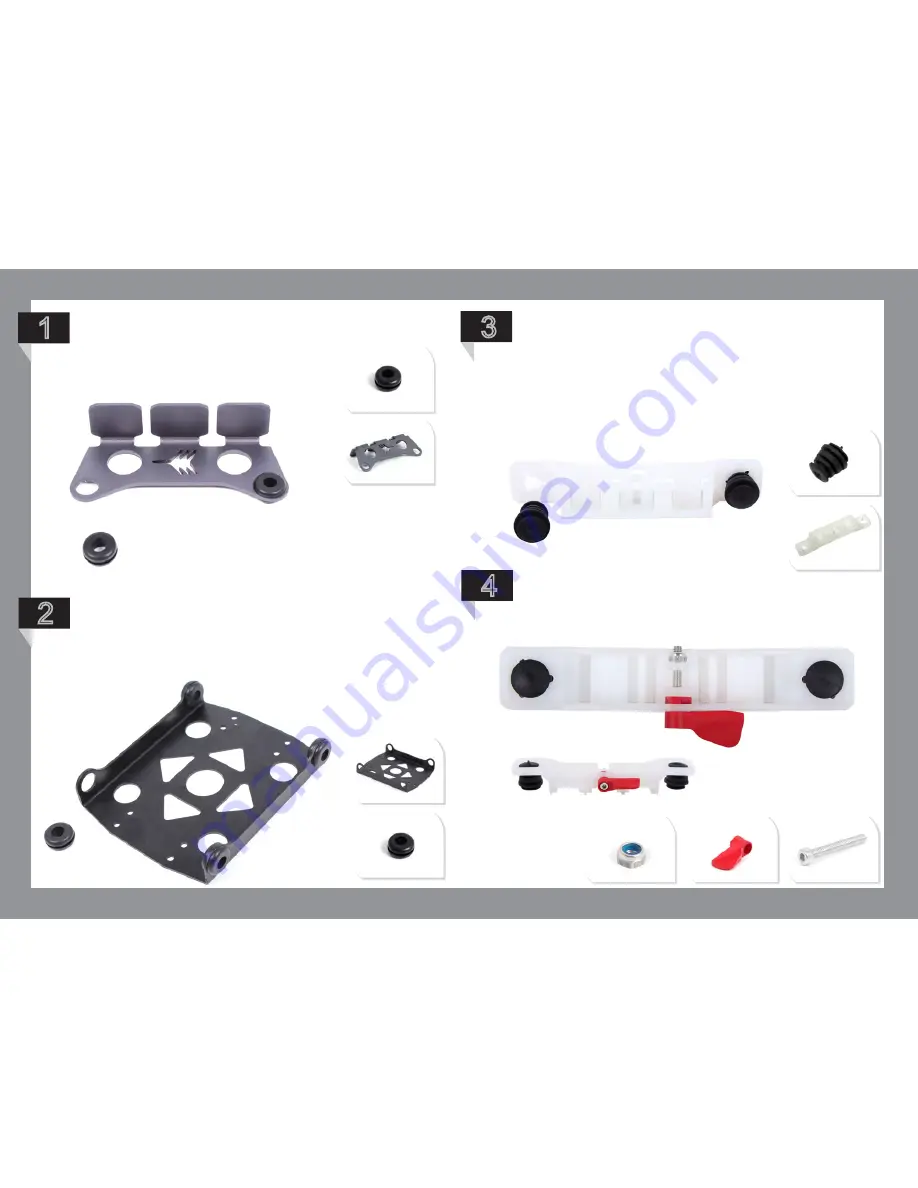
Now fit your Vibration Dampeners into the housing
by pushing part of the rubber flange of the dampener
into the hole and gently pull through. (you may use
a ball end Allum/Hex key to push through from
underneath; take care not to twist)
1
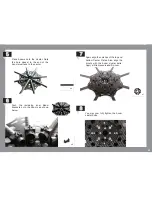
...and your Camera Mounting Bracket
as shown here.
2
3
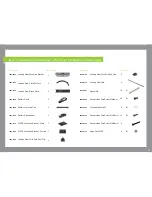
X4
X2
X1
X1
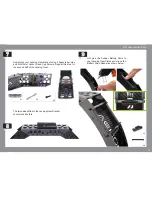
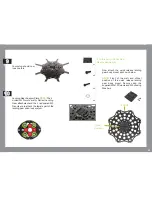
Push the grommets into the holes
of your Gear Rail Brackets...
Using the M4x30mm Screw and the M4 Nyloc Nut (low
profile) install your locking tab as shown in the picture below.
4
X2
Summary of Contents for XM Titanium
Page 1: ...1 B u i l d M a n u a l...
Page 3: ...3 F l i g h t o p e r a t i o n a n d s a f e t y...
Page 8: ...8 P r e b u i l d C h e c k l i s t...
Page 10: ...10 A s s e mb l y I n s t r u c t i o n s...
Page 21: ...21 P a r t 2 G e a r R a i l a s s e mb l y...
Page 37: ...37 15 Your setup should now look like this...
Page 38: ...38 P a r t 3 XM BATTERY MOUNT PLATES 1 Battery Mounting Position...
Page 52: ...52 Your final setup should now look like this 5...
Page 59: ...59 8 Your final setup should now look like this...

