24
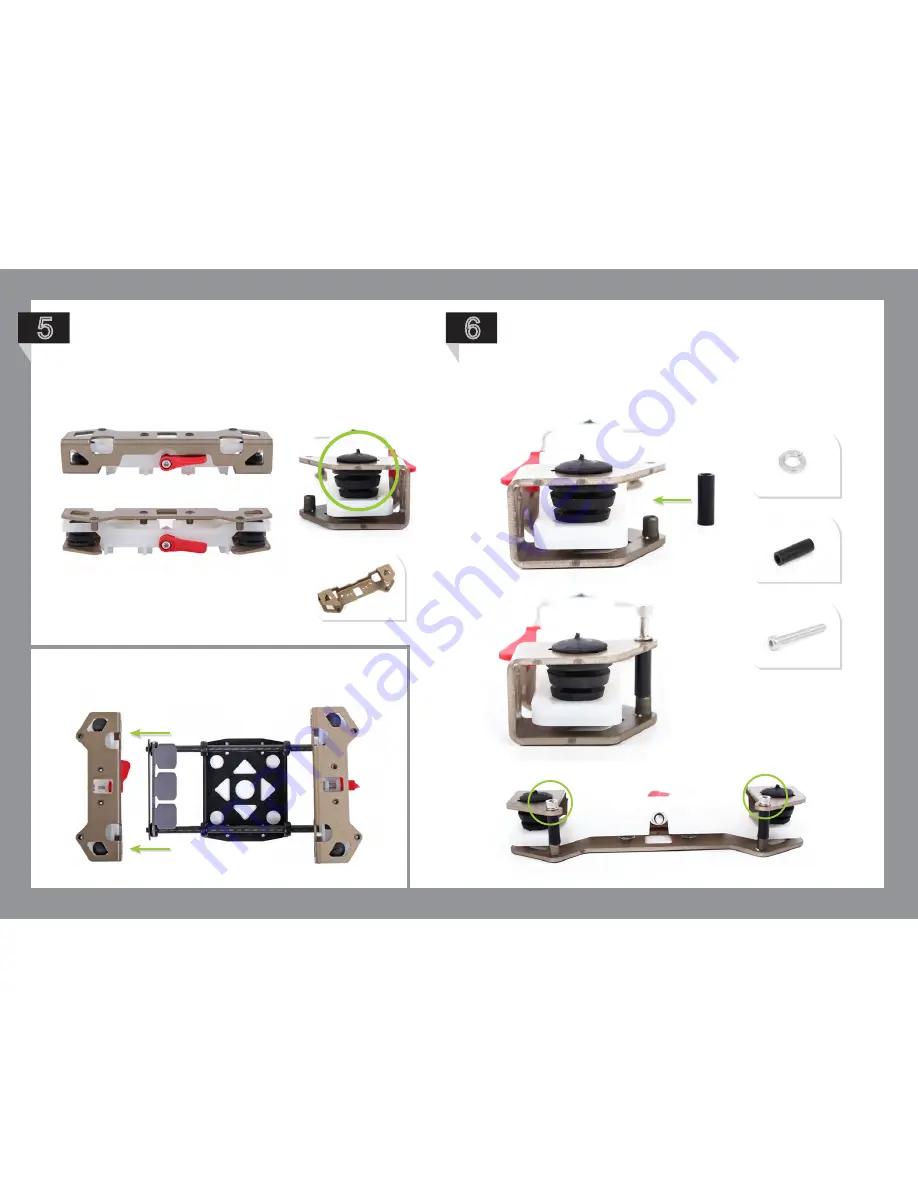
5
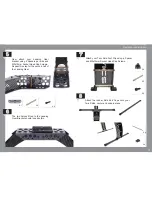
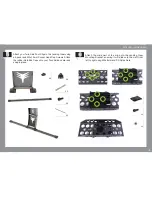
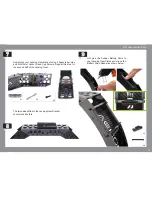
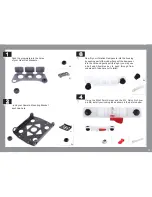
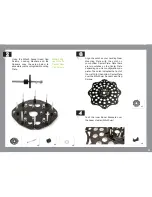
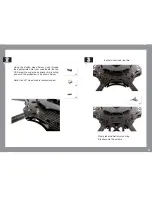
Position your housing into the Gear Rail Bracket as
shown here. To fit the vibration dampeners through the
corresponding holes of the Gear Rail Bracket push half
of the rubber flange through then pull out from the top as
indicated by circle.
6
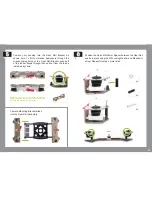
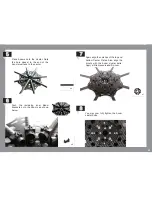
Please note that one of the housings has the
locking tab facing the open side of the bracket the
other one has it facing the closed side.
X4
X4
X4
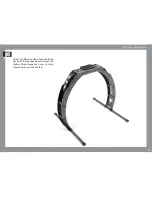
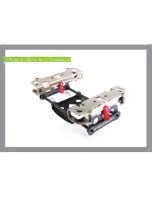
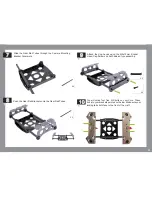
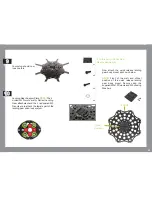
Camera Mounting Bracket slides
into the Gear Rail Assembly
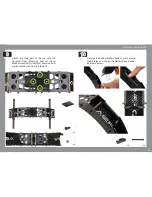
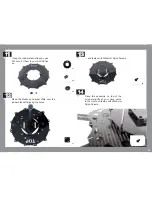
Position the Nylon M3x15mm Spacer between the Gear Rail
and fix in place using the M3 Locking Washer and M3x25mm
screw. Repeat this step 3 more times.
Summary of Contents for XM Titanium
Page 1: ...1 B u i l d M a n u a l...
Page 3: ...3 F l i g h t o p e r a t i o n a n d s a f e t y...
Page 8: ...8 P r e b u i l d C h e c k l i s t...
Page 10: ...10 A s s e mb l y I n s t r u c t i o n s...
Page 21: ...21 P a r t 2 G e a r R a i l a s s e mb l y...
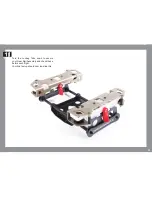
Page 37: ...37 15 Your setup should now look like this...
Page 38: ...38 P a r t 3 XM BATTERY MOUNT PLATES 1 Battery Mounting Position...
Page 52: ...52 Your final setup should now look like this 5...
Page 59: ...59 8 Your final setup should now look like this...

