33
2
3
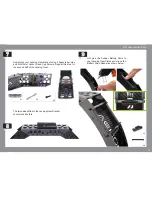
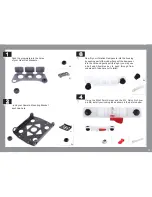
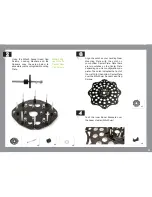
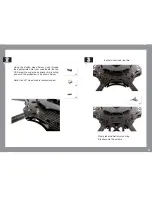
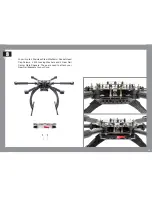
Using the M3x40 Socket Head Cap
Screws, Locking Washers and the
Spacers copy the setup below to
assemble your Landing Gear Mounting
Plate.
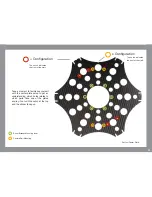
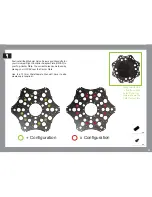
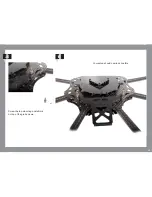
Align the notch on your Landing Gear
Mounting Plate with the notch on
your bottom Center Plate. Note there
are two notches on the Center Plate
depending on which configuration you
prefer. The notch indicates the front of
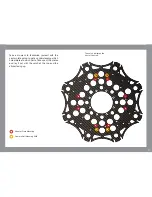
the craft. Slot the bottom Center Plate
over the M3x40mm Socket head Cap
Screws.
4
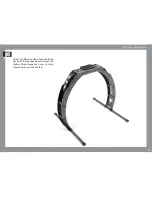
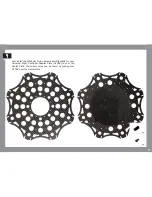
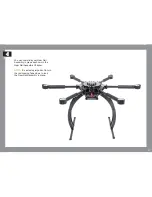
Push the inner Boom Brackets over
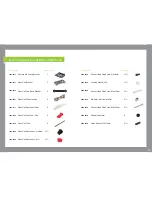
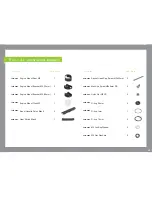
the boom cluster. (M3x40mm)
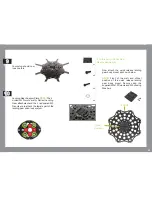
x8
x1
x8
x8
x8
Note
: XM6
uses M3x35
Socket Head
Cap Screws
Summary of Contents for XM Titanium
Page 1: ...1 B u i l d M a n u a l...
Page 3: ...3 F l i g h t o p e r a t i o n a n d s a f e t y...
Page 8: ...8 P r e b u i l d C h e c k l i s t...
Page 10: ...10 A s s e mb l y I n s t r u c t i o n s...
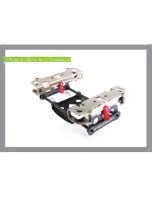
Page 21: ...21 P a r t 2 G e a r R a i l a s s e mb l y...
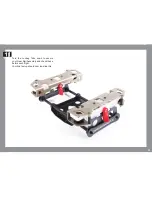
Page 37: ...37 15 Your setup should now look like this...
Page 38: ...38 P a r t 3 XM BATTERY MOUNT PLATES 1 Battery Mounting Position...
Page 52: ...52 Your final setup should now look like this 5...
Page 59: ...59 8 Your final setup should now look like this...

