26
Figure 42
In this case you have to lower the sprogs on the side
the glider is turning towards and raise the sprogs on
the other side by the same amount.
To lower the sprog, turn it clockwise. To raise the
sprog, turn the entire sprog counter clockwise. One full
turn raises or lowers the sprog about 15 mm.
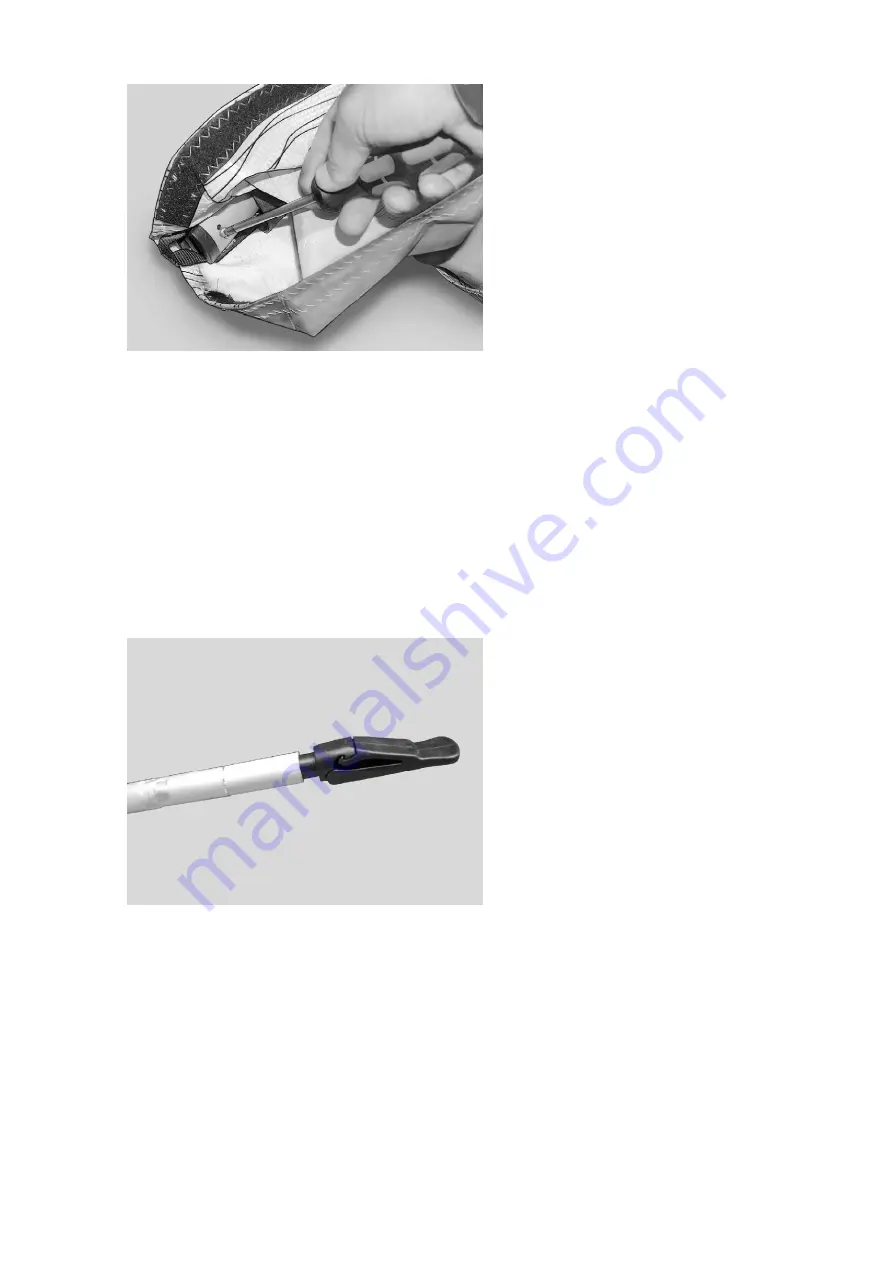
If you have a turn with VG off only, correct it by rotating
one of the sail mount plugs. The left turn is corrected
by twisting the right sail plug clockwise (twisting the
sail up at the trailing edge).
Don’t forget to fix the plug in the chosen position using
the screw (
Fig. 42)
.
If your glider has a turn both with VG on and VG off, first start to correct it as it was described in case of a turn with
VG of. If the turn with VG on still remains, then correct it with sprogs as it was described in case of a turn with VG on.
WARNING
Adjust one thing at a time only.
AIRFRAME
Check the leading edges for possible bent tubes. Check that the keel is not bent to one side. Check that the crossbar
has neither cracks nor any visible damage.
BATTENS
Check battens for symmetry against the corresponding batten from the other wing. Check that the battens have no
deviation from the batten template.
Figure 43
BATTEN TENSION
All battens on the Combat are tensioned by lever
batten tips. The desired batten tension can be easily
adjusted by the threaded lever batten tip adjuster
(
Fig. 43)
.
To increase batten tension rotate the threaded lever
batten tip adjuster counter clockwise. To decrease
batten tension rotate the threaded lever batten tip
adjuster clockwise.
Batten tension has to be checked and adjusted with VG full on. The correct batten tension is checked as described
bellow.
For cambered battens # 1, 2, 3, 4 and 11:
-
Install the folding clip of the lever batten tip in the hem at the trailing edge of the sail and start to clip the
batten. The folding clip should be at approximately 30 degrees to the batten shaft as tension starts to come
on the clip
(Fig. 44).
For cambered battens # 5, 6, 7, 8, 9, 10:
-
Install the folding clip of the lever batten tip in the hem at the trailing edge of the sail and start to clip the
batten. The folding clip should be at approximately 15 degrees to the batten shaft as tension starts to come
on the clip
(Fig. 45).
Summary of Contents for Combat-12.4-GT
Page 2: ...2 ...
Page 29: ...Combat GT 12 4 12 7 13 5 ...
Page 30: ......
Page 31: ......
Page 32: ......
Page 33: ......
Page 34: ...CBT10 12 023 000 AD CBT10 12 023 000 AD ...
Page 35: ......
Page 37: ......
Page 38: ......
Page 39: ......
Page 40: ......
Page 41: ......
Page 42: ......
Page 44: ......
Page 51: ......
Page 52: ......
Page 53: ......
Page 54: ...CBT 200 000 AD ...
Page 55: ...CBT 200 000 AD ...
Page 56: ...CBT 200 000 AD ...
Page 57: ...CBT2 220 000 AD ...
Page 59: ...Combat GT 13 5 STL 263 000 ...


