14
7. Connect backup loop so that it passes over the keel and back to the pylon. Tighten a nut and secure
with a safety ring (fig. 32).
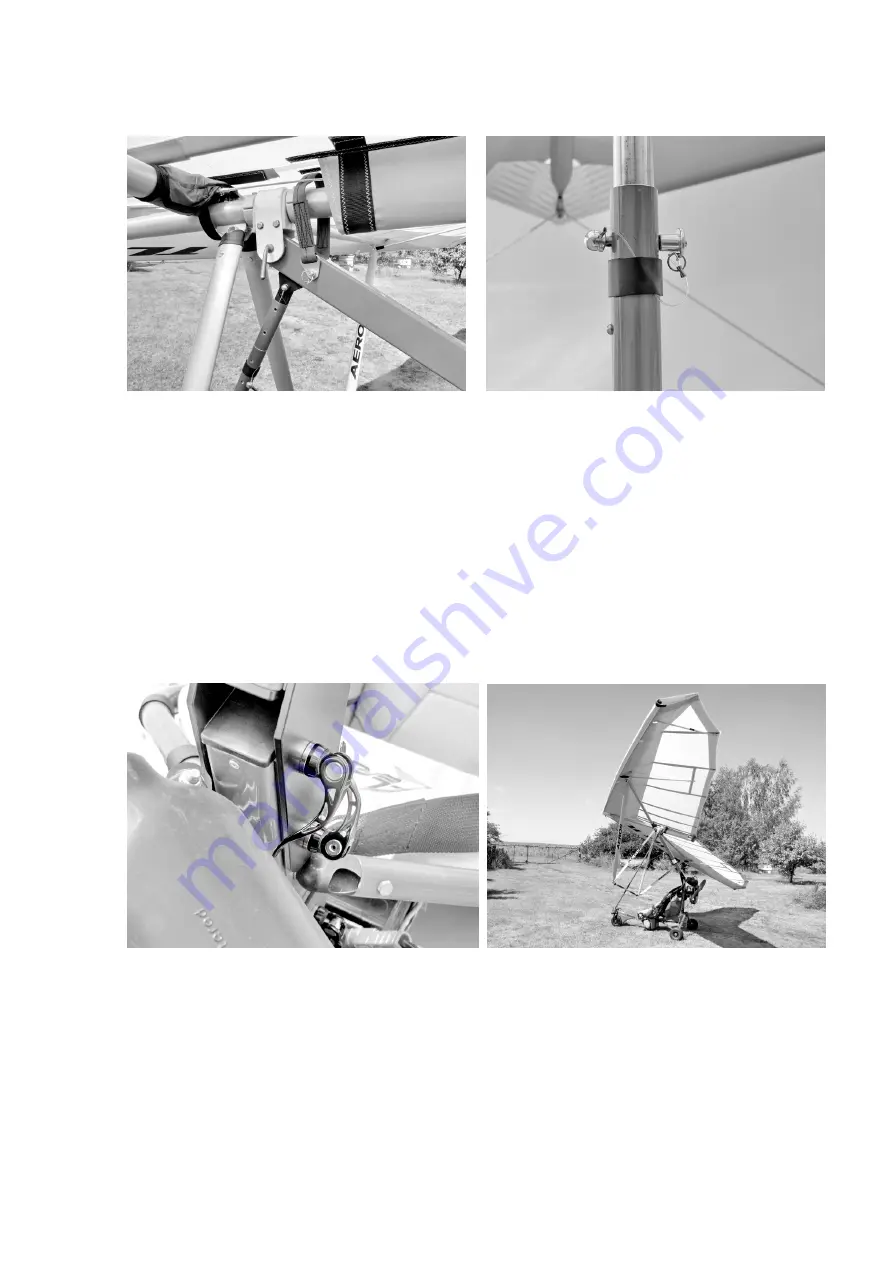
Figure 32
Figure 33
8. Install the nose cone of the wing by applying the top Velcro first then gently tension over the nose
plates and attach the Velcro to the undersurface of the wing.
9. Sit in the pilot’s seat. Undo straps around the base tube. Take a firm grip on a base tube and lift it up
on your knees first an then all the way up until the push pin of the front brace tube click in position. Install
the quick pin in position to double secure the front brace tube from folding in (fig. 33).
10. Go to the back of the trike. Install the clamp bolt of the main pylon in place. Check that all clamp bolts
are tighten up (fig. 34).
11. Remove the wing mount bracket from the lower pylon.
Now the ultralight is ready for pre flight inspection (fig. 35). Conduct a complete pre flight of the trike and
the wing.
Figure 34
Figure 35
8. REMOVING THE WING FROM THE TRIKE
See section
Attaching the Wing to the Trike
and use reverse procedure.
1. Position the trike facing into the wind. Check the ignition switch on the trike is off.
2. Install the wing mount bracket on the lower pylon.


