17
Using
Alternatively the air hose can be connected to a
regular compressed air can or bottle (can be
purchased at the model making specialized store)
with the help of the supplied air can adaptor (11).
Regulate the air pressure with the air valve (10).
4. Note the parameters given by the manufacturer of
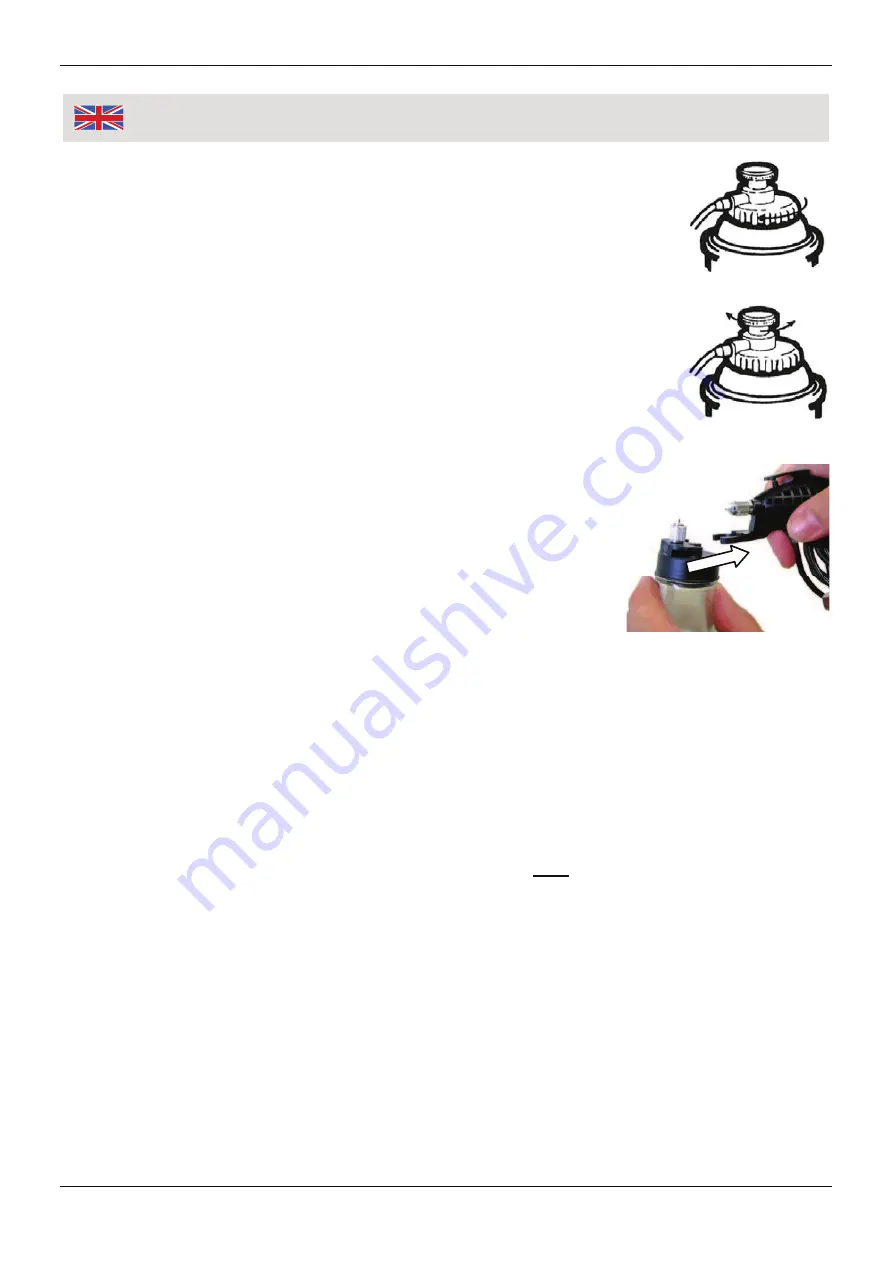
the paint to be processed. Pour the material to be
processed in the material cup (5) and carefully turn
the cup from below on the lid. Click the prepared
material cup onto the corresponding recess of the
airbrush gun body.
Note:
Pay attention to the air hose when
painting. Hold the hose firmly with one hand
while operating the airbrush gun with the
other hand. The hose must not be bent. Do
not step on it, as this will lead to formation of
droplets.
5. Press the trigger (2) and perform test runs on some test pieces
(e.g. on an old newspaper or cardboard). This way you can
determine the optimum amount of paint and the different paint jet
adjustments.
The movement speed of the spray gun depends on the setting of
the air pressure. With little paint, move the airbrush gun slowly.
With plenty of paint move it faster. Do not spray in an arc on the
surface and do not interrupt spraying as this will lead to uneven
or too little paint distribution onto the surface. The general
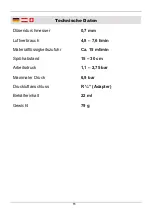
recommended spraying distance is approx. 15 – 30 cm.
6. Reduce the air supply by pressing the trigger less in. Or use the
air flow regulator at the compressor to reduce the air pressure.
7. Press the trigger further in to increase the air intake pressure. Or
use the air flow regulator at the compressor to increase the air
pressure. This way the atomisation can be adjusted from a
coarser to a finer level.

