2.3. Remove the Shipping Clamp
Remove the shipping clamp before you mount or operate the AGV3D. Put the AGV3D on a stable, flat
surface for this procedure.
WARNING
: You could cause permanent mechanical damage to the AGV3D if you do not
remove the shipping clamp before your operate the AGV3D.
REMOVING THE SHIPPING CLAMP
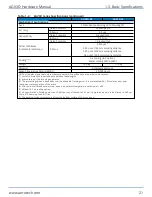
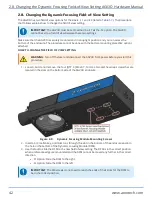
1. Remove the four [QTY. 4] M3x0.5, 10 mm LG socket head cap screws that attach the top cover of
the main AGV3D enclosure and set them aside.
Figure 2-3:
Top Cover Removal
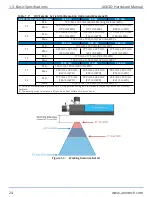
2. Carefully lift up the top cover from the front to access the shipping clamp.
NOTE
: The top cover can not be completely removed because there are cables attached to the
underside of it.
WARNING
: If a cable is damaged or detached in this step, it could cause severe damage to
the AGV3D when it is connected to a power source.
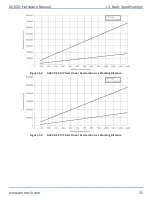
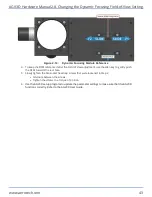
3. Loosen the two [QTY. 2] M3 socket head cap screws that hold the shipping clamp in place.
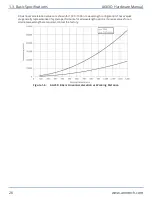
4. Carefully remove the shipping clamp, the two [QTY. 2] M3 shcs, and the two [QTY. 2] M3 washers
as a group to make sure that you do not drop a screw or washer in the open AGV3D enclosure.
AGV3D Hardware Manual
2.3. Remove the Shipping Clamp
www.aerotech.com
33
Summary of Contents for AGV3D Series
Page 1: ...Revision 2 00 AGV3D Three Axis Laser Scan Head HARDWARE MANUAL...
Page 6: ...This page intentionally left blank List of Tables AGV3D Hardware Manual 6 www aerotech com...
Page 12: ...This page intentionally left blank Laser Shutter AGV3D Hardware Manual 12 www aerotech com...
Page 16: ...Figure 1 2 Standard AGV3D Chapter 1 Overview AGV3D Hardware Manual 16 www aerotech com...


