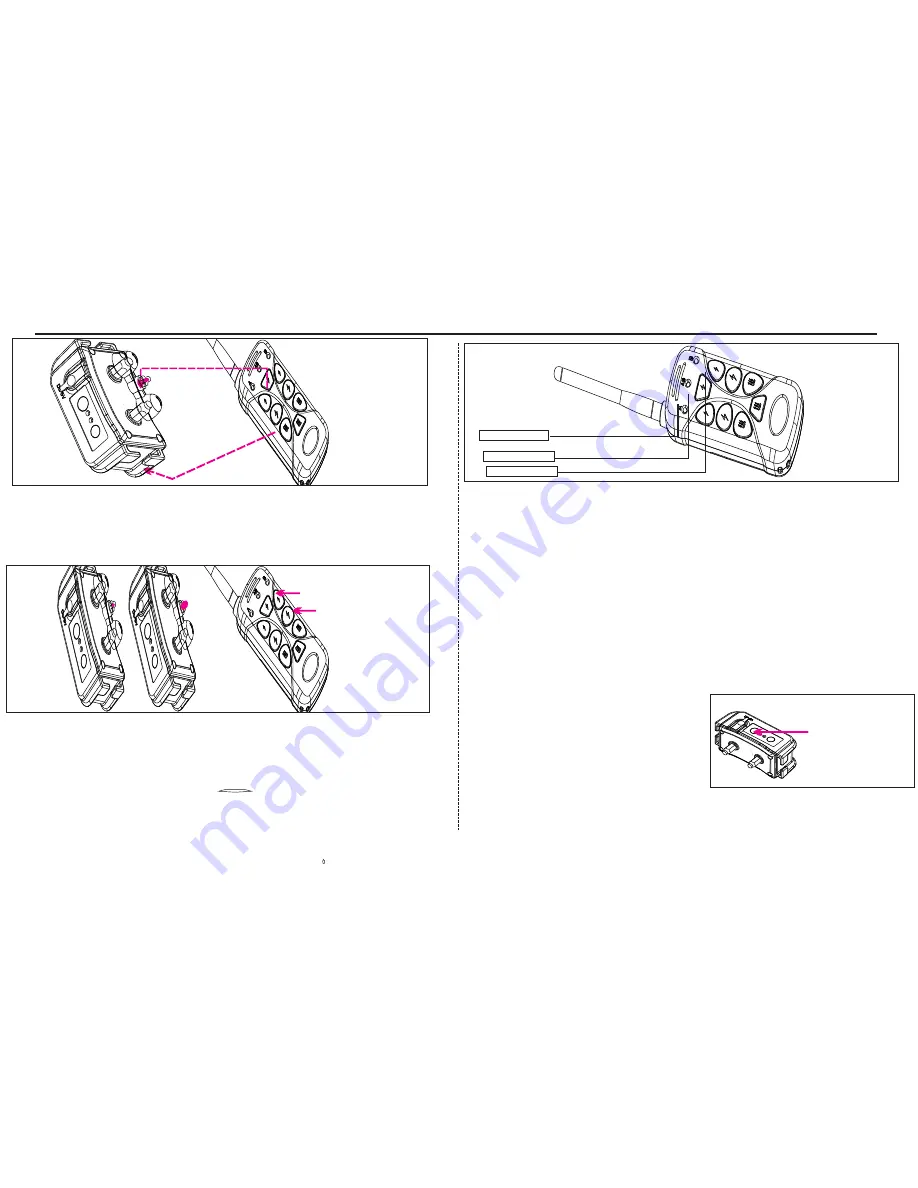
Step 6:
Check the Function buttons (vibrate, shock and strong shock).
Press the Vibrate button, the receiver will vibrate. To test the shock,
Cap the shock test kit on the metal prongs, push the shock button.
If the bulb lights up, the shock function is ok.
Step7:
Adjust shock intensity. Press the shock button will produce weaker shocking
effect, while the strong shock button will produce stronger shocking effect.
Shock
Strong shock
Quick Start
The 1st dog
The 2nd dog
Both dogs
Step 8:
Press the three buttons under dog A, the first dog will be
trained; Press the three buttons under dog B, the second dog will be
trained; Press the two buttons under dog AB, both dog will be trained.
You need to define one receiver as the first dog, and another receiver
as the second dog if you need to train two dogs Separately.
Reset Button
Press and hold
on Reset button
for 1 second will
cancel the
previous sync.
Step 9:
Start to train. Put the collar into the receiver and wear the
receiver around dog’s neck. Remember to leave one finger place
between collar and neck, then it’s ready to train.
Tip 4: After receiver sync with transmitter, if receiver still have power supply and have been
manually turned off, just turn it back on. No need to re sync it with he transmitter. But if you
need to sync the receiver under different dog
system, just press and hold the Reset button for 1
second, then you can sync the receiver under
another dog system.
-03-
Tip 5: To do a self-test,press the On/Off button of receiver three
times it should beep, vibrate and shock, indicating a functional unit.
Tip 3:After 3 minutes of inactivity, transmitter will go into sleeping
mode. To wake it up, just press any of the function key (Vibrate,
Shock and Strong Shock).


