background image

Quick Start 

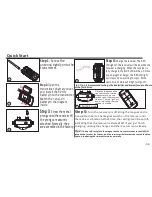
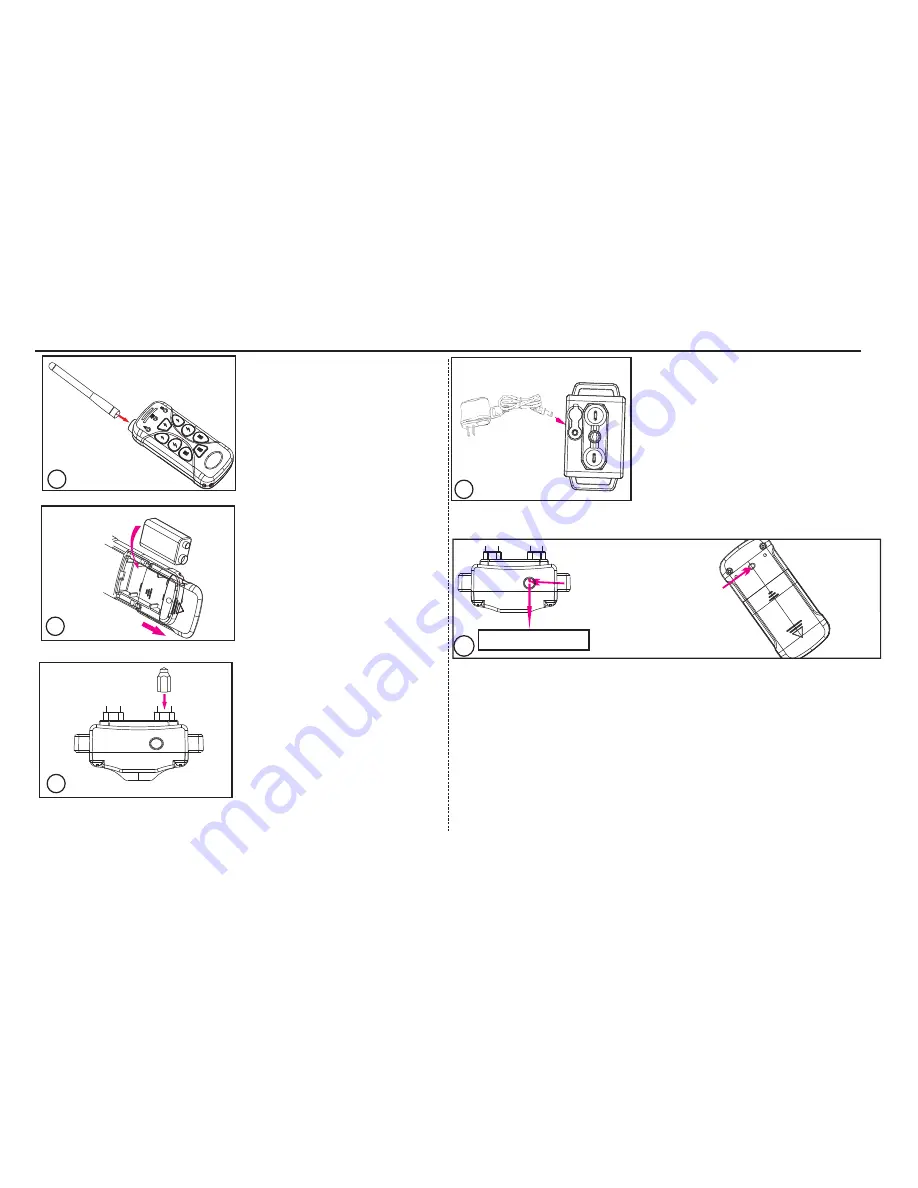
  Step 1

: Screw the 

  antenna tightly onto the 

  transmitter.

Step2:

Open the 

transmitter's battery cover,

and  install the 9V dry 

battery into the transmitter.

Match the + and - on 

battery to the diagram 

inside.

a

b

 Step 3:


Screw the metal 

 prongs onto the receiver till 

 the prongs are securely 

 attached. Normally, they 

 are assembled in the factory.

4

Tip  1: Tip 1: It is recommend to charge the transmitter and receiver for up to 3 hours 

for the first 3 times.

Place the magnet on the 

transmitter near to the 

magnet switch on the 

receiver until the receiver 

vibrates. The red light will 

be on, indicating that the 

receiver is started.

5

Tip 2: 

To do a self-test, place the magnet on the transmitter near to the ON/OFF 

area on the receiver for 3 times, and the receiver will vibrate or shock with the blue 
light on, indicating the transmitter works normally. 

-02-

1

2

3

Step 4:

LED light of the receiver will be on while the 
receiver is charging. When the receiver is 
fully charged, the BLUE LED will be on. Once 
you unplug the charger, the RED LED light 
will stay solid on-waiting for sync. At the 
same time, the Blue LED light will go off.

Charge the receiver. The RED 

Step 5:


Turn the receiver on/off. Bring the magnet on the 

transmitter near to the magnet switch on the receiver until 
the receiver vibrates. At that time, the red light will be on/off, 
indicating that the receiver is started/off. If you just finish 
charging, unplug the charger, and the receiver is on already. 


ON/OFF area

Summary of Contents for AT-215C

Page 1: ...AT 215C 7 Remote Dog Trainer AT 215C...

Page 2: ...System Components 1 Quick Start 2 3 Trouble Shooting 4 5 Training Tips 6 Safety Guide 7 Information on Terms of Use Limitation of Liability 8 Warranty Card 9 10...

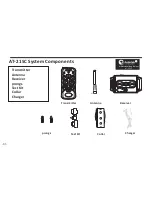
Page 3: ...Receiver Transmitter Antenna prongs Test Kit Collar Charger Transmitter Antenna Receiver prongs Test Kit Collar Charger AT 215C System Components 01 R Professional Dog Trainer AT 215C...

Page 4: ...est place the magnet on the transmitter near to the ON OFF area on the receiver for 3 times and the receiver will vibrate or shock with the blue light on indicating the transmitter works normally 02 1...

Page 5: ...ing effect while the strong shock button will produce stronger shocking effect Adjust shock intensity Press the shock button will Check the button functions vibrate shock and stronger shock Press the...

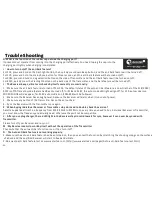
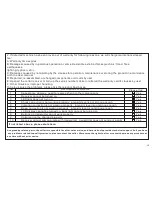
Page 6: ...iver has been synced with the Transmitter and the Transmitter is in the correct dog system Never change the dog system after the system has been synced 3 Make sure the Receiver and Transmitter have en...

Page 7: ...mode LED light will go off for 219 auto mode icon MICROPHONE will disappear for 919C auto mode icon SPEAKER will be hollowed 2 Make sure the Receiver has enough power because the Receiver will alarm w...

Page 8: ...th a corrective stimulus only as needed Be consistent with your verbal commands using the same words every time Work with your pet on one behavior at a time to avoid confusion and frustration Use as l...

Page 9: ...eusethesuppliedtest kit 5 Ifthereiswaterinthecharginghole pleasedryitbeforechargethereceiver 6 Anycollarwornforextendedperiodscancauseaconditionsimilartobedsores knowasPressureNecrosis Toreduce thepos...

Page 10: ...act our customer support 3 No Unlawful or Prohibited Use This product is designed for use with dogs only This dog training device is not intended to harm injure or provoke Using this product in a way...

Page 11: ...product to be free from defects in material and workmanship arising under normal use for a period of 6 months from the date of original purchase when brand new Misuse loss or improper handling is not...

Page 12: ...cannot be turned on LED light does not turn on Shock correction is not working properly intensity level is not strong enough Vibration correction is not working properly intensity level is not strong...

Reviews: