1
INSTALLATION INSTRUCTIONS
OptiNID
®
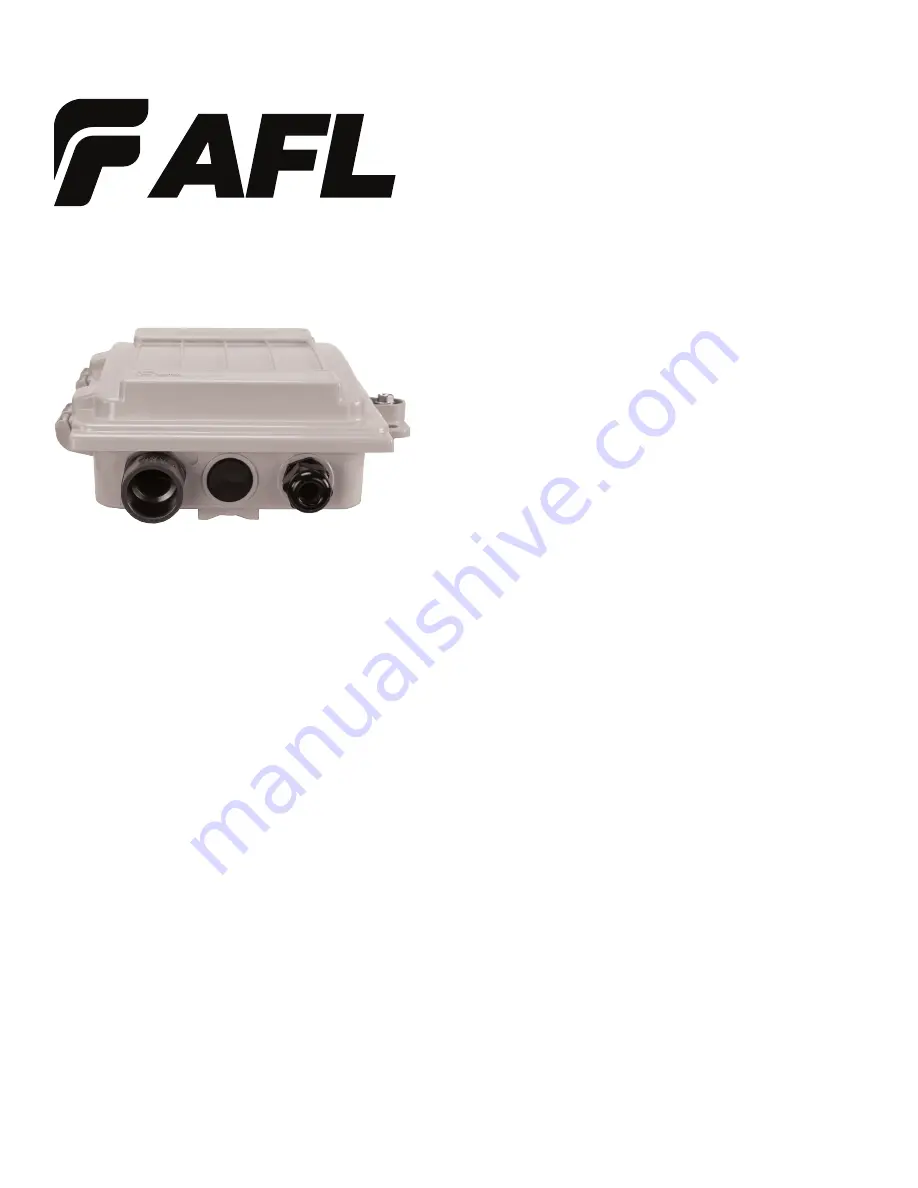
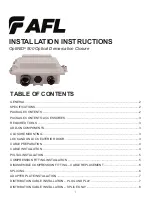
500 Optical Demarcation Closure
TABLE OF CONTENTS
GENERAL .........................................................................................................................................2
SPECIFICATIONS .............................................................................................................................2
PACKAGE CONTENTS .....................................................................................................................2
PACKAGE CONTENTS: ACCESSORIES .........................................................................................3
REQUIRED TOOLS ..........................................................................................................................3
ADD-ON COMPONENTS ..................................................................................................................3
CLOSURE MOUNTING .....................................................................................................................3
LOCK AND UNLOCK EXTERIOR DOOR .........................................................................................3
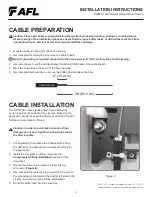
CABLE PREPARATION ....................................................................................................................4
CABLE INSTALLATION ....................................................................................................................4
PIGTAIL INSTALLATION ...................................................................................................................5
COMPRESSION FITTING INSTALLATION ......................................................................................5
DISASSEMBLE COMPRESSION FITTING – CABLE REPLACEMENT ..........................................6
SPLICING ..........................................................................................................................................6
ADAPTER PLATE INSTALLATION ..................................................................................................7
DISTRIBUTION CABLE INSTALLATION – PLUG AND PLAY ..........................................................7
DISTRIBUTION CABLE INSTALLATION – SPLICE ONLY ...............................................................8


