SECTION 1 - INSTALLATION
Optional Extras
A splashplate/plateshelf is available for fitting to the
G1102 open top range.
1.2 SITING
All units, other than G1112 oven on stand or legs,
must be installed on a non-combustible floor. All units
must be situated on a reasonably level surface,
although the unit feet are adjustable and facilitate
levelling, the adjustment range is limited.
Installing Clearances
A clearance of at least 150mm must be allowed from
any combustible wall.
If practicable, it is recommended that a space of at
least 400mm be allowed from any side wall to provide
clearance for adjusting the rear levelling bolts, and to
effect the removal of the RH side panel to facilitate
servicing. If the appliance is being installed as part of
a suite, it is also recommended that it be positioned at
the right-hand end to provide unrestricted access for
servicing the controls, etc.
A vertical clearance of 900mm minimum must be
allowed between the top edge of flue outlet and any
other overlying surface.
If the appliance is to be installed in a suite, either
central or adjacent to a wall, with a boxed-in void at
the rear, it is vitally important that the void be
adequately ventilated to ensure a supply of air to
the motor cooling fan at the rear of the oven.
1.3 VENTILATION
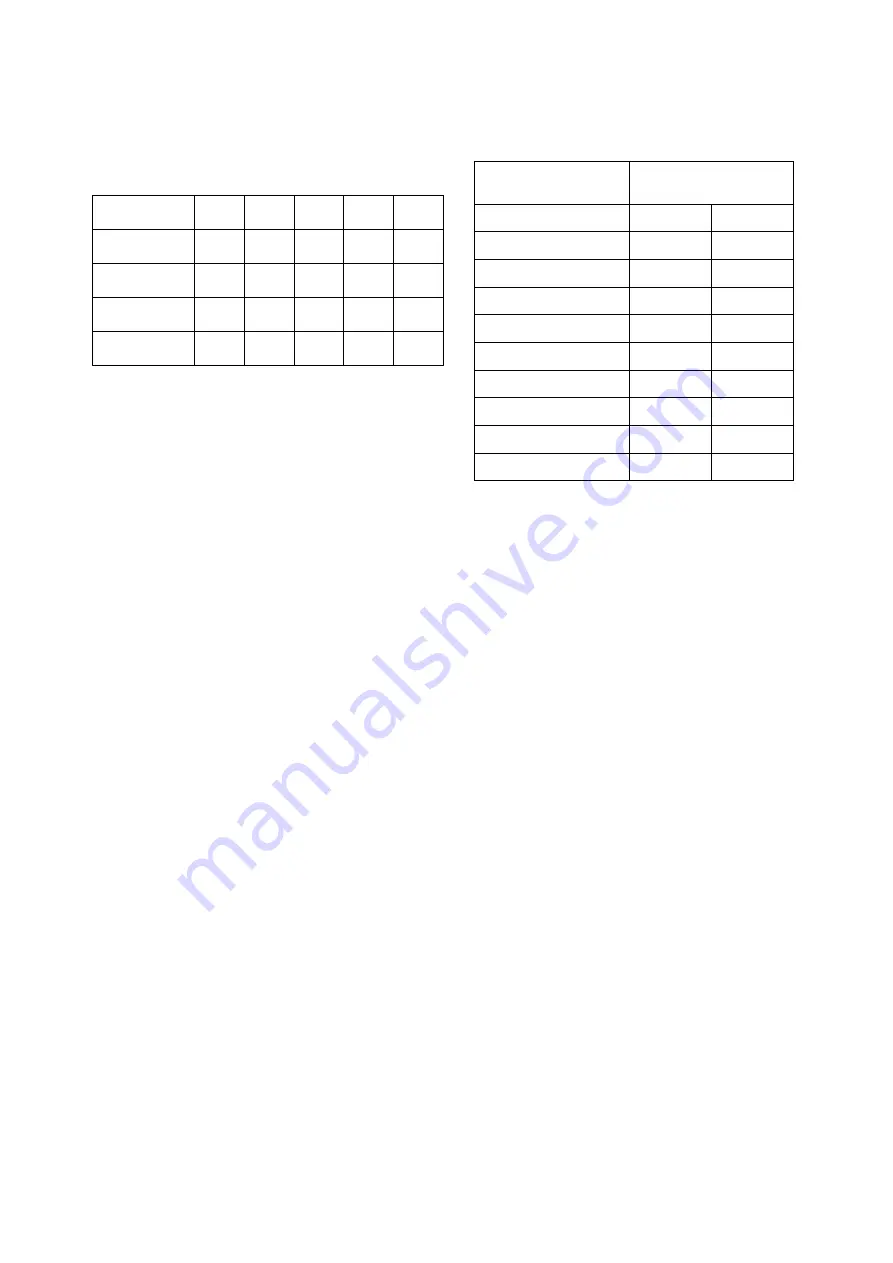
Recommendations for Ventilation of Catering
Appliances are given in BS5440 : 2. Furthermore, to
ensure sufficient room ventilation, guidance on the
volume of ventilation air required for different types of
catering equipment is provided in the table above.
For multiple installations the requirements for
individual appliances should be added together.
Installation should be made in accordance with local
and/ or national regulations applying at the time.
A competent installer MUST be employed.
The appliance flue discharges vertically through the
grill at the rear of the hob and there must be no direct
connection of the flue to any mechanical extraction
system or the outside air. Siting the appliance under a
canopy is the ideal arrangement.
1.4 GAS SUPPLY
The incoming service must be of sufficient size to
supply full rate without excessive pressure drop. A
gas meter is connected to the service pipe by the Gas
Supplier. Any existing meter should be checked by
the Gas Supplier to ensure the meter is of adequate
capacity to pass the required rate of gas.
Installation pipe work should be fitted in accordance
with IGE/UP/2. The pipe should not be smaller than
the gas inlet connection as follows:
G1102 Range:
Rc
3
/
4
(
3
/
4
" BSP female)
On the G1112 oven variants it is:
Rc
1
/
2
(
1
/
2
"BSP female)
An isolating cock must be located close to the
appliance to allow shut-down during an emergency
or servicing. The installation must be tested for gas
soundness and purged as specified in IGE/UP/1.
Note
The G1112 open top range is supplied complete with
the necessary pipework for linking oven and boiling
burner sections. The governor necessary for boiling
burners is incorporated in this pipework for Natural
Gas operation, and an extra governor must not be
fitted to any of these appliances.
EQUIPMENT
Ventilation Rate Required
m
3
/ min
ft
3
/min
Range, Unit Type
17
600
Pastry Oven
17
600
Fryer
26
900
Grill
17
600
Steak Grill
26
900
Boiling Pan
17
600
Steamer
17
600
Sterilizing Sink
14
500
Bains Marie
11
400
Tea/ Coffee Machine
8.5 - 14
300 - 500
UNLESS OTHERWISE STATED, PARTS WHICH HAVE BEEN PROTECTED BY THE MANUFACTURER
ARE NOT TO BE ADJUSTED BY THE INSTALLER
MODEL
WIDTH
mm
DEPTH
mm
HEIGHT
mm
WEIGHT
kg
WEIGHT
lbs
G1102 RANGE
900
770
870
221
487
G1112 OVEN
ON STAND
900
770
1445
194
428
G1112/2
DOUBLE TIER
900
770
1465
364
803
G1112 OVEN
ON LEGS
900
770
870
181
399
1.1 MODEL NUMBERS, NETT WEIGHTS
and DIMENSIONS


