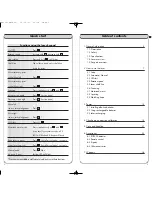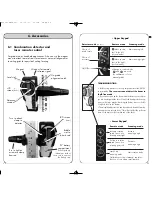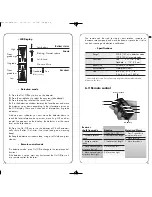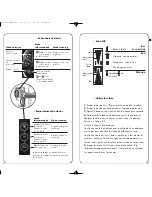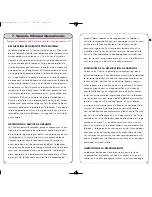
Low battery
Blinking: Normal volume
Solid: Loud
No horn: Mute
Standard
(Default mode)
Fine
Low
Near
grade low
On-grade
Near
grade high
High
B
ATTERY STATUS
S
OUND
A
CCURACY
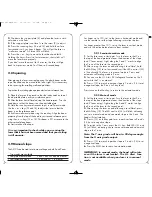
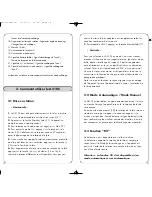
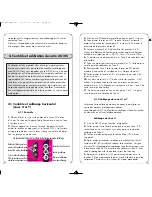
• LCD Display
• Detection mode
1.
Press the On/Off key to turn on the detector.
2.
Press the middle key to select the accuracy (deadband).
3.
Press the top key to select the sound level.
4.
Turn the detection window towards the laser beam, and move
the detector up or down according to the information given on
the LCD display. There are 5 channels of information, or grade
indicators.
A down arrow indicates you must move the detector down to
reach the laser reference; an up arrow, move it up. When a hor-
izontal line appears on the display, the detector is at the same
level as the laser beam.
5.
Press the On/Off key to turn the detector off. It will automati-
cally shut off after 10 minutes if not used (and give a warning
beep).
6.
Keep the detection window clean, using a soft cloth and glass
cleaner.
• Remote control mode
If in detection mode, press On/Off to change to the remote control
functions.
If the detector is not on, press any key (except the On/Off) to use it
as a remote control for the laser.
25
24
GB F E D I N FIN NL
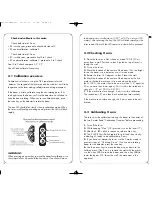
The remote can be used to stop or start rotation, increase or
decrease rotation speed, and move the beam or square shot. It also
controls scanning and electronic calibration.
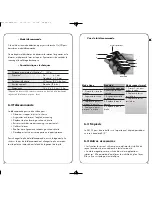
• Specifications
Range*
500 ft. (150 m) in detection mode
100 ft. (30 m) in remote mode
Accuracy*
Fine ± <1/16" (1 mm)
Standard ± 1/8” (2.5 mm)
Battery life
50 hours; 9V alkaline
Environmental
Waterproof (IP66+)
Size
6” x 3.25” x 1.5”; 1 lb
(15 x 8 x 3.5 cm / 450 g)
* Varies with laser used. Actual accuracy depends on beam diameter and
distance to the laser.
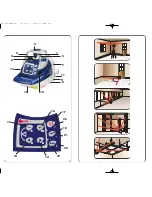
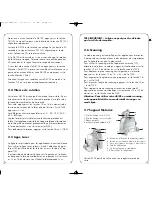
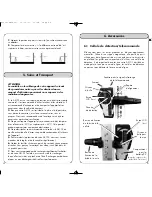
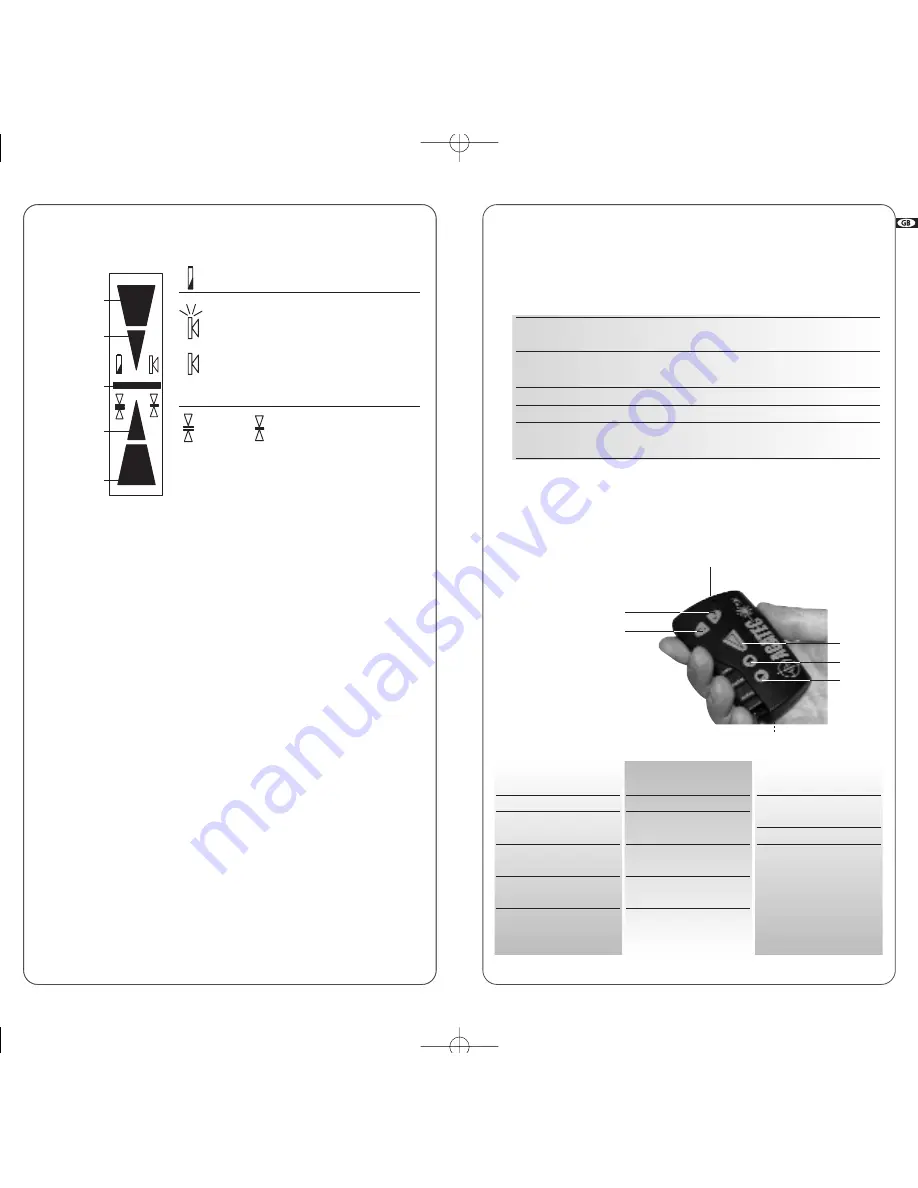
6.2 Remote control
Beam or
chalk line mode
1.
2. Decrease rotation
speed
3. Increase rotation
speed
4. Move stationary point
or square shot left
5. Move stationary point
or square shot lright
Scanning
1. Scan On / Off
2. Decrease scan length
3. Increase scan length
4. Move scan left
5. Move scan right
Motorized Mount
1. Press 3 seconds to
activate wall mount
2. Move laser up
3. Move laser down
Remote window
AA Battery
2
3
5
4
1
A510S-dec2007 10/12/07 19:58 Page 24
Summary of Contents for A510S
Page 1: ...Automatic Laser...


