I - 6
Installation
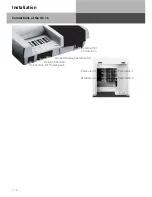
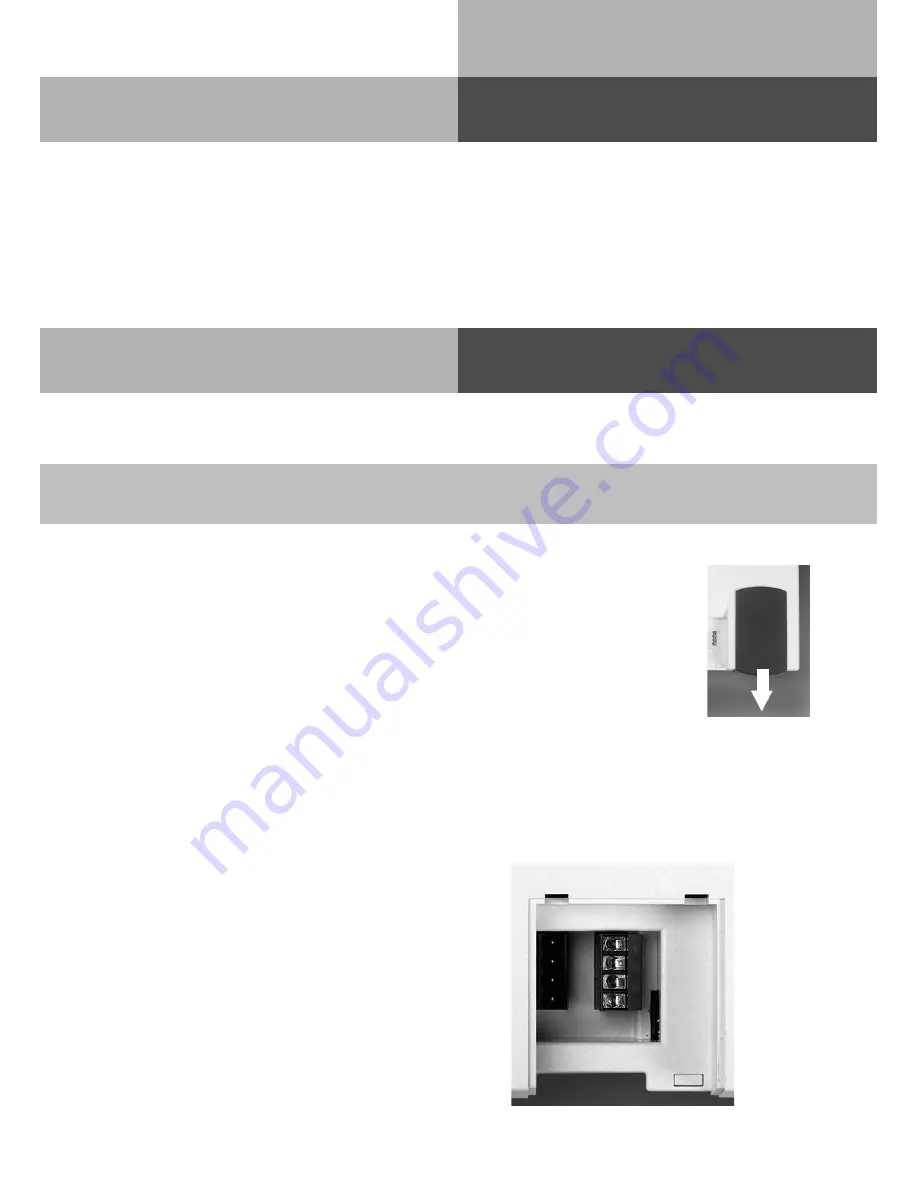
Extensions sockets are allocated on the front of the housing of your AC 14 / AC 14 WebPhonie
/ AC16 WebPhonie. If you want to hard wire your extensions, then you will find extension
connection terminals underneath the system cover on the right hand side.
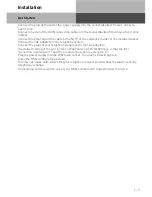
Unplug the power pack from the 230 V mains socket before working on the connection panel.
Replace the cover before plugging the power pack back into the mains socket.
The assignment of the extension connections is displayed on the connection
panel. To ensure perfect functioning of the telecommunications system and the
connected extensions, you should connect the terminals either to the sockets or
the plug-in terminals! This means that if a extension is connected directly via a
socket, e.g. connection 1, no second device should be connected via the
terminals at the same extension connection, e.g. La1/Lb1. The connections La
and Lb of the plug-in extensions are connected with connections 1 and 2 of the
separate sockets. You can use commercially available telephone lines for the
connection. We recommend: telephone lines
Length between telecommunications system and sockets: max. 800 metres at 0.6 mm wire
diameter.
Connecting extensions to separate
sockets
Wallmounting
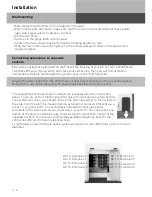
- Mark two vertical drill holes 125 mm apart on the wall.
- When marking the drill holes, make sure that there are no concealed lines at these points
(gas, water pipes, electric cables or similar).
- Drill the two holes.
- Hammer in the plugs flush with the wall.
- Screw in the two screws leaving the head protruding by about 4 mm.
- Hang the telecommunications system on the screws and pull it down on the wall until it
snaps into place.
AC 14: Extension 3
AC 16: Extension 1
AC 14: Extension 4
AC 16: Extension 2
AC 14: Extension 1
AC 16: Extension 5
La1
Lb1
AC 14: Extension 2
AC 16: Extension 6
La2
Lb2
La3
Lb3
La4
Lb4
Summary of Contents for AC 14
Page 1: ...1 Bedienung AC 14 AC 14 WebPhonie AC 16 WebPhonie User Guide ISDN PBX System ...
Page 14: ...I 8 Installation ...
Page 42: ...U 28 User Guide ...
Page 80: ...A 10 Appendix ...
Page 82: ...S 2 Index ...


