86
Agilaire 8872 Manual
Chapter 2 Configuration
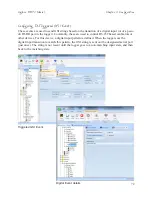
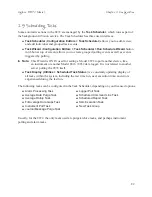
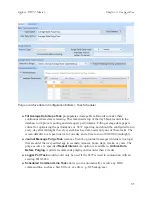
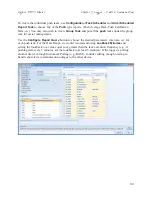
Scheduled Report Task automatically sends scheduled reports to a designated printer,
emails reports to configured recipients, or saves them to a file.
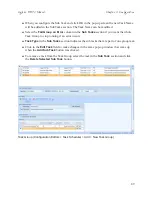
Click the green Add button and select Scheduled Report Task.
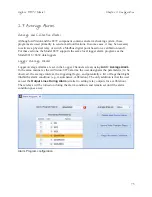
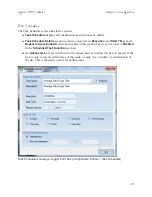
In the Task Schedule Details section, select Executive, Start Time, and
Repeat Interval.
In the Task Details section, enter a Task Name and enter an optional Task
Description, and click to select Enabled.
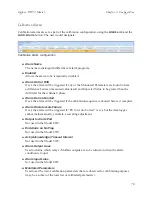
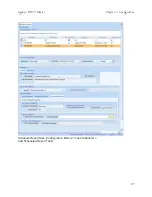
In the Report Task Options section, select a Report from the drop-down list.
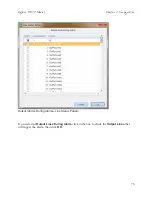
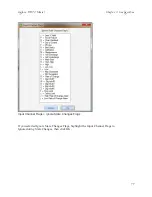
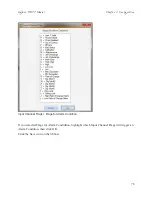
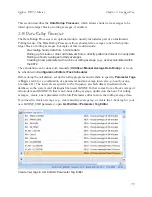
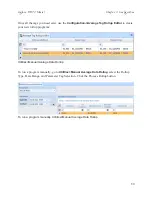
Click the Configure Report Query button to select Date Range, Average Interval,
and Parameter(s). The Query String will be displayed near the bottom of the screen.
Click OK to save the configuration.
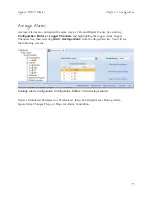
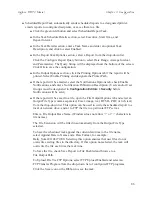
In the Output Options section, click the Printing Options tab if the report will be
printed. Select Enable Printing and designate the Printer Path.
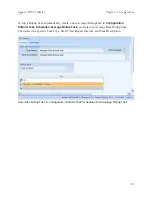
If the report will be emailed, select the Notifications Options tab, check Enable
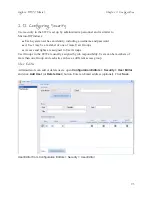
Notifications, and enter a Notification Publication Description. (Users and/or User
Groups must be designated in
Configuration Editors > Security
before
Notifications will be sent.)
If the report will be saved to a file, open the File Output Options tab and select an
Output File Type (comma separated, Excel, image, text, HTML, PDF, or rich text)
from the drop-down list. This option can be used to write the scheduled report to a
local or network drive, and/or to FTP the file to a particular FTP server.
Enter a File Output Base Name. (Windows does not allow “/” or “:” characters in
file names.)
The File Extension will be filled in automatically from the Output File Type
selected.
To have the scheduled task append the current date/time to the file name,
select Append Date to Name and a Date Format, for example,
Daily_Sum201106271900. Selecting this option ensures that new files do not
overwrite existing files in the directory. If this option not selected, the task will
overwrite the file each time the task runs.
To Save the file, check Save Report to File Enabled and browse to a
File Output Path.
To Upload File Via FTP Options, select FTP Upload Enabled and select an
FTP Transfer Program from the drop-down list of configured FTP programs.
Click the Save icon on the Ribbon to save the task.

