Rack/Handle
Installation
The
4291B
can
be
rack
mounted
and
used
as
a
component
in
a
measurement
system.
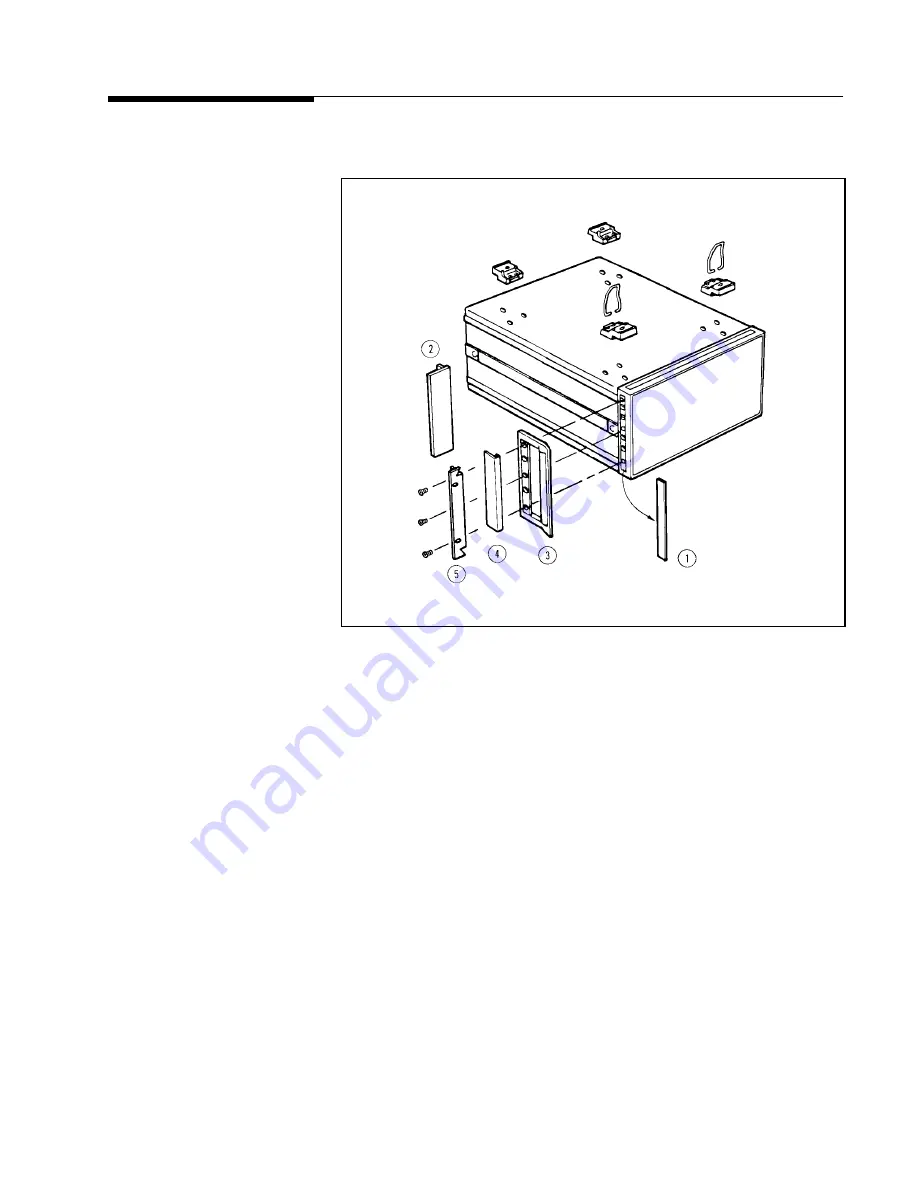
Figure
2-3
shows
how
to
rack
mount
the
4291B .
Figure
2-3.
Rack
Mount
Kits
Installation
Option
1CN
Handle
Kit
Option
1CN
is
a
handle
kit
containing
a
pair
of
handles
and
the
necessary
hardware
to
attach
them
to
the
instrument.
Installing
the
Handle
1.
Remove
the
adhesive-backed
trim
strips
1
from
the
left
and
right
front
sides
of
the
4291B.
2.
Attach
the
front
handles
3
to
the
sides
using
the
screws
provided.
3.
Attach
the
trim
strips
4
to
the
handles
.
Option
1CM
Rack
Mount
Kit
Option
1CM
is
a
rack
mount
kit
containing
a
pair
of
anges
and
the
necessary
hardware
to
mount
them
to
the
instrument
in
an
equipment
rack
with
482.6
mm
(19
inches)
horizontal
spacing.
Mounting
the
Rack
1.
Remove
the
adhesive-backed
trim
strips
1
from
the
left
and
right
front
sides
of
the
4291B.
2.
Attach
the
rack
mount
ange
2
to
the
left
and
right
front
sides
of
the
4291B
using
the
screws
provided.
Installation
and
Set
Up
Guide
2-9
Summary of Contents for 4291B
Page 20: ......
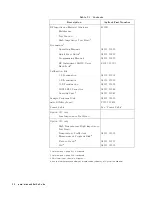
Page 24: ...Figure 2 1 Contents 2 4 Installation and Set Up Guide ...
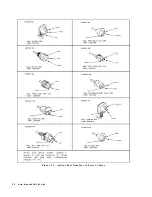
Page 26: ...Figure 2 2 Agilent Part Numbers of Power Cables 2 6 Installation and Set Up Guide ...
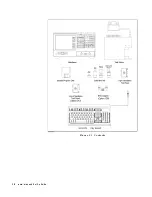
Page 34: ...Figure 2 7 Connecting a Keyboard 2 14 Installation and Set Up Guide ...
Page 60: ......
Page 104: ......
Page 130: ......
Page 152: ......
Page 158: ......

