Chapter 9
321
Setting/Using Control and Management Functions
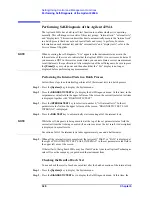
Performing Self-Diagnosis of the Agilent 4294A
9.
Se
ttin
g/Us
in
g Co
ntr
ol and
Man
age
men
t F
unc
tions
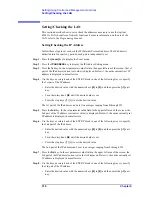
currently selected test item is displayed in the set parameter value field in the upper left
area of the screen.
Step 3.
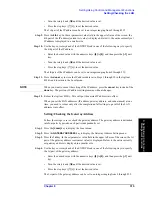
Use the keys or rotary knob of the ENTRY block in one of the following ways to specify
the test number for the item whose result you want to check.
•
Enter the desired value with the numeric keys (
[0]
to
[9]
) and then press the
[
´
1]
unit
key.
•
Turn the rotary knob (
m
m
m
m
) until the desired value is set.
•
Press the step keys ([
][
¯
]) to set the desired value.
The desired test result is displayed at the right of the test number and test item in the set
parameter value field in the upper left area of the screen.
NOTE
The power-on self-test automatically executed at power-on is a partial execution of the
“internal tests.” You can also check the result of each test in the power-on self-test by
entering its test number as described above.
Summary of Contents for 4294A
Page 1: ......
Page 2: ......
Page 4: ......
Page 5: ......
Page 6: ......
Page 8: ......
Page 16: ...8 ...
Page 30: ...22 Chapter1 Installation Power Cable Figure 1 2 Alternative Power Cable Options ...
Page 70: ...62 Chapter3 Front Rear Panel and LCD Display Items Displayed on the LCD ...
Page 436: ...428 AppendixB Key Definitions Softkeys displayed by pressing the Recall key ...
Page 454: ...446 AppendixC Error messages WRONG I O PORT DIRECTION ...
Page 468: ......

