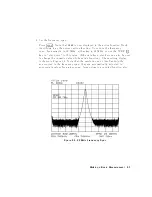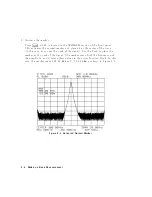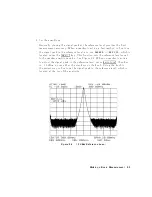
4.
Set
the
amplitude.
Generally
,
placing
the
signal
p eak
at
the
reference
lev
el
pro
vides
the
b est
measuremen
t
accuracy
.
When
a
marker
is
active,
a
fast
metho d
to
ne-tune
the
signal
p eak
to
the
reference
lev
el
is
to
use
NNNNNNNNNNNNNNNNNNNNNNNNNNNNNNNNNNNNNNNNNNNNNNNNNNNN
MARKER
!
REF
LVL
,
whic
h
is
lo
cated
under
the
4
MKR !
5
k
ey
.
This
function
sets
the
reference
lev
el
equal
to
the
marker
amplitude
v
alue.
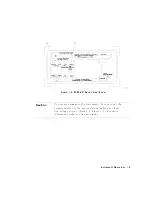
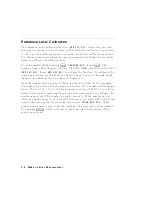
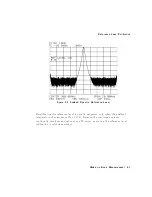
See
Figure
2-4 .
When
no
marker
is
active,
to
adjust
the
signal
p eak
to
the
reference
lev
el,
press
4
AMPLITUDE
5,
then
k
ey
in
010
dBm,
or
use
either
the
step
k
eys
or
the
knob.
Using
the
knob
is
the
easiest
w
a
y
to
ne-tune
the
signal
p eak
to
the
reference
lev
el,
whic
h
is
lo
cated
at
the
top
of
the
graticule.
Figure
2-4.
010
dBm
Reference
Lev
el
Making
a
Basic
Measurement
2-5
Summary of Contents for 8560 E-Series
Page 4: ......
Page 6: ......
Page 8: ......
Page 13: ...This page intentionally left blank Instrument Overview 1 5 ...
Page 20: ......
Page 28: ......
Page 31: ... Available only with internal mixing Menu Trees 3 3 ...
Page 32: ...3 4 Menu Trees ...
Page 34: ...3 6 Menu Trees ...
Page 36: ...3 8 Menu Trees ...
Page 40: ...3 12 Menu Trees ...
Page 42: ...3 14 Menu Trees ...
Page 45: ...Menu Trees 3 17 ...
Page 51: ...Menu Trees 3 23 ...
Page 52: ......
Page 188: ......
Page 189: ...A Block Diagrams Block Diagrams A 1 ...
Page 190: ...8560E EC Block Diagram A 2 Block Diagrams ...
Page 191: ...8561E EC Block Diagram Block Diagrams A 3 ...
Page 192: ...8562E EC Block Diagram A 4 Block Diagrams ...
Page 193: ...8563E EC Block Diagram Block Diagrams A 5 ...
Page 194: ...8564E EC Block Diagram A 6 Block Diagrams ...
Page 195: ...8565E EC Block Diagram Block Diagrams A 7 ...
Page 196: ......


