3-38
Using the Analyzer
Measurement Techniques
6
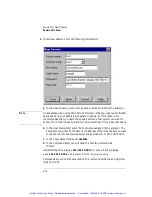
Repeat Step 5 for the remaining data points. Remember to use a comma to
separate each data point and a Connect to Previous Point parameter.
7
From the text editors File menu > click Save As. Enter a descriptive file name
(maximum of eight characters). For example, unotch.lim.
Tip
: When choosing a file name, you may want to indicate the limit line as
either upper or lower. Try to limit the file name to eight characters as only
eight characters will be displayed in the Limit Line Catalog.
8
Remove the disk from the PC and insert it into the disk drive of the WDCA.
9
Setup the WDCA to display the response of your device. Refer to “Status
Reporting for Laser Wavelength Zeroing” on page 3-13 for more information.
10
From the front panel, press
Amplitude
>
Limit Lines
>
Load Limit Lines
>
Load Limit Line 1
.
11
From the Limit Line catalog, select the newly created limit line and then press
Load File
.
12
Press
Previous Menu
>
Limit Line Tests 1
.
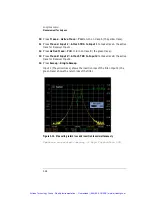
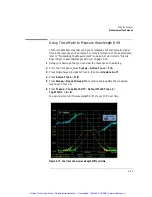
The results of the limit line test will be shown at the top of the display.
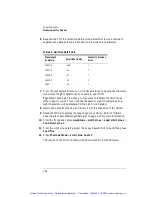
Table 3-1. Limit Line Data Points
Wavelength
(in meters)
Amplitude (in dB)
Connect to Previous
Point
1.5437-6
-18.8
1
1.5437-6
-67
1
1.5445-6
-67
1
1,5445-6
-18
1
1.548
-18
1
Artisan Technology Group - Quality Instrumentation ... Guaranteed | (888) 88-SOURCE | www.artisantg.com

