Chapter 2
2-9
System Verification and Performance Tests
Agilent 8753ES System Verification and Performance Tests
25.When the analyzer finishes measuring the standard, connect the 50 ohm termination to
reference test port 2.
26.Press .
27.When the analyzer finishes measuring the standard, press
.
The analyzer briefly displays
COMPUTING CAL COEFFICIENTS
.
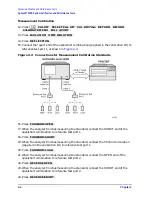
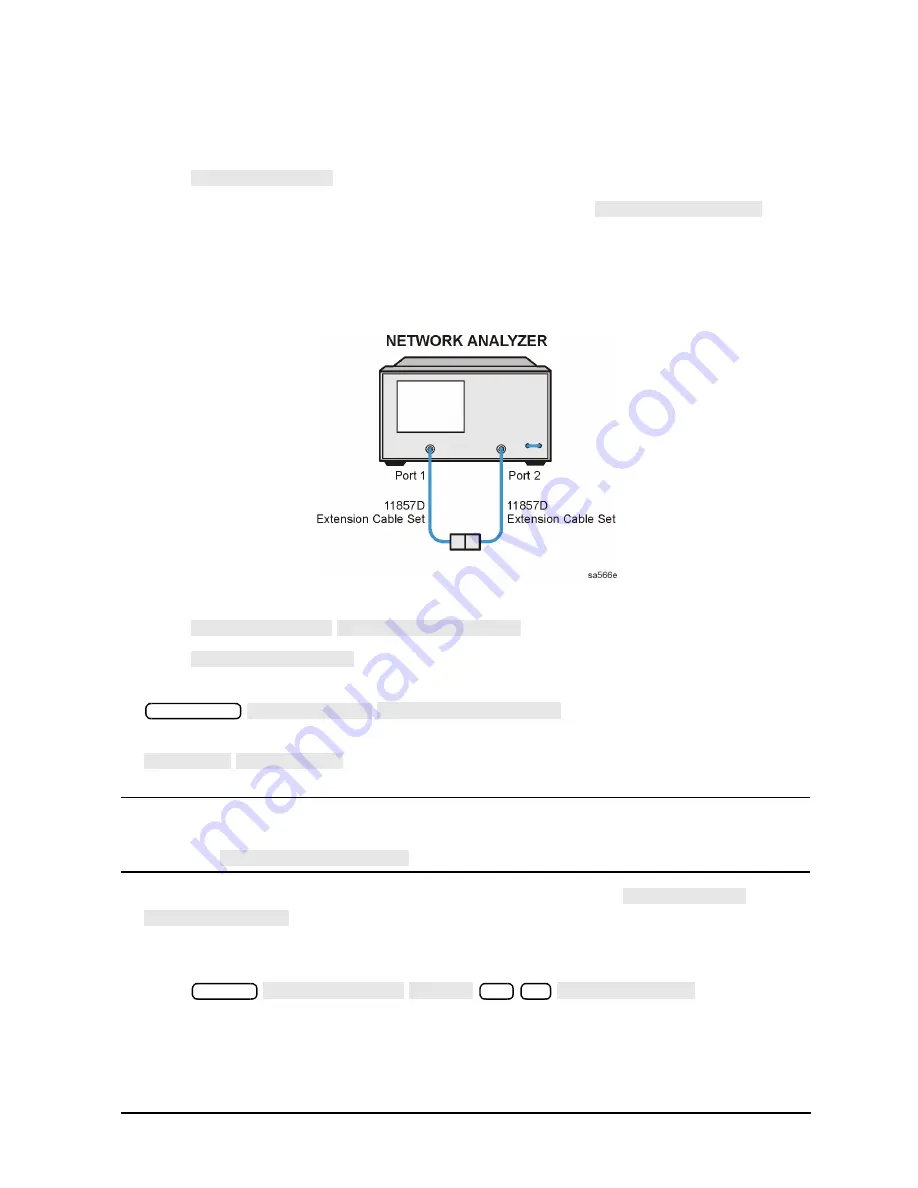
28.Connect the test port cables as shown
Figure 2-3
Transmission Calibration Setup
29.Press
.
30.Press .
31.To save the calibration into the analyzer internal memory, press the following:
Rotate the knob to select Register 1 (REG1) on the display. Then press:
IMPORTANT
Step 31 is crucial to the correct recall of the calibration during subsequent
measurements. The calibration MUST be stored in Register 1 (REG1) of
to be properly recalled.
32.When the analyzer finishes saving the instrument state, press
.
Device Verification
1. Press
.
2. At the prompt, connect the 20 dB attenuator (supplied in the verification kit) as shown
in
REVERSE:LOAD
STANDARDS DONE
TRANSMISSION DO BOTH FWD + REV
DONE 2-PORT CAL
Save/Recall
SELECT DISK INTERNAL MEMORY
RETURN SAVE STATE
INTERNAL MEMORY
SELECT DISK
INTERNAL DISK
System
SERVICE MENU TESTS
28
x1
EXECUTE TEST
Summary of Contents for 8753ES
Page 14: ...Contents xiv Contents ...
Page 15: ...1 1 1 Service Equipment and Analyzer Options ...
Page 26: ...1 12 Chapter1 Service Equipment and Analyzer Options Service and Support Options ...
Page 27: ...2 1 2 System Verification and Performance Tests ...
Page 203: ...3 1 3 Adjustments and Correction Constants ...
Page 262: ...3 60 Chapter3 Adjustments and Correction Constants Sequences for Mechanical Adjustments ...
Page 263: ...4 1 4 Start Troubleshooting Here ...
Page 297: ...5 1 5 Power Supply Troubleshooting ...
Page 317: ......
Page 318: ...6 1 6 Digital Control Troubleshooting ...
Page 337: ...6 20 Chapter6 Digital Control Troubleshooting GPIB Failures ...
Page 338: ...7 1 7 Source Troubleshooting ...
Page 369: ...7 32 Chapter7 Source Troubleshooting Source Group Troubleshooting Appendix ...
Page 370: ...8 1 8 Receiver Troubleshooting ...
Page 381: ...8 12 Chapter8 Receiver Troubleshooting Troubleshooting When One or More Inputs Look Good ...
Page 382: ...9 1 9 Accessories Troubleshooting ...
Page 389: ...9 8 Chapter9 Accessories Troubleshooting Inspect the Error Terms ...
Page 390: ...10 1 10 Service Key Menus and Error Messages ...
Page 439: ...10 50 Chapter10 Service Key Menus and Error Messages Error Messages ...
Page 440: ...11 1 11 Error Terms ...
Page 451: ...11 12 Chapter11 Error Terms Error Correction ...
Page 452: ...12 1 12 Theory of Operation ...
Page 482: ...13 1 13 Replaceable Parts ...
Page 487: ...13 6 Chapter13 Replaceable Parts Ordering Information Figure 13 1 Module Exchange Procedure ...
Page 500: ...Chapter 13 13 19 Replaceable Parts Replaceable Part Listings Figure 13 7 8753ET Cables Top ...
Page 502: ...Chapter 13 13 21 Replaceable Parts Replaceable Part Listings Figure 13 8 8753ES Cables Top ...
Page 512: ...Chapter 13 13 31 Replaceable Parts Replaceable Part Listings Figure 13 13 8753ES Cables Front ...
Page 544: ...14 1 14 Assembly Replacement and Post Repair Procedures ...
Page 550: ...Chapter 14 14 7 Assembly Replacement and Post Repair Procedures Covers Figure 14 2 Covers ...
Page 597: ...14 54 Chapter14 Assembly Replacement and Post Repair Procedures Post Repair Procedures ...

