39
Chapter 2 Front-Panel Operation
Scanning Operation
4
2
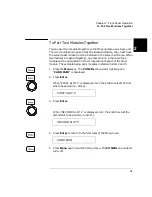
5. Repeat step 3 and 4 to add additional channels to the list.
6. When the desired channels have been added, press the S.List key
again to return to the first level of the menu.
7. Press S.List again to exit the menu. The CONFIG annunciator turns
off.
To Perform Scanning
After the scan configuration is complete, the actual scan can be
performed.
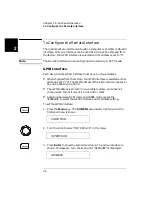
1. Press the Step key to close the first channel in the scan list.
2. Press the Step key again to open the first channel and close the next
channel in the list.
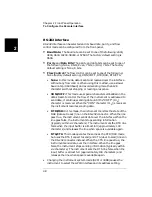
This procedure shows a simple way to scan, one channel at a time for
each press of a front panel key. You can also press the Scan key to scan
all channels in the list according to the various scan parameters set. In
the default parameter state, pressing the Scan key will cause all the
channels in the list to cycle through at the maximum possible speed.
While this occurs, the SCAN annunciator is lighted. For details about
the scan parameters, see page 85.
To Clear a Scan List
You can clear a scan list once it has been configured.
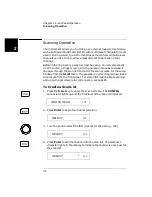
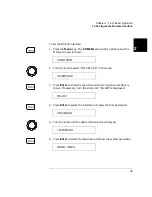
1. Press the Shift key and then the S.List key. The display will briefly
show:
and then return to normal operation.
ADD TO SCAN
107
CLR SCAN LIST
101
Summary of Contents for Agilent 3499A
Page 13: ...1 1 Quick Start ...
Page 27: ...2 2 Front Panel Operation ...
Page 55: ...3 3 System Overview ...
Page 77: ...4 4 Features and Functions ...
Page 113: ...5 5 Remote Interface Reference ...
Page 164: ...164 5 ...
Page 165: ...6 6 Error Messages ...
Page 173: ...7 7 Plug in Modules ...
Page 256: ...256 Chapter 7 Plug in Modules 44475A Breadboard Module 7 ...
Page 261: ...261 Chapter 7 Plug in Modules 44476B Microwave Switch Module 4 7 The 44476B is shown below ...
Page 286: ...286 Chapter 7 Plug in Modules Terminals and Connections Information 7 ...
Page 288: ...288 7 ...
Page 289: ...8 8 Application Programs ...
Page 299: ...9 9 Specifications ...
Page 343: ...343 Chapter 9 Specifications 44475A Breadboard Module 4 9 ...

